
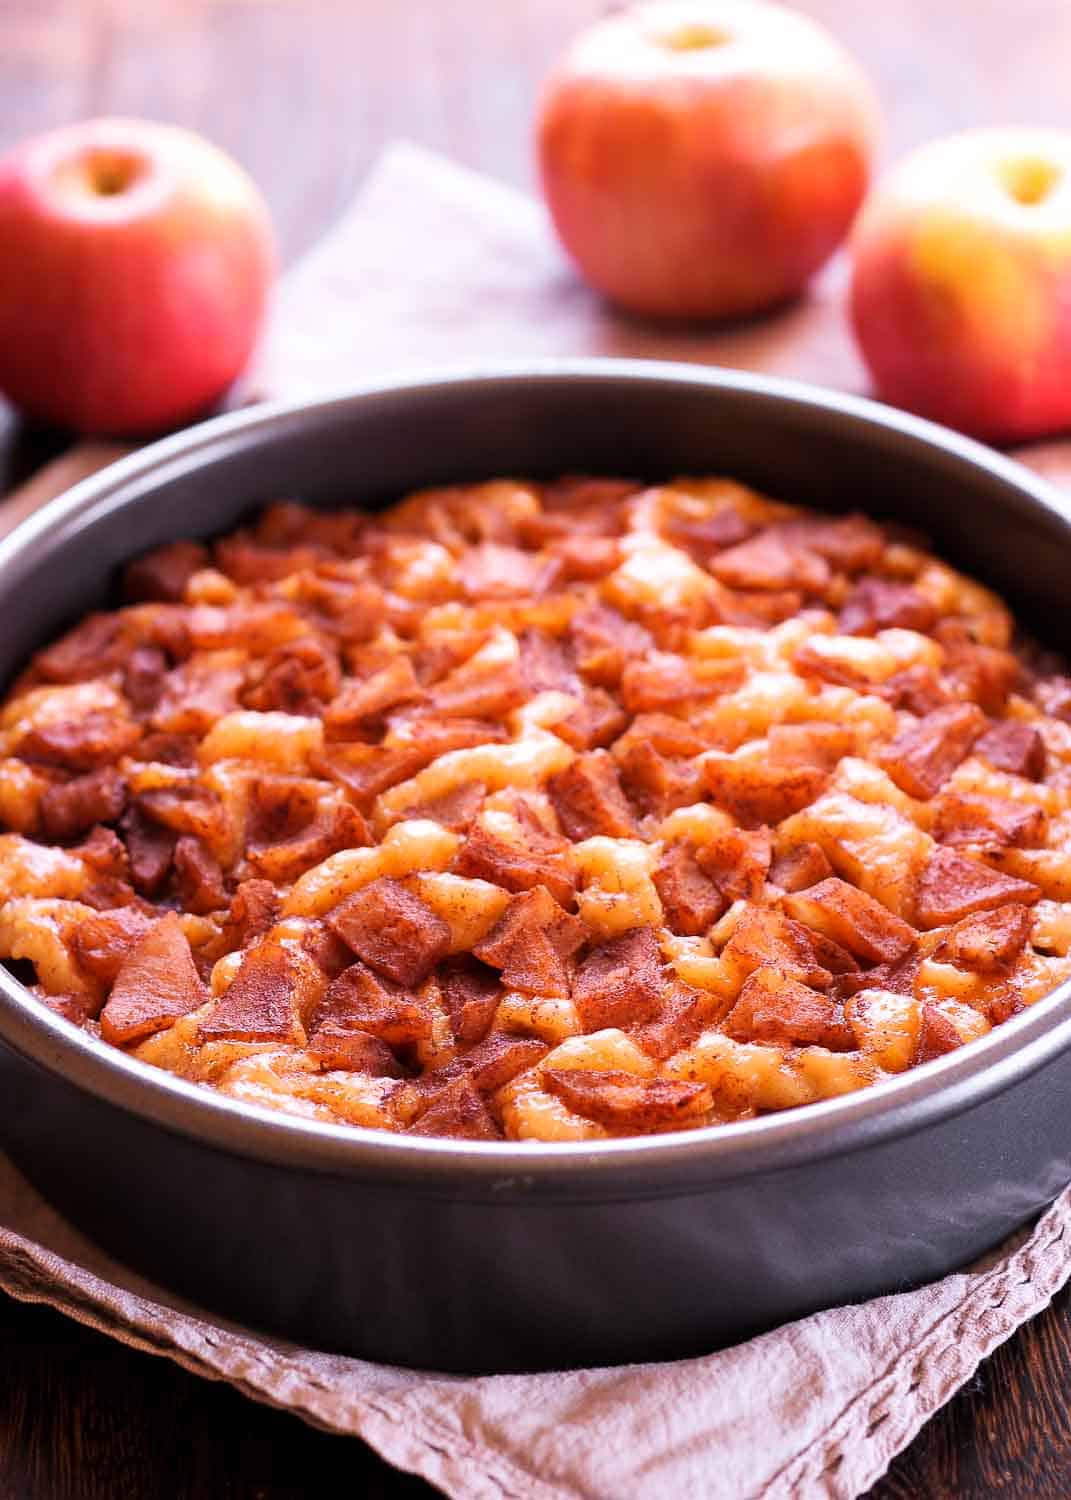
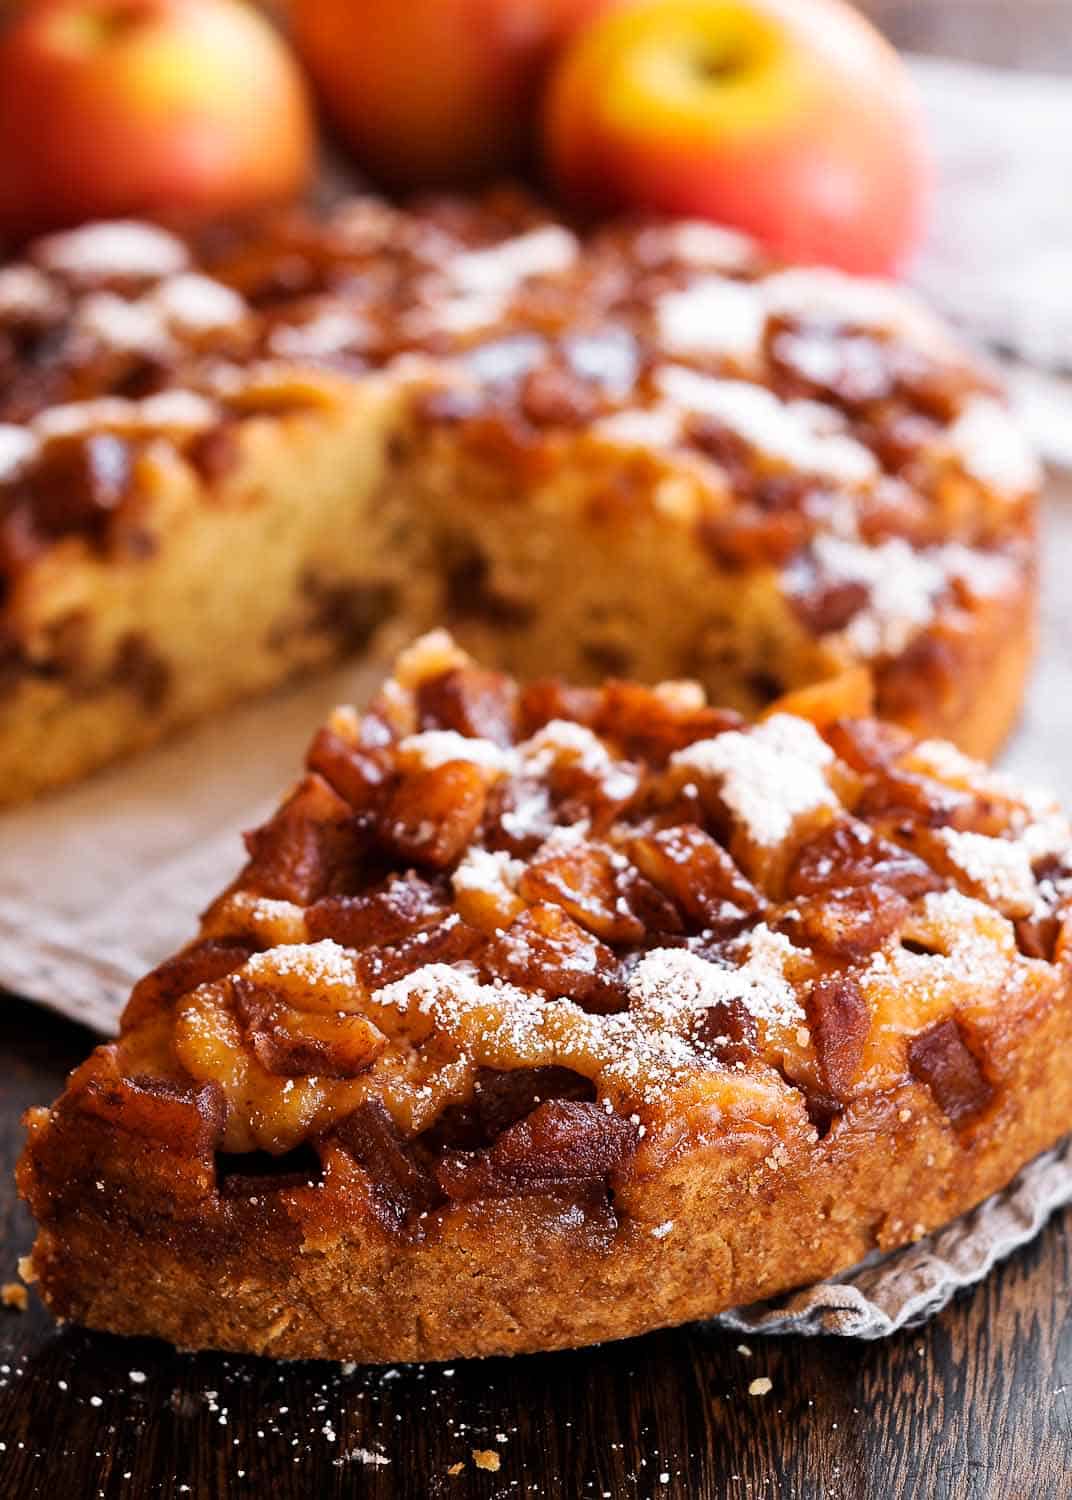
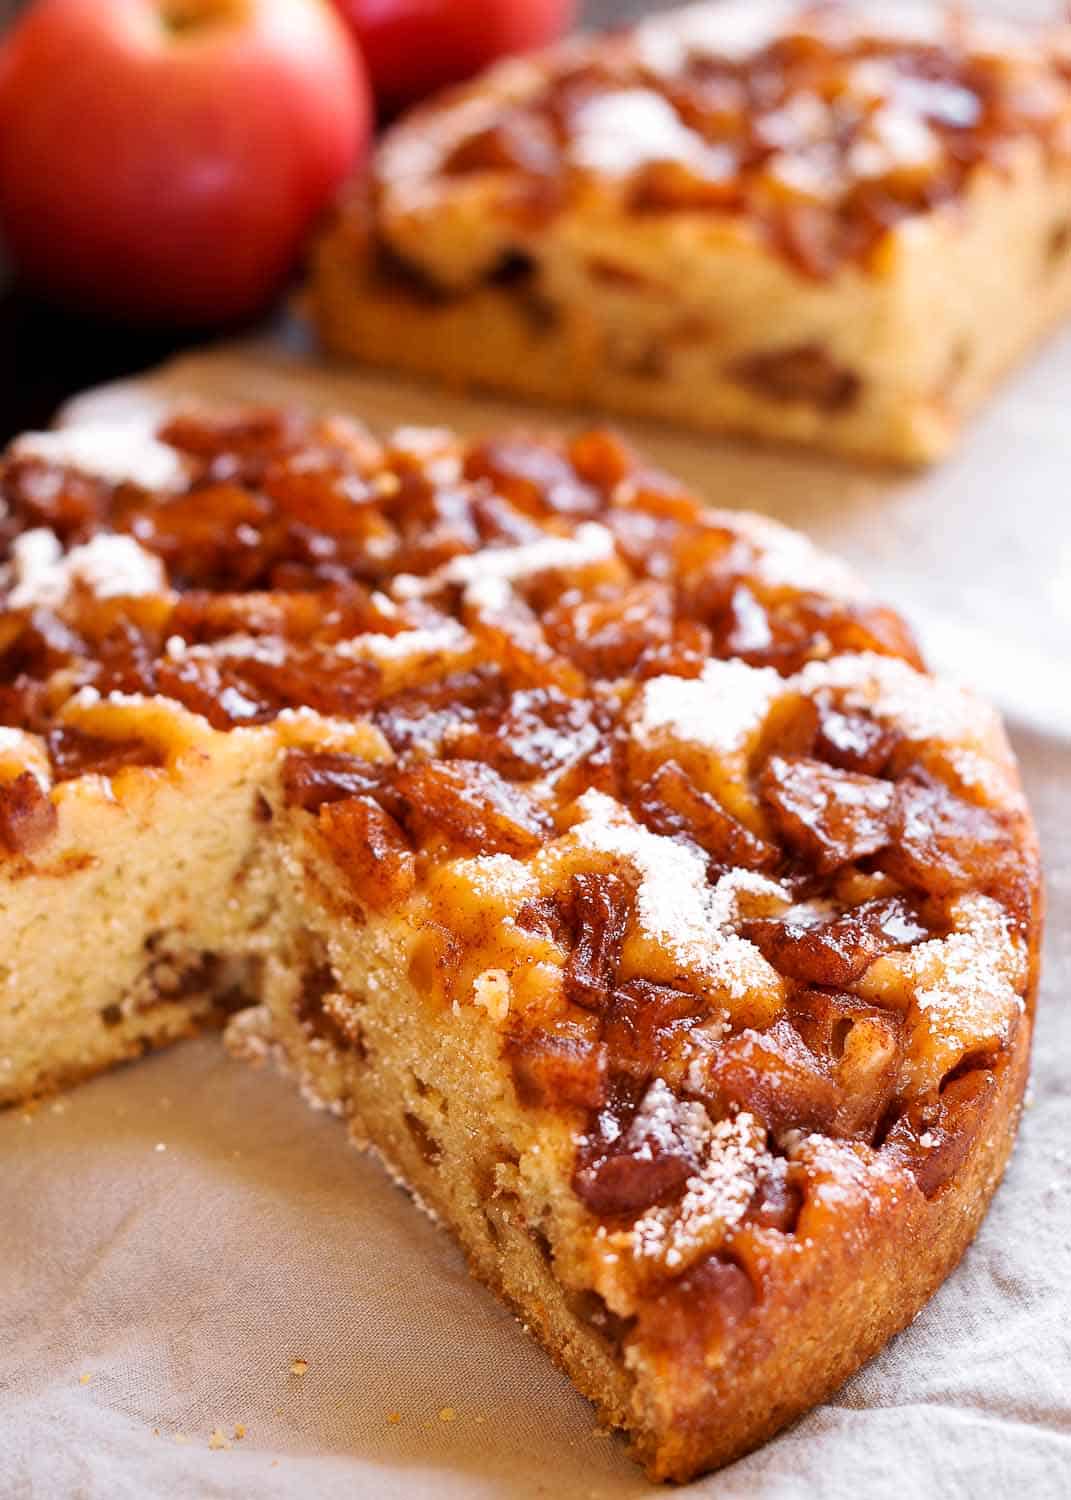
This Instant Pot Apple Cinnamon Cake is moist, tender, and packed with fresh apples and warm cinnamon. It is pressure-cooked in a 7-inch cake pan for a soft, tender texture without turning on the oven.

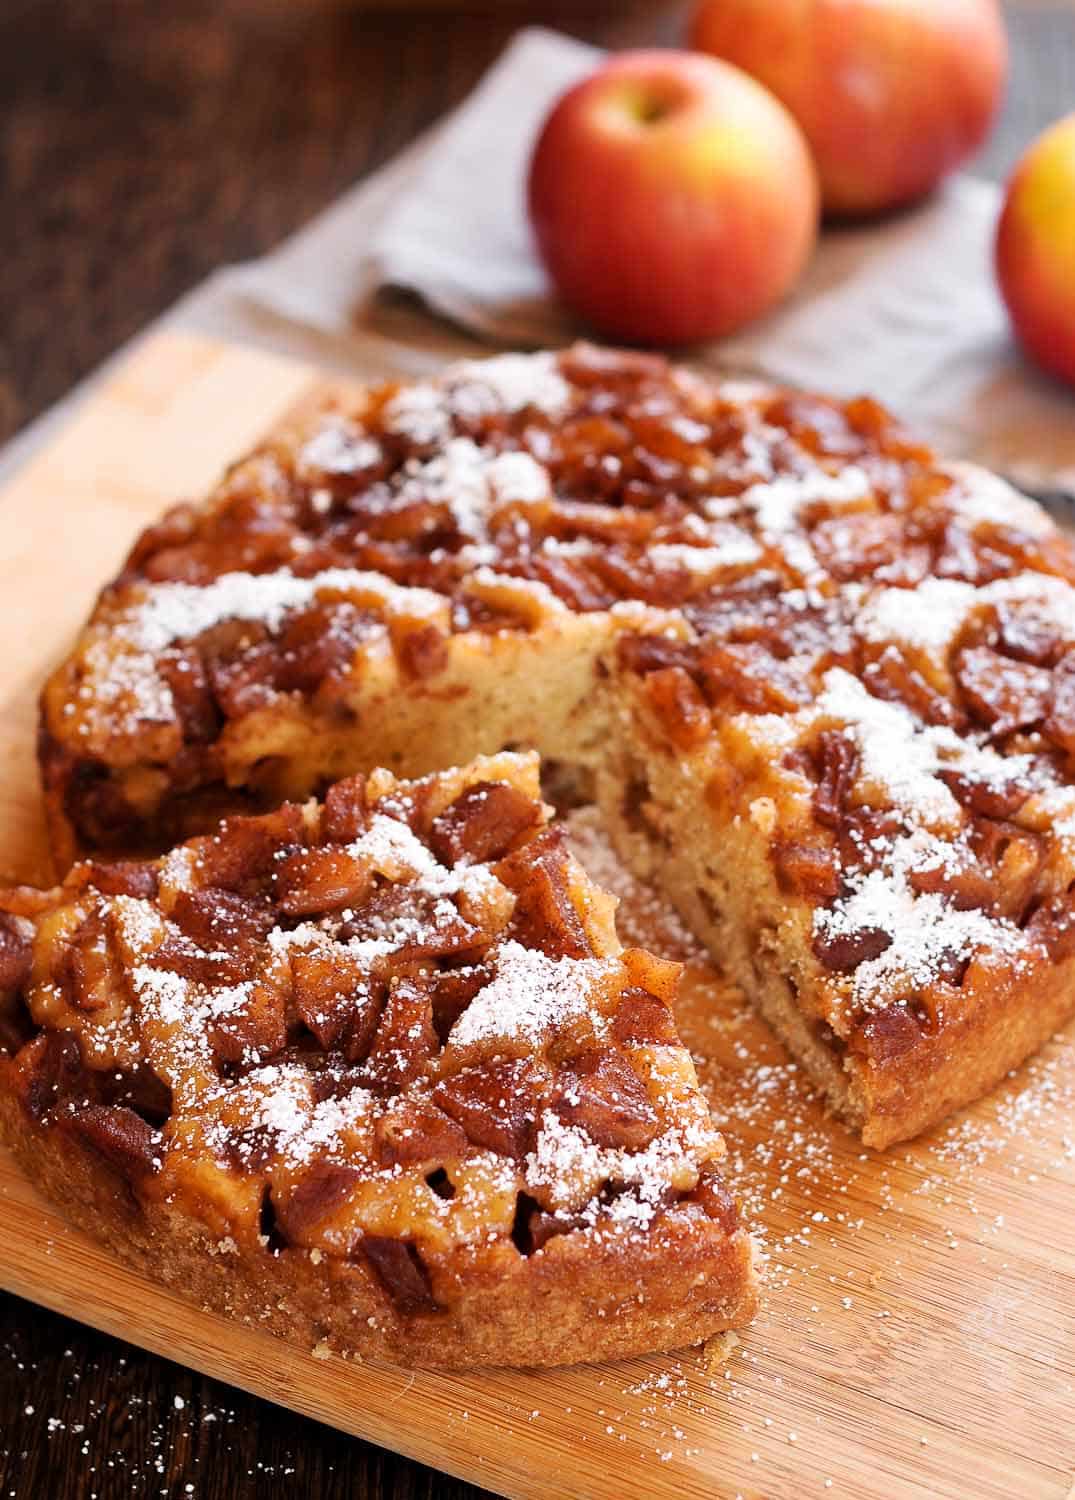
Serve it warm with vanilla ice cream for a cozy fall dessert, or let it cool and finish it with a light dusting of powdered sugar. The batter is intentionally thick, the apples are layered throughout, and the cake is covered tightly while it cooks so steam does not turn the top wet or gummy.
If you have extra apples to use, try my Soft Baked Apple Cider Donuts with Cinnamon Sugar and Cinnamon Sugar Fried Apple Rings.
How to Make Instant Pot Apple Cake
This cake uses the pan-in-pot method: the Instant Pot's inner pot holds water, while the batter sits in a separate 7-inch metal pan on a trivet above it. The sealed cooker builds pressure while steam circulates around the pan, gently cooking the cake.
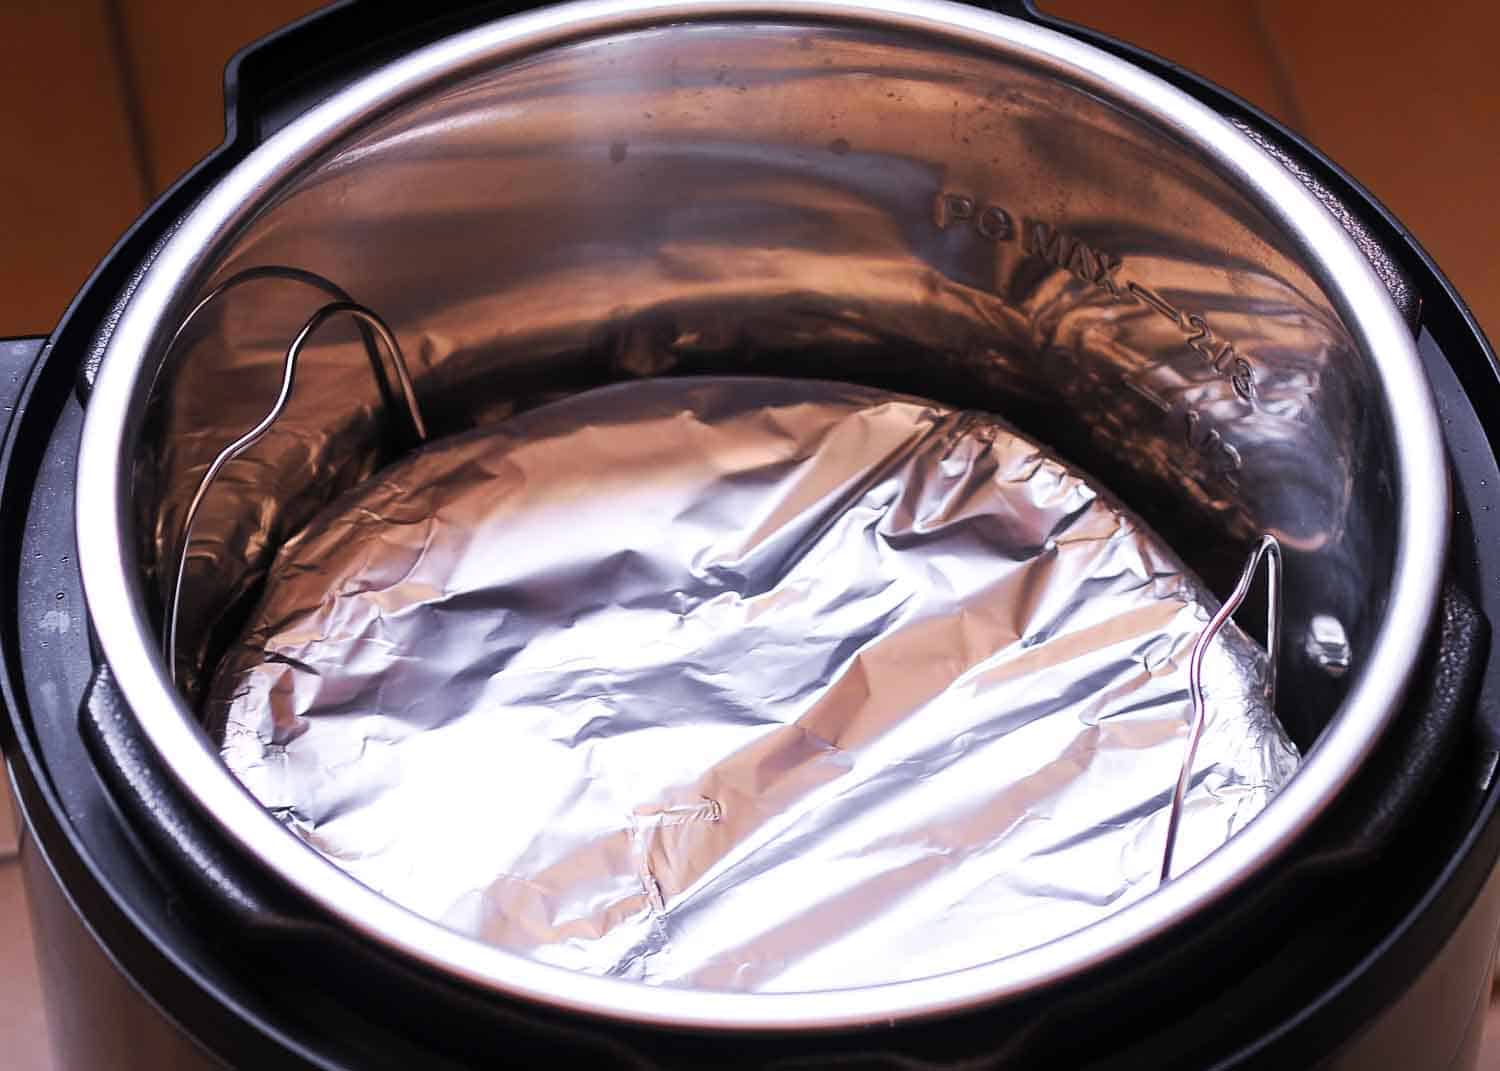
For the most reliable result, use a 7-inch metal round cake pan and cover it tightly with foil before pressure cooking. The foil protects the batter from condensation, which is essential for a moist cake rather than a wet, undercooked top.
1. Prepare the Apples and Batter
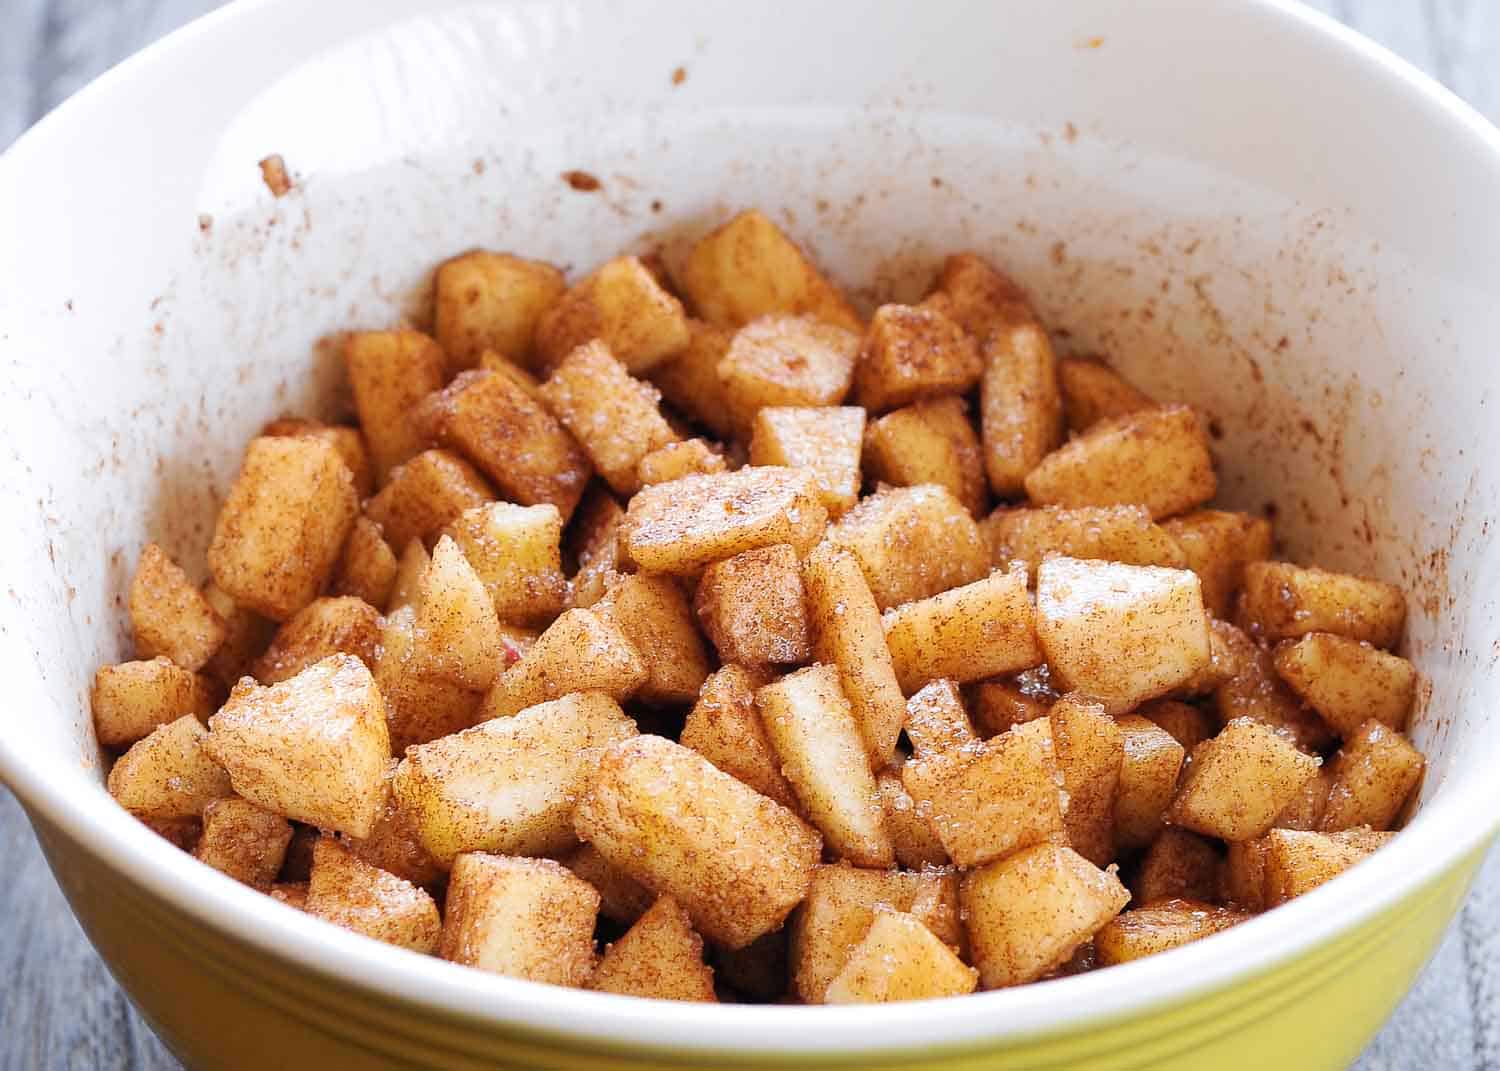
Toss the apple slices with cinnamon and sugar.
Prepare the batter; it will be thick, which is exactly what you want for this cake.
The batter will look thick and may not seem like enough at first-this is normal. It expands as it pressure cooks and surrounds the cinnamon-sugar-coated apples in distinct layers.
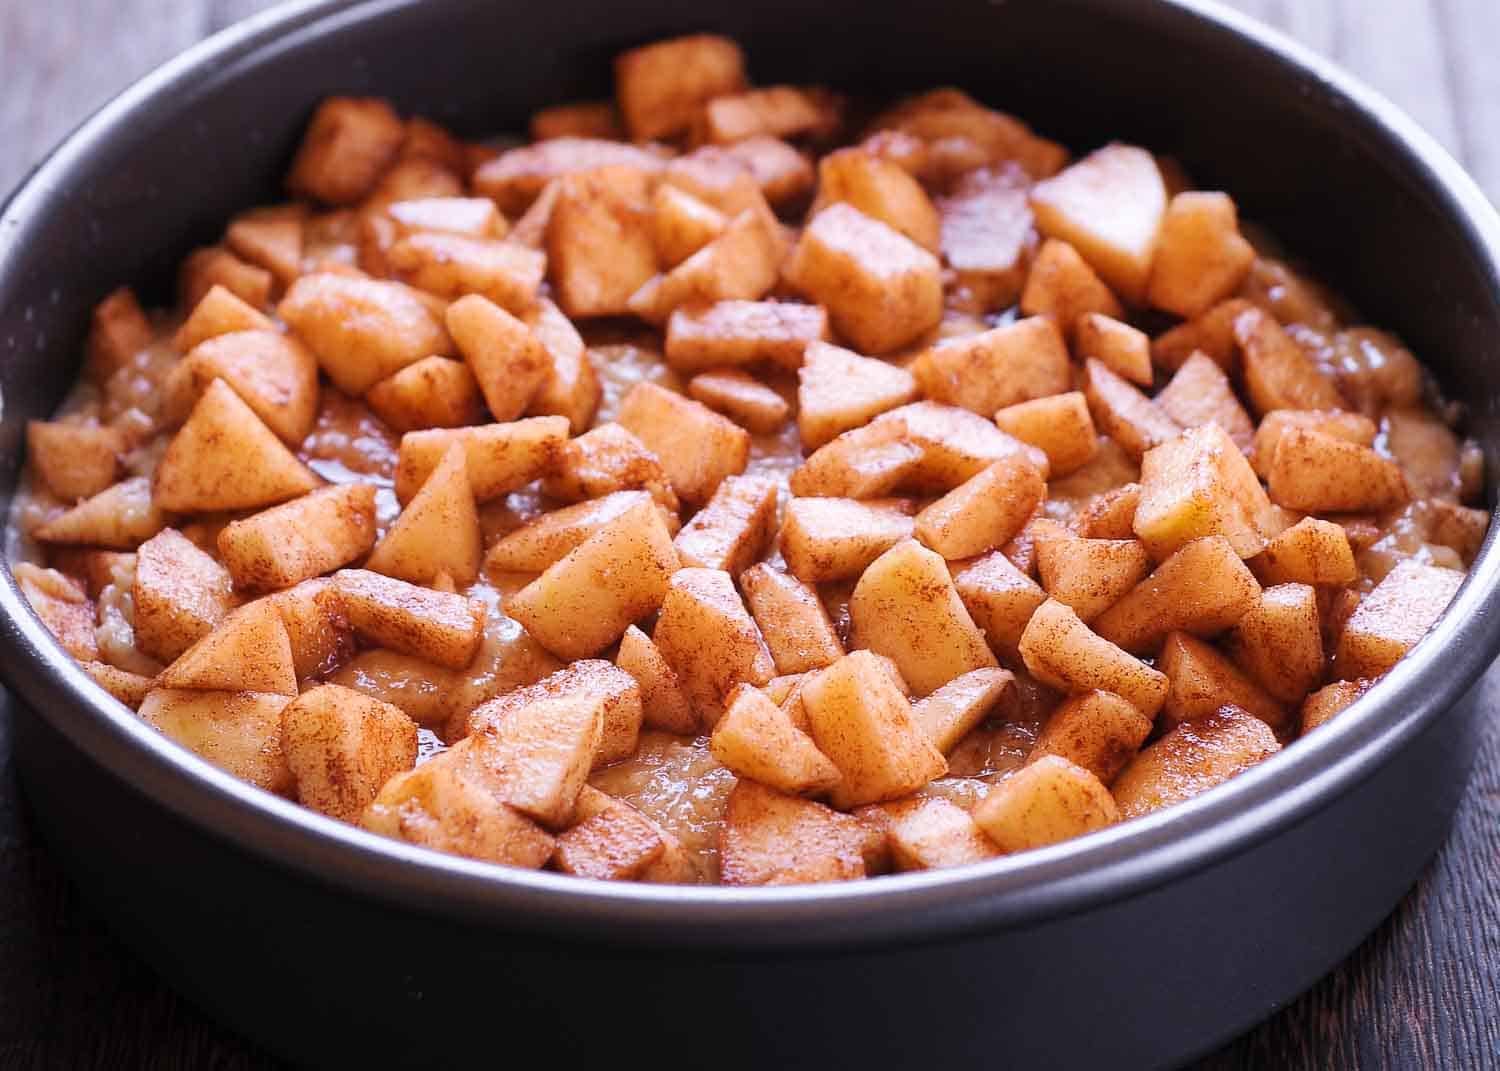
Spread half the batter into the prepared pan, then layer half the apples over it. Cover with the remaining batter, then arrange the remaining apples and any cinnamon-sugar juices over the top.
2. Pressure Cook
Cover the pan tightly with foil. Add 1 cup water to the Instant Pot inner pot, place the foil-covered pan on the trivet, and lower it into the pot.
Pressure cook for 60 minutes, then allow the pressure to release naturally before opening the lid. For more help with timing and releases, see my guide to Core Instant Pot Cook Times.
What Cake Pan to Use Inside Your Instant Pot?
I use a 7-inch metal round cake pan for this Instant Pot apple cake. It fits in both 6-quart and 8-quart models and gives the most reliable result because it has no removable base or side seam for moisture to enter.
A 7-inch springform or removable-bottom pan can also work, but cover it especially well with foil. These pans have seams that can allow condensation into the cake during pressure cooking.
Use a metal pan-such as aluminum or stainless steel-for the most predictable cooking. I do not recommend ceramic for this recipe because it has not been tested with the stated cook time.
New to pressure cooking? Start with our Ultimate Guide to Instant Pot to get comfortable with the basics, then come back to nail this Instant Pot Apple Cake.
Use a Separate Sealing Ring for Desserts
Silicone sealing rings can hold onto strong savory aromas. If your ring smells like chili, stew, or garlic, use a separate clean ring for desserts so your apple cake smells like cinnamon and apples-not last night's dinner. I keep one ring for sweet recipes and one for savory cooking. For more pressure-cooker help, see my Instant Pot Tips and Tricks.

Instant Pot Apple Cinnamon Cake
Ingredients
Apples
- 2 ½ cups apples (cored, peeled and diced)
- ½ tablespoon ground cinnamon
- 2 tablespoons granulated sugar
Cake
- 1 ½ cups flour (one and a half cup)
- ½ tablespoon baking powder
- ½ teaspoon sea salt
- ½ cup vegetable oil
- 1 cup sugar
- 2 tablespoon orange juice
- 1 ½ teaspoon vanilla extract
- 2 large eggs at room temperature
You will also need:
- 1 cup water (to be used in the inner pot)
- Powdered sugar (to decorate the top of the cake)
Instructions
Apples
- Toss chopped apple slices with cinnamon and 2 tablespoon sugar and set aside.
Cake
- In a large bowl mix dry ingredients: flour, baking powder and salt together and set aside.
- In a separate bowl, whisk wet ingredients: oil, orange juice, sugar, vanilla and eggs. Mix wet ingredients into dry ones very well. The resulting batter is very thick and will seem like there is not very much of it - that's OK.
- Grease a 7" cake pan (that's where the cake will go into).
- Pour half of batter in the cake pan.Spread half of apples on top of the batter.
- Add the remaining batter covering most of the apple pieces. Finally, spread the remaining half of apples and any juices on top.
- Cover the cake pan tightly with aluminum foil. Double wrap it! Cover with saran wrap
Instant Pot
- Have your Instant Pot plugged in and make sure you have the inner pot in.
- Add 1 cup water to Instant Pot. Place the cake pan wrapped in foil on the trivet and now place both in the Instant Pot.
- Press Manual, then High pressure and set cook time to 60 minutes. Once done use Natural Pressure release before opening the Instant Pot.
- Carefully take the trivet out of the instant pot and remove the foil wrapped caked from the trivet. Next remove the aluminum foil from the cake pan. Now allow the cake to cool for 10-15 minutes and then remove the cake from the pan.
- Sprinkle with powdered sugar or serve warm with a bowl of vanilla ice cream!
Video
For More Apple Cake Recipes, Check Out These
Readers' Instant Pot Apple Cakes
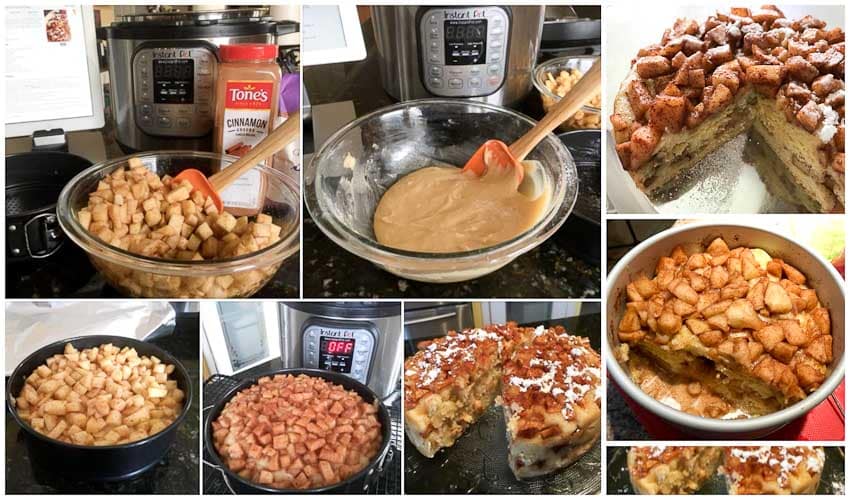
I love seeing your versions of this recipe. Here are a few apple cakes shared by readers on Facebook and Pinterest.



Leila says
Made this with light olive oil - pretty good recipe. Used white sugar.
Olya Shepard says
Definitely light oil rather than anything heavy like real olive oil.
Valerie says
Delicious! Best instant pot cake recipe on the internet!
Angie says
Can canned apples be used? I have some I need to get rid of.
Olya Shepard says
Canned apples are already softened from processing, so after 60 minutes of pressure cooking they'll become very mushy. If they are unsweetened canned apples - those would be best. Make sure to drain thoroughly and pat the apples dry to reduce excess moisture.
Angie says
I was afraid they would get mushy. I think I'll just get fresh. Thanks!
Olya Shepard says
OK- sounds good!
Angie says
This came out really good. Only thing I changed was because I hate vanilla extract, real or imitation, doesn't matter, so I used maple extract instead. Also I had to finish baking in the oven because I'm a dork and used heavy duty aluminum foil, don't do that, the cake doesn't get cooked. LOL
This was my hubby's birthday cake and he loved it!! So did I!!
Olya Shepard says
I'm glad you made the perfect cake, Angie:)!!!
db says
loved this cake...can it also be baked in the oven?
Olya Shepard says
Absolutely! AT 350 F for roughly 30-40 minutes.
Meg B says
My husband and I loved the cake. It was sweet, but not overly sweet… and a perfect balance between moist and light… I will keep this recipe and I will make again…
Meg in NE Nebraska
Olya says
Thank you Meg - the cake being not overly sweet does make a difference!
Jen says
Cooked for 1.5 hours in the end. Left natural pressure release twice in this time.
Olya says
Yes - you nailed it.
gerri says
Super delicious and the right amount of sweetness. i wrapped entire tightly in aluminum foil and that is definitely the key.
Olya says
Yes the foil is instrumental.
Fran says
Tried it twice following instructions carefully......results both times were above my expectations.....the cake was just like the photo and doughy. just like you said - apple cider donut
Olya says
I'm so sorry to happy that. My cake wasn't very tall either. The smaller the diameter of a pan, the taller it will be.
Robert Wacht says
Followed the directions 100%. This has more of a flan texture. Love flan!!