Easy Hummus with Roasted Garlic is light and fluffy! Hands down, this is the best creamy hummus appetizer! And the smooth texture of chickpeas will knock your socks off. With step by step photos you are going to be a Smooth and Creamy Hummus Master in no time!
This easy hummus recipe is a delicious spread made from chickpeas, tahini, lemon, olive oil and spices. I will show you how to make it smooth and creamy, instead of rubbery and tough. We are aiming for that ultra-smooth creamy texture. Have it with a wedge of fresh pita bread or dip your carrot sticks into it!
Usually I’m not a big fan of store-bought versions of hummus, because they are full of preservatives and often have too much sodium. Besides store hummus also lacks deep flavor that only homemade version can provide. So don’t limit yourself to the store bought hummus, make your own version that is flavorful and pure!
A HOMEMADE HUMMUS RECIPE
If you’ve ever had store bought store made hummus, you will be amazed how different homemade one tastes. The main difference is in the texture of the chickpeas. That’s because we make homemade hummus with naked chickpeas!
Naked chickpeas are chickpeas with skins removed. And yes, to achieve smooth hummus you need to do it by hand. For one can of chickpeas, you’re looking at about ten minutes. Since we are using two cans of chickpeas here, it will take about twenty minutes.
Fresh lemon juice is a must for this recipe. Just grab that lemon and squeeze enough juice to get 2 tablespoons. I do not recommend bottled lemon juice.
I think hummus is one of those things that many people don’t think to make on their own. But don’t assume that it is really tedious and takes ages to make. In reality this easy hummus recipe takes minutes to make! Literally 5 minutes once you are past the chickpea skin removal process.
HOW TO ROAST GARLIC FOR HUMMUS
- First preheat the oven to 375 degrees F.
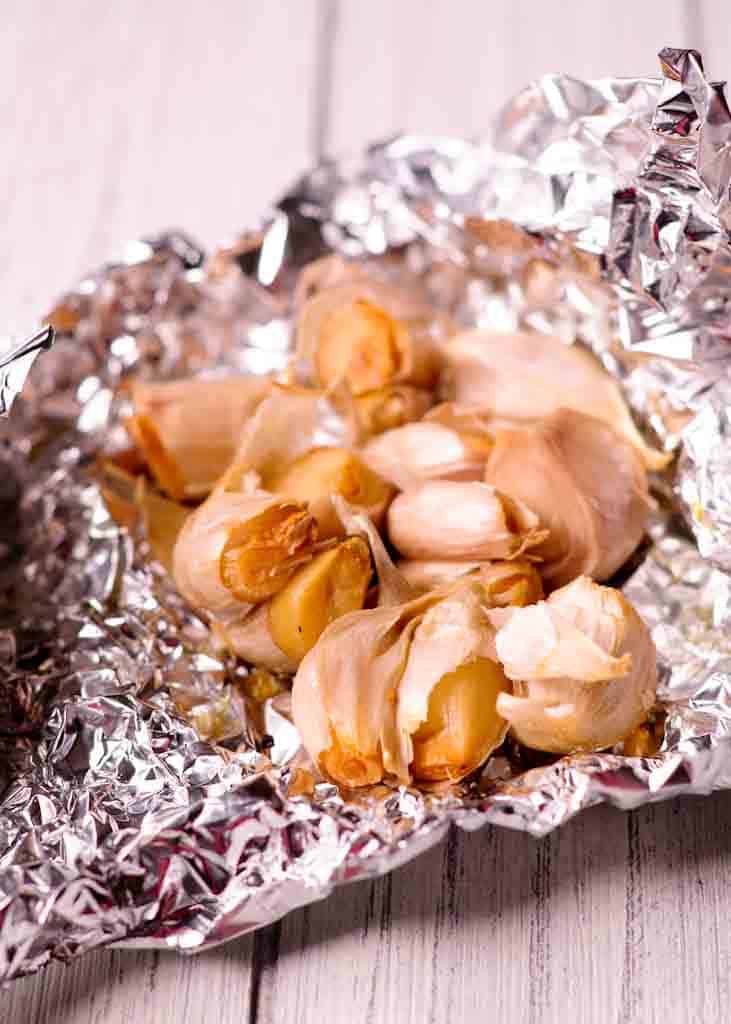
- While oven is preheating, slice off the top each head of garlic. This will expose some of the cloves inside. By the way, the head of garlic is the side that doesn’t have roots.
- Next place the garlic head on a piece of foil. Drizzle with olive oil and wrap in the foil.
- Finally, roast until garlic cloves are lightly browned and tender, about 30 minutes.
- Perfect flavor and texture for the smooth hummus recipe!
WHAT IS THE SECRET IN MAKING SMOOTH HUMMUS?
Removing the tough skins from the garbanzo beans result in a far creamier hummus. But I will provide you with two methods to accomplish this.
Method One is to work with each individual chickpea.
- Using your fingers, you will strip the tough outer skins one by one, while watching your favorite cooking show! By the way, this method takes a total of 20 minutes, which is 10 minutes per each of 2 cans.
Method Two is to toss the rinsed and drained chickpeas with baking soda.
- You will need 1½ teaspoons of baking soda per 15-ounce can of chickpeas.
- Drain and pat the chickpeas out of the can.
- Mix baking soda with drained chickpeas to coat them in baking soda! Do not add water yet.
- First heat the chickpeas in a large skillet over medium heat. You will be heating them for 2 to 3 minutes until the beans are hot. No water!
- Then rinse them with water in a large bowl three times. Why three times? In order to get all the skins off, it usually takes 3 rounds. With each rinse, as you will rub the chickpeas vigorously between your hands to release the skins. The skins will fall off and rinse away.
CAN I OMIT TAHINI?
Tahini makes hummus taste incredible! If you love sesame seeds, you will love the flavor of tahini. Tahini is a paste made from ground sesame seeds.
However, if you want to make hummus without tahini, you can leave it out. I tried tahini free versions and some of them are pretty good! Some people actually prefer a chickpea purée because it is still quite delicious. I would recommend adding more olive oil or even using a little bit of peanut butter in place of tahini.
HOW TO SERVE HUMMUS APPETIZER?
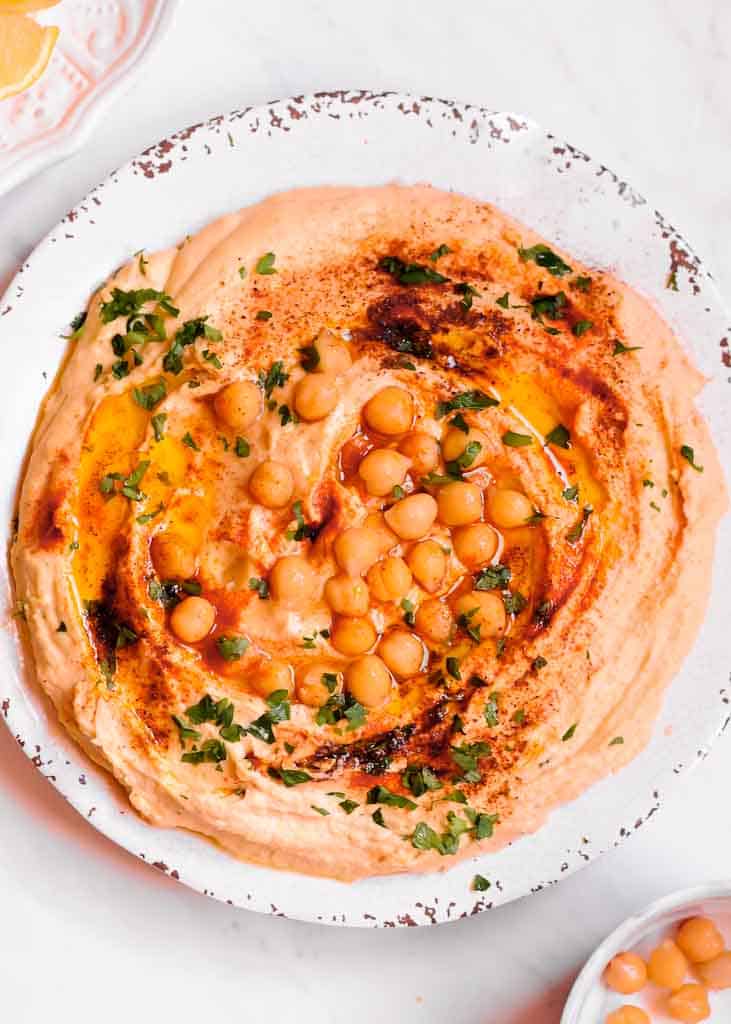
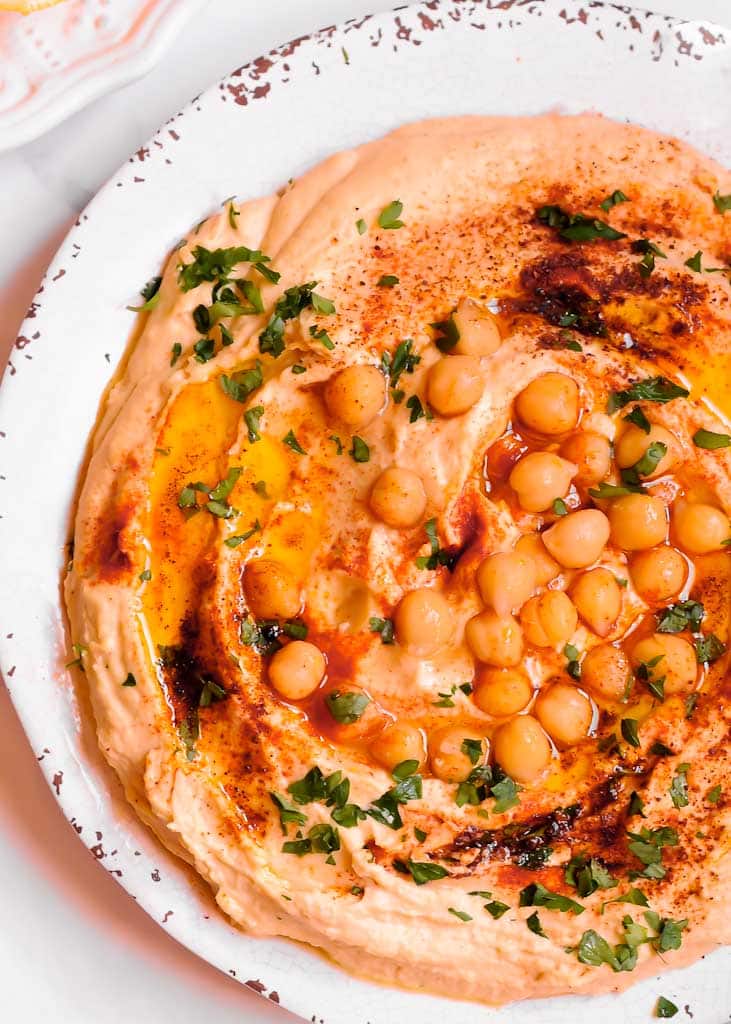
Serve hummus on a wide, shallow plate, drizzled with olive oil. It’s also a good idea to sprinkle hummus with paprika. And I like to put warmed whole chickpeas and chopped parsley right in the middle.
WAYS TO EAT HUMMUS
Hummus and bread are a match made in heaven! They are simply delicious together. Add a fried egg on top of it for a complete protein/carb meal since hummus is a great source of protein and healthy fats.
Pair hummus with vegetables! What can be more delicious than using hummus as a dip for healthy veggies, such as carrots, cucumbers or celery sticks?
Hummus as a salad dressing? Why not? It’s such an easy and flavorful salad dressing idea, especially if you blend hummus with extra olive oil and lemon juice!
Try it as an appetizer during this holiday season. You will definitely impress your guests.
I hope you will try as many ways as you can to use this versatile and delicious spread in your kitchen!
HOW TO STORE HUMMUS
Leftover hummus can be stored in the refrigerator for up to 1 week. And always allow hummus to come to room temperature before serving.
So….what do you think? Have I convinced you to give homemade hummus recipe a go? I promise it is WORTH IT! It tastes absolutely incredible.
All in all, homemade hummus is a fantastic dip to keep in your refrigerator! Because you can eat it with whatever veggies you have and voila! There you have a complete HEALTHY snack!
RECOMMENDED EQUIPMENT
All you need is a food processor. I used a regular kitchen food processor, such as this Cuisinart 12 cup brushed stainless steel one.
MORE DELICIOUS APPETIZERS:
Baked Brie Bread Appetizer
Warm and Cheesy Muffuletta Dip
Mediterranean Bread
Smooth Hummus with Roasted Garlic
Ingredients
- 2 15-ounce cans chickpeas
- 2 tablespoon extra virgin olive oil, plus more for garnish
- ⅓ cup tahini, (well-stirred)
- 6 garlic cloves, (roasted)
- 2 tablespoons freshly squeezed juice
- 1 teaspoon ground cumin
- 1/16 teaspoon cayenne pepper
- ¼ teaspoon kosher salt
- ¼ cup water
- Paprika and fresh minced parsley for garnish
Instructions
Roast Garlic
- Preheat the oven to 375 degrees F.
- Slice off the top each head of garlic to expose some of the cloves inside. The head of garlic is the side that doesn't have roots. Place the heads on a piece of foil. Drizzle with olive oil and wrap in the foil. Roast until cloves are lightly browned and tender, about 40 minutes.
Skin the chickpeas
- Skin the chickpeas by taking each chickpea and gently squeezing it to remove the skin, then discard the skins before processing. While this step is not completely necessary, it will ensure that your hummus turns out very smooth and creamy.
- Reserve about 15 whole chickpeas for garnish.
Make hummus
- Outfit your food processor with a blade attachment.
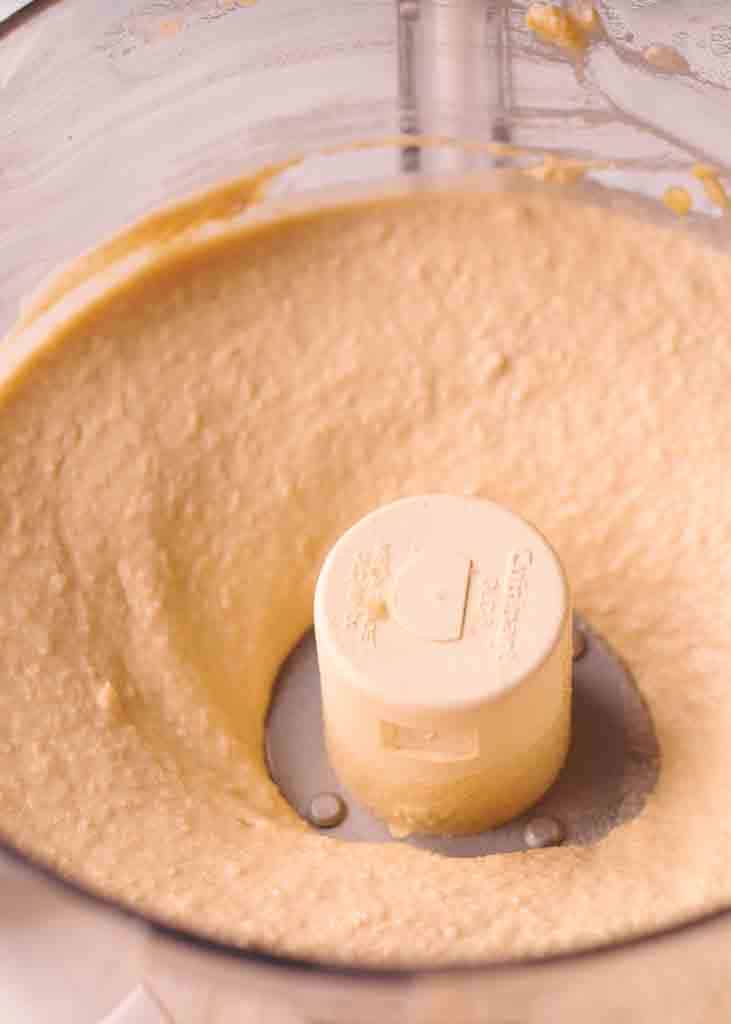
- Place chickpeas to the food processor and process for 1 minute. Blend the chickpeas until powdery clumps form, scraping down the sides.
- Next add tahini, roasted garlic, lemon juice, olive oil, salt, cumin, and cayenne pepper into the processor. Add water last. Process the mixture until it becomes a smooth, creamy hummus.
- Taste the hummus and add more salt, cumin or lemon juice if desired.
- Transfer hummus to a shallow bowl and create a well in the center with a spoon. Garnish with a drizzle of olive oil, and a sprinkle of paprika and minced fresh parsley. Add reserved chickpeas near the center of the hummus and serve with pita, crackers, or fresh vegetables for dipping.
Nutritional information is provided as a courtesy only. This information comes from online calculators. Although whatsinthepan.com attempts to provide accurate nutritional information, these figures are only estimates.
Enjoy!


Leave a Reply