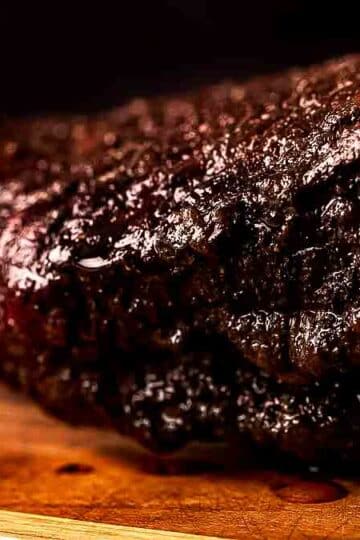
I want to be real here: you can smoke the most perfect brisket of your life - 12 hours, beautiful bark, the whole shebang - and completely ruin it by cutting it wrong. We're talking tough, chewy, falling-apart slices that make people think you did something wrong, when really, it was just the knife work. Don't let that happen to you. Once you understand why you cut a brisket the way you do, it makes total sense and it takes about 10 minutes.
And if you've cooked my Texas-Style Smoked Brisket Flat recipe, this is the cutting tutorial to use with it. Same style, same approach - you'll get those picture-perfect slices you see in the photos.
What You Need
Nothing fancy here:
- A large cutting board (brisket is big, use your biggest one)
- A long serrated knife (around 12 inches is ideal)
- A pair of tongs or just your hands
That's it. No special equipment. If you can smoke a brisket, you already own everything you need to cut it properly. Still deciding which cut to buy? I walk through all of that in my Brisket Flat vs Whole Packer guide.
First, Understand the Two Muscles
A whole brisket (often called a "packer brisket") is made up of two distinct muscles sitting on top of each other, separated by a seam of fat:
- The flat - the long, lean, more uniform, rectangular part. This is what most people picture when they think of classic brisket slices.
- The point - the thicker, fattier, rounded end that sits on top of the flat. This is where your burnt ends come from and, let's be honest, it's the best part.
The reason this matters is that the grain runs in different directions in each muscle. And if there's one rule you absolutely cannot skip, it's this: always cut against the grain. Cutting with the grain gives you long, stringy, tough meat. Cutting against it gives you tender, melt-in-your-mouth bites. That's the whole game.

Step 1: Let It Rest (Don't Skip This)
Before you even think about picking up your knife, rest your brisket. At least one hour, ideally longer. I know. It smells incredible and everyone is standing around staring at it, asking "Is it ready yet?" But cutting too early means all those beautiful juices run straight out onto your cutting board instead of staying in the meat.
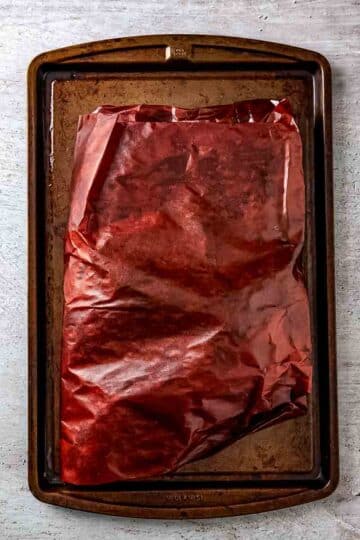
If you need to hold it, wrap it in butcher paper or foil, then wrap in a towel and pop it into a (dry) cooler. It will stay warm for hours and actually slice better. By the way, in my experience, resting and wrapping go hand in hand. If the brisket was wrapped too loosely or with the wrong material, you'll often see dry edges and crumbly slices no matter how carefully you cut. For a full walkthrough of the butcher paper wrap I use to keep brisket moist and tender, see my guide on how to wrap meat in pink butcher paper.
Step 2: Find the Grain Before You Start
Place your brisket fat-side up on the cutting board. Look at the flat end - you should see the muscle fibers running in long lines. That's the grain. Your knife needs to go perpendicular to those lines.
If the grain runs left to right, you cut top to bottom. If it runs diagonally, you cut across that diagonal. You're always trying to cut across those lines, not along them.
Pro tip: Before you ever smoke the brisket, take 30 seconds to look at the raw meat and note which way the grain runs on the flat. Raw meat makes it really obvious. Once it's cooked and covered in bark, it can be harder to see, so knowing in advance makes life easier.
Step 3: Separate the Point from the Flat
This is the move that makes everything less intimidating.
Using your serrated knife, find where the point sits on top of the flat - you'll feel and see a thick seam of fat running between them. Slide your knife along that fat seam and gently separate the two muscles. Take your time; you're just following the natural line of fat.
Once they're separated:
- Set the point aside for a moment.
- Keep the flat in front of you with the grain still running left to right (or whatever direction it's running).
Now you can treat them like two separate pieces of meat, which is much easier than wrestling the entire packer on the board.
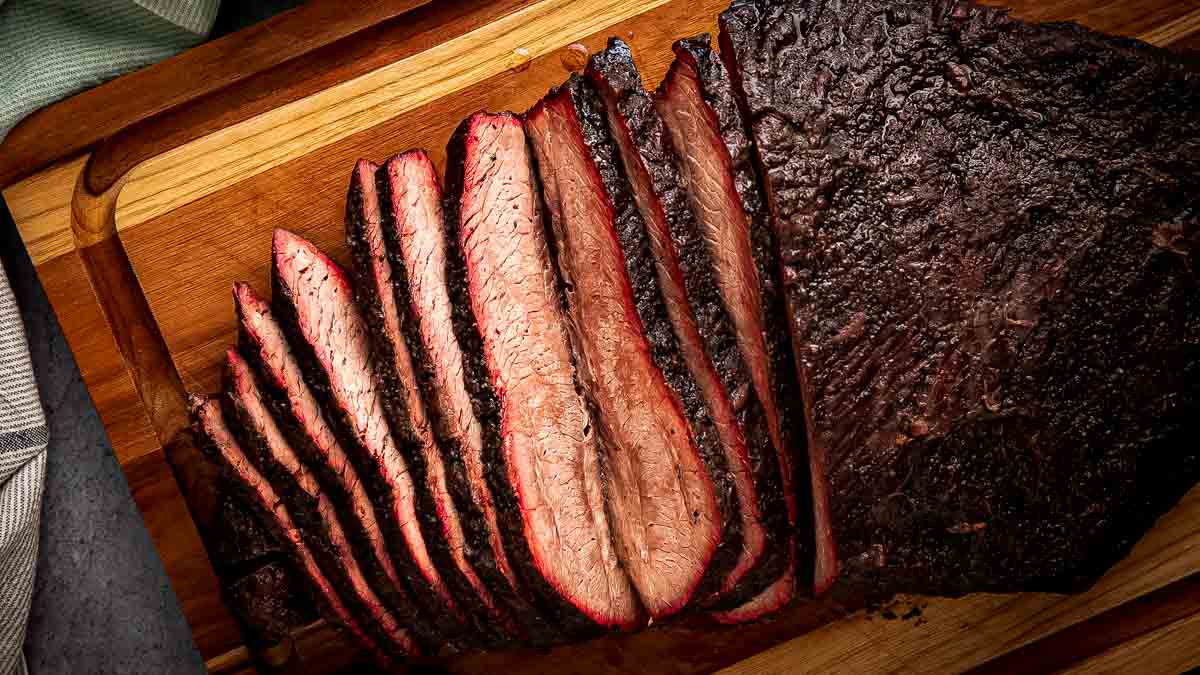
Step 4: Slice the Flat
The flat is the leaner, more uniform piece, and this is where you get those classic, photogenic brisket slices.
How to slice the flat:
- Make sure you're cutting against the grain.
- Start at the end opposite where the point was attached.
- Use a gentle, long sawing motion with your serrated knife. Let the blade do the work.
- Aim for slices about ¼ inch thick - roughly the width of a pencil.
Too thin and the slices will fall apart. Too thick and they'll be chewy. Consistency is your friend here. Keep the knife angle slightly diagonal rather than straight up and down - this gives you a slightly larger surface area on each slice and a nicer presentation.
Don't press down hard. Pressing compresses the meat and squeezes out juices. Long, smooth strokes, light pressure.
Step 5: Slice the Point (Hello, Burnt Ends!)
Now for the fun part. The point has more fat marbled through it, which means more flavour and a very forgiving texture.
The key difference: the grain on the point usually runs at a different angle than the flat - often almost 90 degrees different. That means you need to rotate the point so you're again cutting across the grain, not along it.
A simple approach:
- Take the point and cut it in half lengthwise to expose the interior. This gives you a clear view of the grain and the marbling.
- Rotate the piece so the grain runs left to right in front of you.
- Slice across that grain, just like the flat, but a little thicker - about ⅜ inch or around the width of your thumb.
Because the point is fattier, those slightly thicker slices stay tender and juicy instead of feeling heavy.
Burnt ends option: if you want burnt ends, instead of slicing the point into traditional slices, cut it into cubes, toss them with a little seasoning and/or sauce, and put them back on the smoker until caramelised and sticky. Or - and this is completely valid - just snack on the cubed point meat as-is over the cutting board.
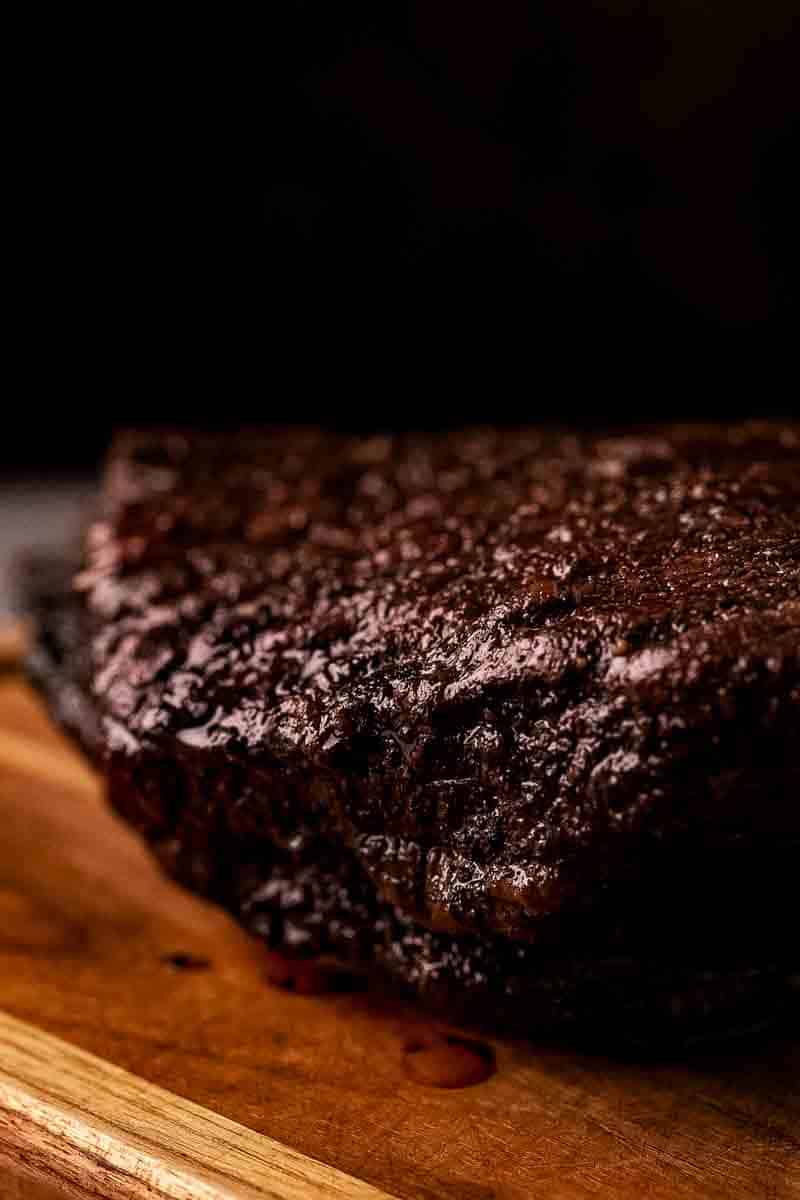
Step 6: Deal with the Fat
You'll notice a thick, hard seam of fat under where the point sat. This hard, waxy fat doesn't render during cooking and is not pleasant to eat. Trim that off and discard it.
The rest of the fat is soft, jiggly and flavourful. Leave a good amount of that on the slices. People who want less fat can easily trim it off on their plates, but once it's gone from the brisket, you can't put it back.
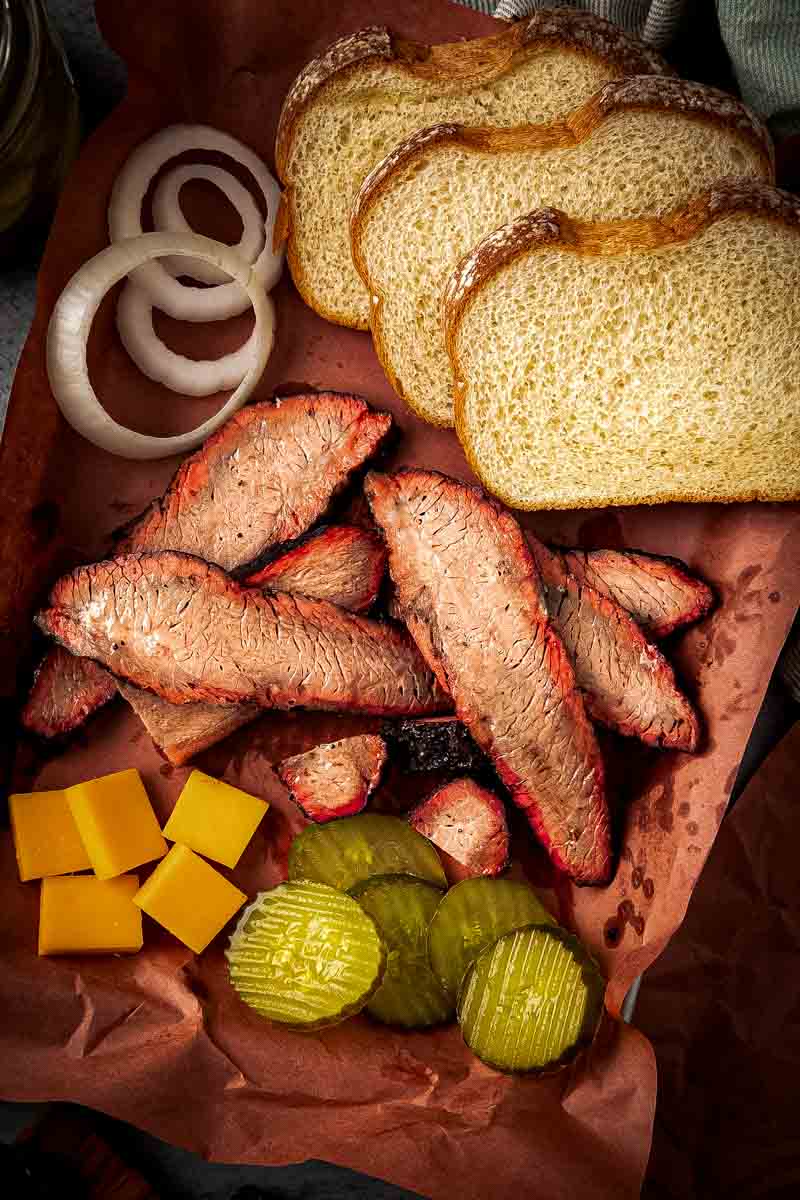
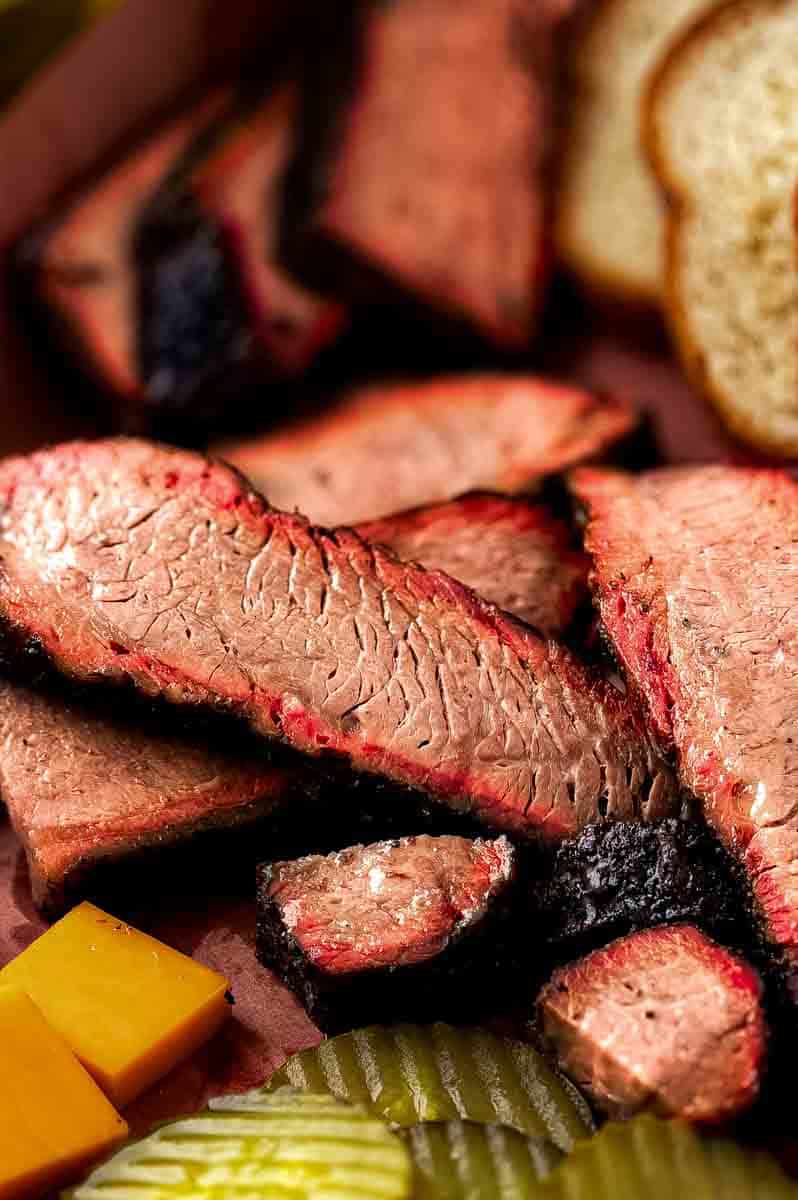
Step 7: Arrange and Serve
Now that you've got neat, even slices from both the flat and the point, it's just about making it look as good as it tastes.
For serving:
- Lay the flat slices in a neat line or slightly overlapping shingle.
- Add the point slices or burnt ends along one side so people can pick lean or fatty (or both).
- Try to include bark on each slice where possible - that's where a lot of the flavour and visual appeal are.
At this point, your brisket doesn't actually need anything. A simple sprinkle of flaky salt over the sliced meat can wake everything up. If you like sauce, serve it on the side so the bark stays intact and the meat can show off on its own.
Quick Brisket Cutting Cheat Sheet
Flat:
- Leaner, rectangular piece
- Grain runs fairly straight
- Slice against the grain
- Slice about ¼ inch thick
Point:
- Thicker, fattier, more marbled
- Grain usually at a different angle than the flat
- Rotate and slice against the grain
- Slice about ⅜ inch thick, or cube for burnt ends
The most important thing to remember: rest your brisket properly, find the grain, and always cut against it. Get those three things right and your brisket will taste as good as it looks.
More Brisket Resources
If you found this cutting guide helpful, you might also like:
- Texas-Style Smoked Brisket Flat - a step-by-step recipe for smoking just the flat cut until it's tender and juicy, perfect for neat slices.
- Brisket Flat vs Whole Packer - everything you need to know about the difference between these two cuts, which one to buy, and when to use each.
- How to Wrap Meat in Pink Butcher Paper (With Beef Tallow)

Comments
No Comments