
These pineapple coconut popsicles are the ones I make when I want something cold in the freezer that actually feels worth grabbing-not just another icy popsicle that melts in seconds. The base comes together in one blender in about 10 minutes using coconut milk, pineapple, and lime, but what makes the difference is how the mixture is built so it freezes creamy instead of hard.

I didn't land on this version right away. Early batches either froze too solid from too much juice or came out overly sweet without enough contrast. What finally worked was keeping full-fat coconut milk as the base, then balancing both pineapple chunks and juice for texture, not just flavor. That combination creates a slightly thick, almost fluffy mixture before freezing-and that's what translates into a smoother bite later.
This is the batch I keep coming back to, especially when I want something easy I can make ahead and not think about again. You can blend it completely smooth or leave a bit of texture depending on how you like your popsicles, and once you see how the base behaves before freezing, it becomes a repeatable method instead of guesswork.

Why You'll Love This Recipe
No Cooking Required
This is a straightforward blend-and-freeze recipe with no stovetop steps or added techniques. Everything comes together in one blender, then goes straight into molds. It's the kind of process that's easy to repeat and doesn't depend on timing or precision.
Creamy, Not Icy
The texture comes from using full-fat coconut milk instead of lighter alternatives. Combined with real pineapple and a small amount of sweetener, it creates a mixture that freezes smooth rather than hard and icy. The result is a popsicle that holds its shape but still has a softer bite.
What Makes These Popsicles Different
Most pineapple popsicles lean heavily on juice, which freezes hard and icy. What I do differently here is build the base with both coconut milk and whole pineapple, then blend it until it thickens slightly before freezing.
That thickness matters. A thinner mixture freezes into something closer to ice, while a slightly heavier, almost airy blend freezes into a softer, creamier texture. It's a small shift, but it's the difference between a popsicle you forget about and one you keep making.
Ingredients You'll Need
- Coconut milk - I always use full-fat because it makes the popsicles creamy instead of icy; if you like a lighter version you can use light coconut milk, but the texture won't be as smooth.
- Pineapple chunks - I used canned for convenience, but fresh works just as well; this is a good choice because it adds natural sweetness and a bit of texture.
- Pineapple juice - I add this to help everything blend smoothly; if you don't have it, you can use orange juice instead for a slightly different flavor.
- Maple syrup - I like using this for a deeper sweetness, but if you prefer, you can use honey or just stick with sugar.
- Granulated sugar - I use a small amount to balance the tartness; you can adjust it depending on how sweet your pineapple is.
- Unsweetened shredded coconut - I add this for texture; if you like a smoother popsicle, you can skip it or blend it fully.
- Lime or lemon juice - I always add a squeeze because it brightens everything and keeps the popsicles from tasting flat.

How to Make Pineapple Coconut Popsicles
1. Blend the Mixture
Combine everything until the base is smooth but still has some body. A fully pureed mixture will freeze more uniformly, while leaving a bit of texture gives the popsicles a more fruit-forward feel. Either approach works-it depends on what you prefer.


2. Pour Into Molds
Transfer the mixture carefully, leaving a little space at the top so it can expand as it freezes. This small step helps prevent cracking and makes the popsicles easier to remove later.


3. Freeze Until Solid
Place the molds in a level spot in the freezer so they set evenly. The mixture should freeze firm all the way through, not just around the edges, which can take a few hours depending on your freezer.
4. Unmold and Serve
To release, briefly warm the outside of the molds just enough to loosen them. Once they slide out cleanly, they're ready to eat or store for later.


Coconut Pineapple Popsicles
CLICK on STARS to REVIEW the RECIPE, then CLICK OK
Ingredients
- 1 cup canned full-fat coconut milk
- 1 cup pineapple chunks
- 1 cup pineapple juice
- ½ cup maple syrup
- ½ cup granulated sugar
- ½ cup unsweetened shredded coconut
- juice from 1 lime or lemon
Instructions
- Add the coconut milk, pineapple chunks, pineapple juice, maple syrup, granulated sugar, shredded coconut, and lime juice to a blender. Blend on high until all the ingredients are combined and a fluffy mixture forms.
- Set out your popsicle molds and carefully pour the mixture into each mold, leaving about ½ inch at the top for the popsicles to expand.
- Place the popsicle molds in the freezer for at least 3 hours, until they are completely frozen.
- Remove the popsicles from the molds and enjoy!
Tips for the Best Pineapple Coconut Popsicles
- Use full-fat coconut milk - This is what keeps the popsicles creamy instead of icy. Lower-fat versions contain more water, which freezes harder and leads to a less smooth texture.
- Leave room at the top of molds - The mixture expands slightly as it freezes. A little space at the top prevents overflow and helps the popsicles hold their shape once fully set.
- Chunks vs smooth texture - Blending everything fully gives you a smoother, more uniform popsicle. Leaving small pieces of pineapple or coconut creates a more textured bite that feels closer to real fruit.
How to Unmold Popsicles Without Breaking Them
To remove popsicles cleanly, run the outside of the mold under warm water for a few seconds. The goal is to loosen the edges slightly, not melt the popsicle itself. Once the sides release, pull gently and steadily-if there's resistance, give it another quick rinse rather than forcing it.

Substitutions and Variations
- Use fresh pineapple instead of canned if you prefer a brighter, less sweet flavor.
- Swap maple syrup with honey or skip it and adjust the sugar to taste.
- Use sweetened shredded coconut if you want a slightly sweeter result.
- For a smoother texture, blend everything completely; for more texture, stir in coconut or fruit after blending.
- Add a splash of rum extract if you want a piña colada-style variation without alcohol.
How to Store Pineapple Coconut Popsicles
Once fully frozen, remove the popsicles from the molds and store them in an airtight container or freezer-safe bag. Keeping them sealed helps prevent freezer burn and preserves texture. They'll keep well for up to 2 months.
How to Serve
These are ready to eat straight from the freezer, but you can dress them up if you want a little more texture or presentation. A sprinkle of shredded coconut or a few small pineapple pieces on top works well. They're simple enough for everyday snacks but also fit easily into a summer dessert spread.

Pineapple Coconut Popsicle FAQs
Why did my popsicles turn out icy instead of creamy?
This usually comes down to the base. Using low-fat coconut milk or too much liquid can lead to a harder, icier texture. Full-fat coconut milk creates a smoother result because of its higher fat content.
Can I make these without a blender?
A blender is the easiest way to get a consistent mixture, but you can mash the pineapple finely and whisk everything together. The texture will be less smooth, but it will still work.
Can I use fresh pineapple instead of canned?
Yes, fresh pineapple works well and gives a slightly brighter flavor. Just make sure it's ripe so the popsicles don't turn out too tart.
How long do popsicles take to fully freeze?
Most popsicles will be fully set in about 3 to 4 hours, but this can vary depending on your freezer. They should feel firm all the way through before removing.
Can I reduce the sugar?
You can, but keep in mind that sugar affects both flavor and texture. Reducing it too much can make the popsicles freeze harder.
Why are my popsicles hard to remove from the molds?
If they don't release easily, the molds just need a quick warm rinse. Trying to pull them out without loosening the edges first can cause them to break.
More Frozen Dessert Recipes
- Millionaire Pie (No-Bake, Make-Ahead & Freezer-Friendly!) - A creamy, no-bake pie loaded with pineapple, coconut, and pecans that chills into an easy make-ahead dessert.
- Ice-Cream Cone Cake Pops - Fun, bite-sized treats that look like mini ice cream cones but are actually soft cake pops with a sweet coating.
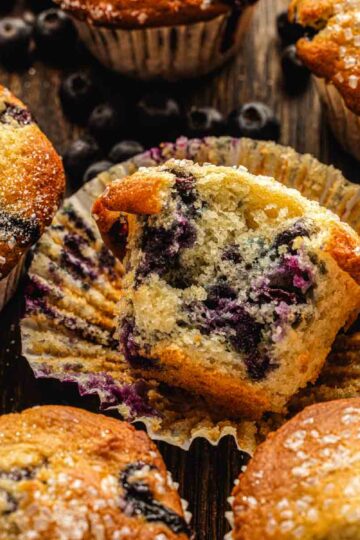
- Old Fashioned Blueberry Cobbler with a Crisp Buttery Biscuit Topping - A classic baked dessert with juicy blueberries and a golden, buttery topping that contrasts perfectly with the soft filling.
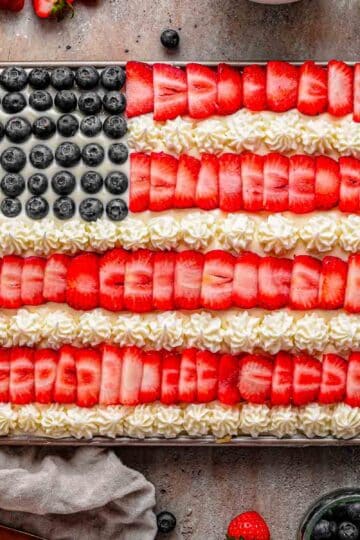
- No-Bake Patriotic Icebox Dessert That's Made for Summer's First BBQ - A layered graham cracker and cream dessert with strawberries that sets in the fridge for an easy, crowd-friendly summer treat.

Comments
No Comments