
"How do I get my bundt cake to not stick? I sprayed it with cooking spray, but it still fell apart when trying to get it out of the pan." I hear this one constantly, and it's almost never the recipe. It's how you greased the pan. Specifically, it's the type of fat - either the wrong kind (oil), or the wrong temperature.
Is Cooking Spray Actually the Problem?
Here's what's likely going on with that stuck cake: plain cooking spray, the kind that's just oil in a can, doesn't create enough of a barrier on its own for a pan with as many tight grooves as a bundt has. Oil alone coats the surface, sure, but there's nothing physical stopping the batter from bonding to the metal once it heats up. That's why so many bakers who "always spray" still end up peeling half their cake off the bottom of the pan.
Some trusted baking sources go a step further and say skip plain oil-based sprays and butter both, and reach for melted shortening instead. King Arthur Baking points out that the milk solids in butter act like glue, and that same glue-like grip is part of why some fats hold onto cake batter more than others.
That's the real distinction to understand here: it's not just about greasing the pan, it's about which fat you use and whether it's paired with something that creates an actual buffer.

So Should You Use Butter or Not?
Now, plenty of experienced bakers still swear by butter over plain oil, and here's the important nuance: they're using it softened, not melted, most of the time. One baking pro who deals with bundt disasters constantly puts it this way - the butter needs to be soft and spreadable, never melted, because bundt pans usually have a non-stick coating, and melted butter beads up on that coating instead of laying down an even film. Softened butter, brushed on with a pastry brush into every single groove, sticks where you put it and coats evenly.
That said, I've heard from plenty of bakers who do it the opposite way and it works. Melted butter, brushed on with a pastry brush, actually works really well, especially on those really detailed, high-relief pans where softened butter is too thick to get into every tiny groove. Melted runs thin enough to reach every crevice. The tradeoff: if you go this route, let the pan cool a little longer than you normally would before flipping it. Melted butter needs that extra set-up time to firm back up and grip properly, or you risk the cake sliding before it's ready to let go on its own.
So really, it comes down to your pan. Simple bundt shape with wide, shallow grooves? Softened butter's forgiving and works fine. Ornate pan with tight details and sharp edges? Melted butter brushed in carefully might actually serve you better, as long as you're patient with the cooling time after.
So Should You Use Butter or Not: The Quick Answer
If you're still unsure which way to go, ask yourself one question first: is it a bundt cake recipe with a lot of detail in the pan, or a simpler shape? That answer basically decides it for you. Detailed pan, go melted and be patient. Simple pan, softened is easy and reliable.
What's the Best Way to Grease a Bundt Pan?
Nearly everyone agrees on this part regardless of which fat camp they're in: don't stop at grease alone. Add a dusting of flour (or cocoa powder if you're baking chocolate) on top. The flour creates a literal physical barrier between your batter and the metal - it's not about stickiness anymore, it's about a buffer layer that just won't let anything bond.
Here's the process that gets the best results, whichever fat you land on:
- Rub your butter (softened or melted, your call) all over the pan, making sure it reaches into every groove and all the way into the center core - that's the spot everyone forgets
- Toss a couple tablespoons of flour around the pan so it coats the butter evenly, then tap the pan upside down over the sink to knock out the excess
- If you're making a chocolate cake, swap the flour for cocoa powder instead. It does the exact same job - creates that buffer layer - but it won't leave a chalky white residue on your dark cake once it's out of the pan
- Grease the pan right before you pour in the batter, not twenty minutes ahead - a fresh coat releases better than one that's had time to sit and get patchy
Can You Just Use Baking Spray Instead?
If you want the shortcut version, baking spray with flour already built in does both steps at once, and it absolutely works - the flour particles inside the spray create that same buffering gap between metal and batter. Just know regular nonstick spray without flour isn't the same product. Read the can. "Baking spray" and "vegetable oil spray" are two different things, and only one of them is doing the flour trick for you. If you're using the kind without flour, like the reader above who got a stuck cake, you really do need to add a flour or cocoa dusting on top of it, same as you would with butter.
What Do You Do If Your Cake Still Sticks?
Even with a perfect grease job, sometimes a bundt fights you. If that happens: run a thin spatula or table knife gently around the edges right when it comes out of the oven, and let the pan cool for longer than feels necessary before you try to flip it. Patience matters more here than people think - rushing the cool-down is one of the most common reasons a cake that would've released fine ends up tearing. If it still won't drop after that, drape a hot, damp towel over the pan for about five minutes. The heat softens whatever's clinging and usually does the trick on the second try.
Practical Notes
If you've been fighting stuck bundts, don't just blame your recipe. Check your fat, your pan's detail level, and how long you're letting it cool. Butter - softened for simple pans, melted for detailed ones - brushed thick into every groove, followed by a proper flour or cocoa dusting, right before the batter goes in. That combination solves this problem for most people. If you're still getting stuck cakes even doing that, switch to a baking spray with flour built in, or just give the pan more time to cool before you flip.
Why Your Bundt Cake Keeps Sticking (It's the Fat)
If you've been fighting stuck bundts, don't just blame your recipe. Check your fat, your pan's detail level, and how long you're letting it cool. Butter - softened for simple pans, melted for detailed ones - brushed thick into every groove, followed by a proper flour or cocoa dusting, right before the batter goes in. That combination solves this problem for most people. If you're still getting stuck cakes even doing that, switch to a baking spray with flour built in, or just give the pan more time to cool before you flip.
Put This to the Test
Now that you've got the technique down, here's your chance to try it on a real bundt. Detailed pans and rich batters are exactly where good greasing technique makes or breaks the release, so these are great ones to practice on.
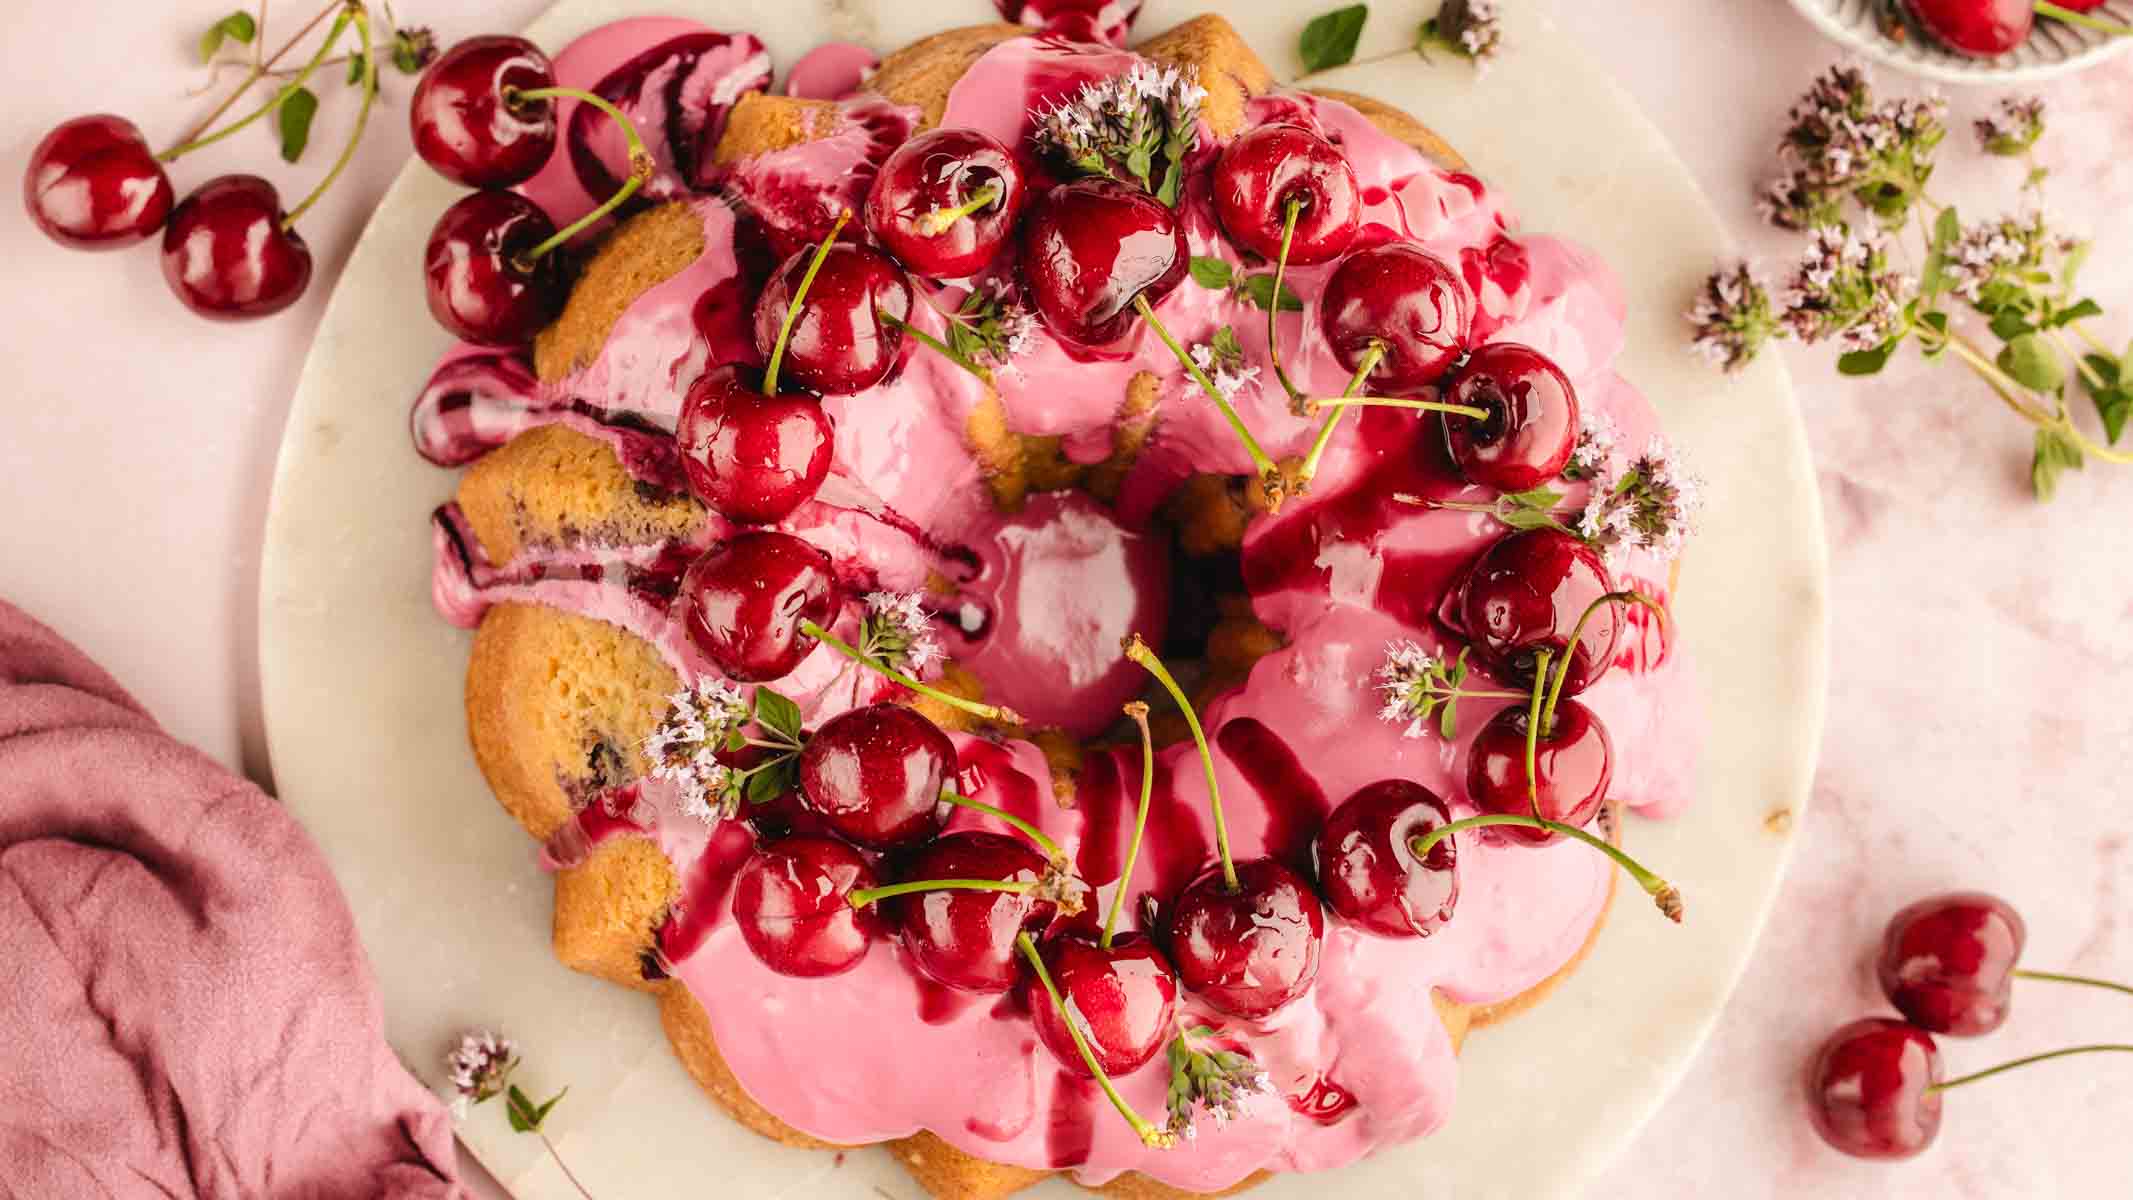
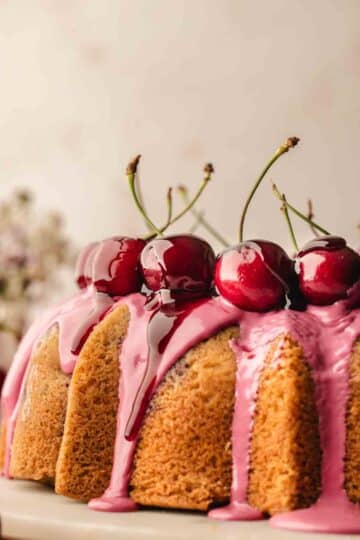
If you're working with an ornate or heavily detailed pan, try my Pumpkin Bundt Cake with Maple Glaze or Fresh Cherry Bundt Cake with Cherry Icing and Syrup - both have dense, moist batters that will absolutely test whether your grease job holds up.
My Apple Pecan Bundt Cake with Salted Bourbon Caramel is another good one to practice on, especially if you're leaning toward the melted butter method, since the caramel glaze means you really don't want any cake sticking behind in the pan.
If you want something a little different, Italian Apple Bundt Cake with Olive Oil uses oil in the batter itself, which is a good reminder that the type of fat in your batter and the type of fat you use to grease the pan are two separate decisions.
And if you're in more of a brunch mood than a dessert one, my Savory Breakfast Bundt Cake is proof this technique isn't just for sweet bakes - the same grease-and-flour rule applies no matter what's in the batter.

Comments
No Comments