
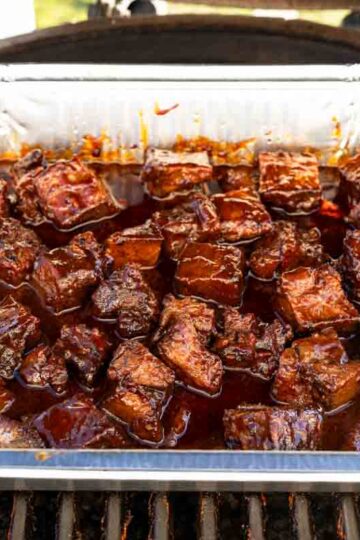
Here's the dark secret about beer can chicken: the beer isn't doing anything. What actually works is the vertical position - thighs near the heat, breast protected up top - and if you want genuinely crispy skin, not just golden-looking, you need two temperatures, not one. This is the recipe for you if you're done with rubbery skin: start at 225°F to build deep smoke flavor, finish at 375°F to render the fat. That's it. That's the whole method.
I know - the whole recipe is named after it, but it turns out, it's not about the beer. The beer never gets hot enough to boil inside the cavity because the chicken insulates it too well. What actually makes this method brilliant is the vertical position itself. Standing the chicken upright puts the thighs and legs directly in the path of the stronger heat at the bottom of the smoker, while the breast sits higher up and cooks more gently. That natural heat gradient is why I et such consistently juicy white meat every single time - the thighs act as a heat shield for the breast without me doing a thing. One baste of melted butter at the 45-minute mark helps build that deep mahogany color. And one small tip I swear by: keep a pack of kid-sized apple juice boxes in your pantry for recipes like this. You only need two tablespoons for the can, and cracking open a full jug for that is just wasteful.

Why My Beer Can Chicken Method Actually Works
The Beer Steam Myth - What's Really Happening Inside the Cavity
The classic story is that the beer heats up, steams the chicken from the inside, and that's why the meat stays juicy. In reality, you've got a thick, cold bird wrapped around a thin metal can, and that setup just doesn't let the liquid reach a true boil. The beer warms, but it mostly sits there as a heavy, mildly aromatic heat sink. What keeps the chicken moist is proper cooking temperature, time, and not overcooking the breast - not some magic vapor working from the inside out. The beer adds a bit of moisture and stability, but the real work is still being done by the smoker and your temperature control.

Why Two Temperatures Beat One
You can't cook this at a single temperature and expect both great smoke flavor and crispy skin. The problem is, chicken skin and chicken meat want different things. The meat needs time at a moderate temperature to cook through gently and take on smoke. The skin needs higher heat to render the fat and go crisp. Cooking the whole way at a low 225°F gives you great smoke flavor but soft, rubbery skin. Running hot the whole time rushes the cook and doesn't give the smoke a chance to build.
Every time I tried cooking the whole way at a low 225°F, I got great smoke flavor but soft, rubbery skin. Running hot the whole time rushed the cook and didn't give the smoke a chance to build. After testing both approaches side by side, I landed on the 2 temperature method: start at 225°F to let the smoke absorb slowly and deeply into the meat, then crank the heat to 375°F at the end to render the fat in the skin and get it actually crispy - not just golden-looking, but crispy enough to crackle.
Smoked Beer Can Chicken Time & Temp Chart
Two temperatures, one bird, and you don't have to choose between "smoky" and "crispy" - you get both.
| Smoker temp | Approx. time for 4–5 lb chicken | Smoke level |
|---|---|---|
| 225°F | About 1.5 hours | Deeper, more pronounced smoke |
| 375°F | About 45-60 minutes | Lighter smoke, more roast-y |
Beer Can Chicken Timeline (225°F → 375°F)
For a recipe like this, a simple timeline shows you, before you start, where the time actually goes:
| Step | Approx. time |
|---|---|
| Dry and season chicken | 30–45 minutes (or up to overnight in fridge) |
| Preheat smoker to 225°F | 20–30 minutes |
| Set chicken on beer can | 10 minutes |
| First stage at 225°F | About 1½ hours |
| Raise smoker to 375°F | 10–15 minutes |
| Second stage at 375°F | About 45–60 minutes |
| Rest upright on the can | 10–15 minutes |

Ingredients
The Dry Rub - What Each Ingredient Does
- Kosher salt - This is the base that actually seasons the meat all the way through, not just the surface. I add it first so it can start pulling a little moisture and dissolving into the chicken.
- Smoked paprika - This is where that deep "smoked all afternoon" color and gentle smokiness come from. I use smoked, not sweet, so it quietly supports the real wood smoke instead of fighting it.
- Garlic powder - Fresh garlic burns on a smoker, so this is how I get clean garlic flavor in every bite. It gives the rub a savory backbone without leaving bitter, charred pieces stuck to the skin.
- Onion powder - This is my fix for rubs that taste flat or just salty. It fills in the gaps between the other spices so the chicken tastes round and "barbecue shop" good, even though we're at home.
- Brown sugar - I add just enough to help the rub caramelize into a real crust, not enough to make the chicken sweet. It's there for color and texture - especially when I want that rich mahogany skin for company.
- Black pepper - Freshly cracked pepper adds a gentle bite that cuts through the richness of the skin. When I make this for family dinners, that soft warmth is what keeps everyone reaching for another slice.
- Cumin - This is my quiet "what is that?" ingredient - smoky, a little earthy, never loud. I use it when I want the rub to feel like a house blend instead of a basic salt‑paprika mix.
- Cayenne pepper - I keep the cayenne modest so it shows up as a slow, pleasant heat, not a dare. It's just enough kick to keep bites interesting while still being weeknight‑and‑kid friendly.
Why Room Temperature Beer Matters
- Beer - I use a light lager or amber and I always let it sit out - cold beer straight from the fridge just drags the cook down and sits there like a chill brick inside the bird. Room temperature beer warms up with the chicken so it's not fighting the smoker, and that little detail is exactly the kind of thing I only learned after a few "why is this taking so long?" cooks.
Apple Juice in the Can - What It Actually Does
- Apple juice - I'm not pouring this in expecting it to perfume the meat like a scented candle; it mostly softens the edges of the smoke and salt right around the cavity. I make this a lot for relaxed weekend cookouts, and those kid-sized apple juice boxes live in my pantry for this exact reason - I can grab one, steal a splash for the can, and there's no giant jug slowly going bad in the fridge "for cooking someday."

How to Make Smoked Beer Can Chicken (Step-by-Step)
1. Prepping the Chicken for Crispy Skin (The Dry Step Most People Skip)
The biggest favor you can do for yourself here is to get the chicken as dry as you possibly can before anything else. I take my time with paper towels, blotting every part of the skin until it feels almost tacky instead of slick - moisture on the surface is the number one reason skin turns out soft instead of crisp.


Once it's dry, I let it sit uncovered on the counter while I mix the rub and preheat the smoker. That short air-dry window starts the skin drying even more, so when the oil and rub go on, they stick instead of sliding around. If you enjoy cooking whole birds, my Roasted Spatchcock Chicken uses the same dry-skin principle and is worth adding to your rotation. If you want to learn the technique from scratch first, here's my guide to how to spatchcock a chicken.
2. Getting the Chicken Under the Skin
To get more flavor into the meat (not just on the skin), I gently slide my fingers under the skin over the breasts and thighs. I start at the cavity opening and work slowly, loosening the membrane without tearing it - if I feel resistance, I back off and find another spot.


Once there's a little pocket, I push some oil and rub under the skin and smooth it out with my hands on top. This gives you seasoned meat right under the bite, so even slices without much skin still taste like something you meant to serve, not leftovers from the outside.
3. Setting Up the Beer Can and Holder
For the can, I pour out (or drink) about half the beer so it doesn't slosh everywhere, then add the apple juice. If I'm using herbs or garlic, they go in now, knowing they're mostly for a light aroma, not a dramatic flavor change.

I always use a beer can chicken holder when I can - the can sits in the holder, the chicken goes over the top, and the whole setup feels much less like balancing a bowling pin on the way to the smoker. On my Pit Boss, I also check the height before I start cooking; nothing is more annoying than realizing your beautifully prepped chicken is a half inch too tall for the lid.
4. The Two-Stage Smoke - Timing and Temperature Guide
I start the cook at 225°F. That first stretch is all about building smoke flavor gently, so I let the bird sit undisturbed for about 45 minutes, then baste with melted butter to help the color along and keep the surface from drying out.


After about 1½ hours total at 225°F, I bump the smoker up to 375°F without moving the chicken. From here, it usually takes another 45-60 minutes, depending on the size of the bird, for the skin to render and crisp. Smaller chickens finish faster; larger ones take their time - but the two temperatures stay the same every time I make it.
If you want to make the most of that 225°F window, throw a batch of Pig Shots on the same grate - they're done before you hit the temperature bump.
5. How to Know It's Done (And Why You Should Trust the Thermometer, Not the Clock)
The clock is just a rough guide; the thermometer is the truth. I start checking the internal temperature in the thickest part of the thigh (not touching bone) once I'm past the 2½-hour mark. When it reads 165°F in the thigh and the juices run clear, the chicken is done - the breast will usually be a little lower, which is exactly where I want it.


I always pull the bird off the smoker while it's still on the can and let it rest upright for 10-15 minutes. The carryover heat finishes the cook gently, and the juices settle back into the meat instead of spilling out the second I cut into it. If my watch and my thermometer disagree, the thermometer wins every time.
A note on the can: The liquid inside will be extremely hot - hotter than it looks. Keep the chicken upright on the can, transfer the whole setup to a baking sheet, and let it rest there for the full 10-15 minutes. To remove the can, brace the chicken with tongs at the top and pull the can straight down and out. If it feels stuck, have someone steady the holder - this is not the moment to try to be a hero with one hand

Smoked Beer Can Chicken
CLICK on STARS to REVIEW the RECIPE, then CLICK OK
Equipment
- Smoker (pellet grill, electric, or charcoal)
- Beer can chicken holder / throne (strongly recommended)
- Instant-read meat thermometer
- Pastry brush
- Small rimmed baking sheet or aluminum pan
- paper towels
- Small mixing bowl
Ingredients
Dry Rub
- 2 teaspoons kosher salt or 1 heaping teaspoon table salt
- 2 teaspoons smoked paprika
- 1 teaspoon garlic powder
- 1 teaspoon onion powder
- 1 teaspoon packed brown sugar
- ½ teaspoon freshly cracked black pepper
- ½ teaspoon cumin
- ¼ teaspoon cayenne pepper
Chicken
- 4 lbs whole chicken completely thawed
- 2 tablespoons olive oil
- 12 oz can light lager or amber beer room temperature
- 2 tablespoons apple juice
Basting
- 2 tablespoons salted butter melted
For Smoking
- Apple or cherry wood pellets see notes for alternatives
Instructions
- At least 30 minutes before smoking, remove the chicken from the refrigerator and set it on the counter. Letting it come closer to room temperature helps it cook more evenly from the outside in.
- Preheat your smoker to 225°F. For a pellet grill, add apple or cherry wood pellets. For charcoal or offset smokers, add a couple of chunks of apple or cherry wood once the coals are going. Hickory works for a bolder smoke flavor, but use it sparingly - it can overpower poultry.
- Combine all dry rub ingredients in a small bowl and set aside.
- Remove the chicken from its packaging and check the cavity for a giblet bag. Discard if present. Pat the chicken completely dry on all sides with paper towels - dry skin is essential for crispy skin, so take your time. Slide your fingers under the skin to separate it from the breast and thigh meat. Work from both the tail end and the neck end, being careful not to tear the skin.
- Rub olive oil over the entire outside of the chicken and under the skin over the breast and thigh meat. Sprinkle the dry rub evenly over the outside and under the breast skin, pressing gently with your hands so it adheres.
- Open the beer and pour out or drink roughly half, leaving about 6 ounces in the can. Add 2 tablespoons of apple juice to the can. Optionally add fresh herbs (thyme, rosemary) and crushed garlic for extra aromatics. If using a beer can chicken holder, place the can into the holder now.
- Hold the chicken upright and lower the cavity down over the beer can so the opening faces up toward the neck. The two legs and the can form a natural tripod - the chicken should stand on its own. Set the whole setup on a small rimmed baking sheet or aluminum pan for easy transport.
- Carefully carry the chicken to the smoker and set it directly on the grates. Place an aluminum drip pan on the rack below to catch drippings if you are not using a holder with a built-in drip pan. Close the lid and smoke at 225°F for 45 minutes.
- After 45 minutes, baste the outside of the chicken with melted butter using a pastry brush. This adds flavor and helps the skin develop a deep mahogany color.
- After another 45 minutes (1 hour 30 minutes total cook time), increase the smoker temperature to 375°F. Continue cooking until the internal temperature in the thickest part of the thigh (not touching bone) reaches 165°F, about 45 minutes to 1 hour more. Use an instant-read thermometer to check.
- When the chicken hits 165°F, carefully transfer it (still on the can) back to the baking sheet. The can and liquid inside will be extremely hot - handle with care. Let the chicken rest upright on the can for 10 to 15 minutes. Do not cover with foil - this steams the skin and makes it soggy. Optionally brush with a little more melted butter before carving.
- Hold the chicken steady on a cutting board with tongs and carefully pull the beer can straight down and out. A second set of hands helps. Carve and serve immediately.
Smoker Setup and Wood Selection
Best Wood for Smoked Beer Can Chicken
For beer can chicken, I prefer fruit woods (read more on choosing the perfect wood in Why Wood Choice Matters For Smoked Chicken). Apple and cherry give you a mild, slightly sweet smoke that flatters chicken instead of bulldozing it. If I'm cooking for a mixed crowd (kids, spice‑shy adults), this is my default because the smoke flavor is obvious but not harsh. The same fruit-wood logic applies if you move on to beef - my Smoked Chuck Roast uses cherry wood for the same reason.
If you want something a little bolder, hickory works well in small amounts. Here's more on Post Oak vs. Hickory vs. Mesquite vs. Pecan - I love wood, OK? I think of choosing a wood as an accent (like my Russian accent), not the whole story - too much hickory can turn the smoke sharp and bitter over a long cook. I personally skip mesquite entirely for this recipe; it's great for beef, but with chicken it goes from "smoky" to "licking an ashtray" faster than you think. If you love bold smoky flavor on chicken, my BBQ Chicken Kebabs are a great quick-cook option for nights when you don't have three hours to spare.
Pellet Grill Setup (Including Clearance Check)
On a pellet grill, I treat this like any other low‑and‑slow cook with one extra step: I make sure the chicken actually fits upright before I commit. I'll set a cold, empty beer can on the grates, slide the chicken over it, and test the lid. On my Pit Boss PB700FB2, a 4-5 pound bird pushed down firmly onto the can just clears the top, and I'd rather find that out before I've rubbed and oiled everything.
I set the grill to 225°F, give it a few minutes to stabilize, then add my apple or cherry pellets if they're not already in the hopper. Once the bird goes on, I resist the urge to keep opening the lid - every peek dumps heat and stretches out the cook. When it's time to crank to 375°F, I let the grill climb back up to temperature with the lid closed, then start checking for doneness toward the end of that second stage.
Charcoal and Offset Smoker Adjustments
With charcoal or an offset smoker, I think in zones instead of exact numbers on a dial. I build a steady fire on one side and place the chicken on the cooler side so it sees indirect heat, then use vents and fuel additions to keep things hovering around that 225°F mark for the first part of the cook. A simple oven thermometer on the grate is often more honest than the built‑in lid thermometer.
When it's time to finish hot, I open the vents a bit and add a small amount of fresh charcoal to push the temperature up closer to 375°F. I'm careful not to overload the fire here - dumping in too much fresh fuel can flood the smoker with dirty smoke. A couple of small wood chunks at the beginning are enough; I don't keep feeding wood the whole time because with poultry, it's very easy to cross the line from "nicely smoked" to "overwhelming."

Beer Choice Guide
The best beer for beer can chicken is a cheap, light American lager. Think Budweiser, Miller High Life, or Pabst Blue Ribbon: they're crisp, mild, and do exactly what you need-create gentle steam that keeps the meat juicy without adding strong or bitter flavors, so your seasoning still does the talking.
Here's how I think about it by flavor:
- Light lagers (Bud Light, Coors Light, Modelo) are my everyday pick. They're easy to find, inexpensive, and the tall, skinny cans slide right into the chicken.
- Wheat beers and pilsners (like Blue Moon or Stella) add a tiny bit of citrus or bready flavor that plays nicely with poultry without taking over.
- Fruit sours can work if you want something brighter; the acidity adds a light tang that can be fun with a lemony or herby rub.
- Dark stouts (like Guinness) give you a deeper, more savory vibe-richer, earthier steam for a more "comfort food" style chicken.
There are a couple I skip: IPAs and super hoppy pale ales can get harsh and bitter as they cook down, and most of that complexity is wasted inside a chicken anyway. Same goes for pricey craft beers-I'd rather drink those and stick a simple lager in the bird.

Equipment You'll Need
Beer can chicken holder - keeps the chicken upright and way less wobbly when you're moving it on and off the smoker.
ThermoPro wireless dual‑probe thermometer - I use one probe for smoker temp and one in the breast so I'm not guessing when it hits 165°F.
Pit Boss 700FB2 pellet grill - this is the pellet grill I cook on; it holds temp steady and makes beer can chicken pretty much set‑and‑forget. And as a bonus, you can smoke The Best Smoker Recipes for Any Occasion on it any time!
Crispy Skin Troubleshooting
Why Your Skin Came Out Soft (And How to Fix It Next Time)
If your skin came out soft or rubbery, it usually comes down to three things: moisture, temperature, or time. If the chicken went on the smoker even a little damp, the skin spent the first part of the cook steaming instead of drying, so it never really had a chance to crisp.
The other culprit is not getting that high‑heat finish. If you stayed around 225°F the whole way, the fat in the skin didn't fully render. Next time, really commit to the two‑stage method: start low to build smoke, then give it a proper 375°F blast at the end and let it ride there long enough for the skin to tighten and brown.
The Fridge Dry Trick That Takes It Further
When I want extra insurance on crispy skin, I dry the chicken well, rub and season it, then set it on a rack over a sheet pan and leave it uncovered in the fridge for a few hours (or up to overnight). The cold, dry air pulls more moisture from the surface, almost like a mini dry‑age for the skin.
When that bird hits the smoker, the skin starts closer to dry than damp, which makes the high‑heat finish much more effective. It's a small bit of advance work that pays off the second you hear that first piece of skin crackle under the knife.
Best Sides for Smoked Beer Can Chicken
When I make this for a weekend cookout, I keep the sides simple and fresh to balance the smoke and richness. Cornbread, a crisp slaw, or a tangy potato salad all play really well with the smoky, salty chicken.
What to Do With Leftovers
Leftover smoked chicken might be the best argument for making a bigger bird than you think you need. The smoke flavor deepens overnight, and cold smoked chicken pulled off the bone the next day is genuinely better than it was fresh off the grate.
Here's how I actually use it:
- Smoked chicken tacos - pulled meat, quick pickled onions, a little crema. Dinner in 10 minutes with zero cooking.
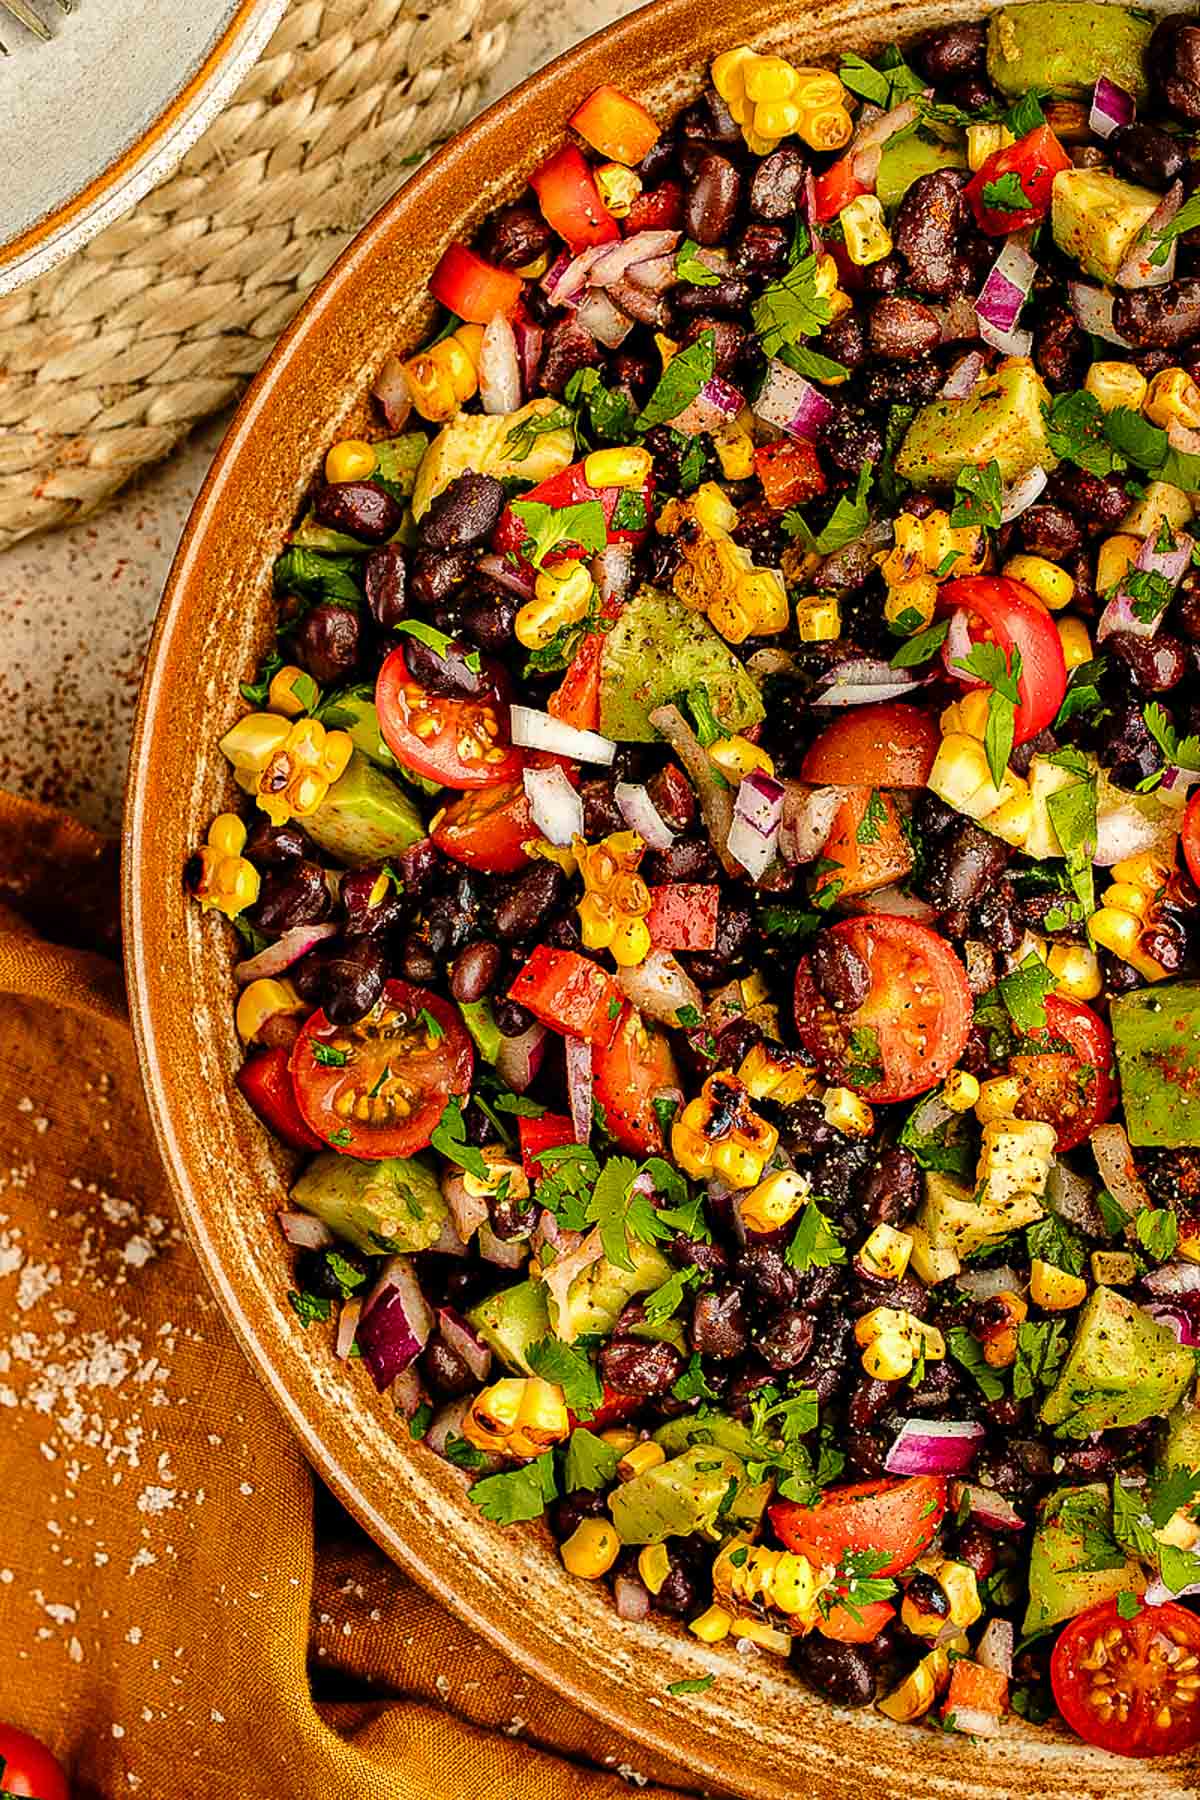
- Chopped smoked chicken salad - romaine, corn, black beans, chipotle ranch. The smoke carries the whole thing.
- Smoked chicken quesadillas - shred it, add pepper jack, pan-crisp until the cheese is molten. My kids request this specifically.
- Smashed onto a toasted bun - leftover smoked chicken piled onto a bun with spicy mayo and bacon barely feels like leftovers. My Smash Chicken Burger is built for exactly this.
- Smoked chicken soup - pull the carcass into a pot with onion, celery, and broth and you have the smokiest chicken stock you've ever tasted. My Kale Chicken Soup becomes a completely different bowl with it.
- On toast - pulled meat, avocado, a fried egg, flaky salt. Don't overthink it.
One rule: reheat leftover smoked chicken uncovered in a hot oven or air fryer - never the microwave, which turns that hard-won crispy skin into something sad and steamy

Frequently Asked Questions
Does the Beer Actually Steam the Chicken?
No. The beer warms up but doesn't really boil inside the bird, so you're not getting meaningful steam. The juicy meat comes from the cooking method and temperature control, not magic beer vapor.
What Temperature Should I Smoke Beer Can Chicken At?
I use two: 225°F to start, then 375°F to finish. The low temp builds smoke flavor without drying the meat, and the higher temp at the end is what finally crisps the skin.
How Long Does It Take to Smoke a Whole Chicken at 225°F?
For a 4-5 pound chicken, plan on about 2.5 to 3.5 hours total with the two-stage method. I start checking temps around the 2.5‑hour mark and pull it when the thigh hits 165°F.
Can I Use Root Beer or Soda Instead of Beer?
Yes. Root beer, cola, ginger ale, or even broth all work in the can. The liquid mainly adds a bit of moisture and stability; the flavor difference is subtle.
Do I Need a Beer Can Chicken Holder?
You can balance the chicken on the can alone, but I strongly prefer using a holder. It keeps everything stable, makes moving the hot chicken safer, and helps prevent the bird from tipping over mid-cook.
How do I remove the beer can after cooking?
Let the chicken rest upright on the can for 10-15 minutes first - the metal needs to cool slightly and the juices need to settle. Then brace the top of the chicken with tongs and pull the can straight down. A second set of hands helps if the setup feels wobbly.
More Smoker Recipes You'll Love
If you've got the smoker fired up, there's no reason to stop at one cook.
- Smoked Pork Butt (Boston Butt) - The recipe I make when I want leftovers all week. Plan your day around it; the bark and smoke ring are worth every hour.
- Pig Shots - Make these during the first low-and-slow stage at 225°F. They're done in an hour and gone before the chicken comes off the grate.
- Smoked Chuck Roast (Poor Man's Brisket Done Right) - All the payoff of smoked brisket at a fraction of the price. Same two-temperature thinking as this chicken.
- Santa Maria-Style Tri-Tip, Smoked or Roasted - The fastest beef cook on the smoker. Reverse-sear finish, done in under three hours.
- How to Smoke a Brisket Flat - When you're ready to graduate. More forgiving than a full packer, still delivers the real smoke ring.
- Hungarian Goulash with Smoked Sausage - Where leftover smoked sausage from a smoke day goes. Deep, paprika-rich, and exactly what you want the night after a long cook.
More Chicken Recipes You'll Love
- Creamy Chicken and Spinach - Tender chicken in a rich parmesan mushroom cream sauce that comes together in one pan and tastes like it took far longer than it did.
- Rosemary Chicken Thighs - Oven-roasted chicken thighs with crispy skin and fragrant rosemary that deliver that same satisfying "properly cooked chicken" result with almost no effort.
- Crispy Baked Chicken Nuggets - Crunchy, golden baked chicken tenders served with a sriracha mayo dipping sauce that makes them genuinely hard to stop eating.
- Instant Pot Spatchcock Chicken with Mustard Crust- My favorite golden pressure cooked whole chicken recipe! Different method, same delicious crispy skin!


Comments
No Comments