
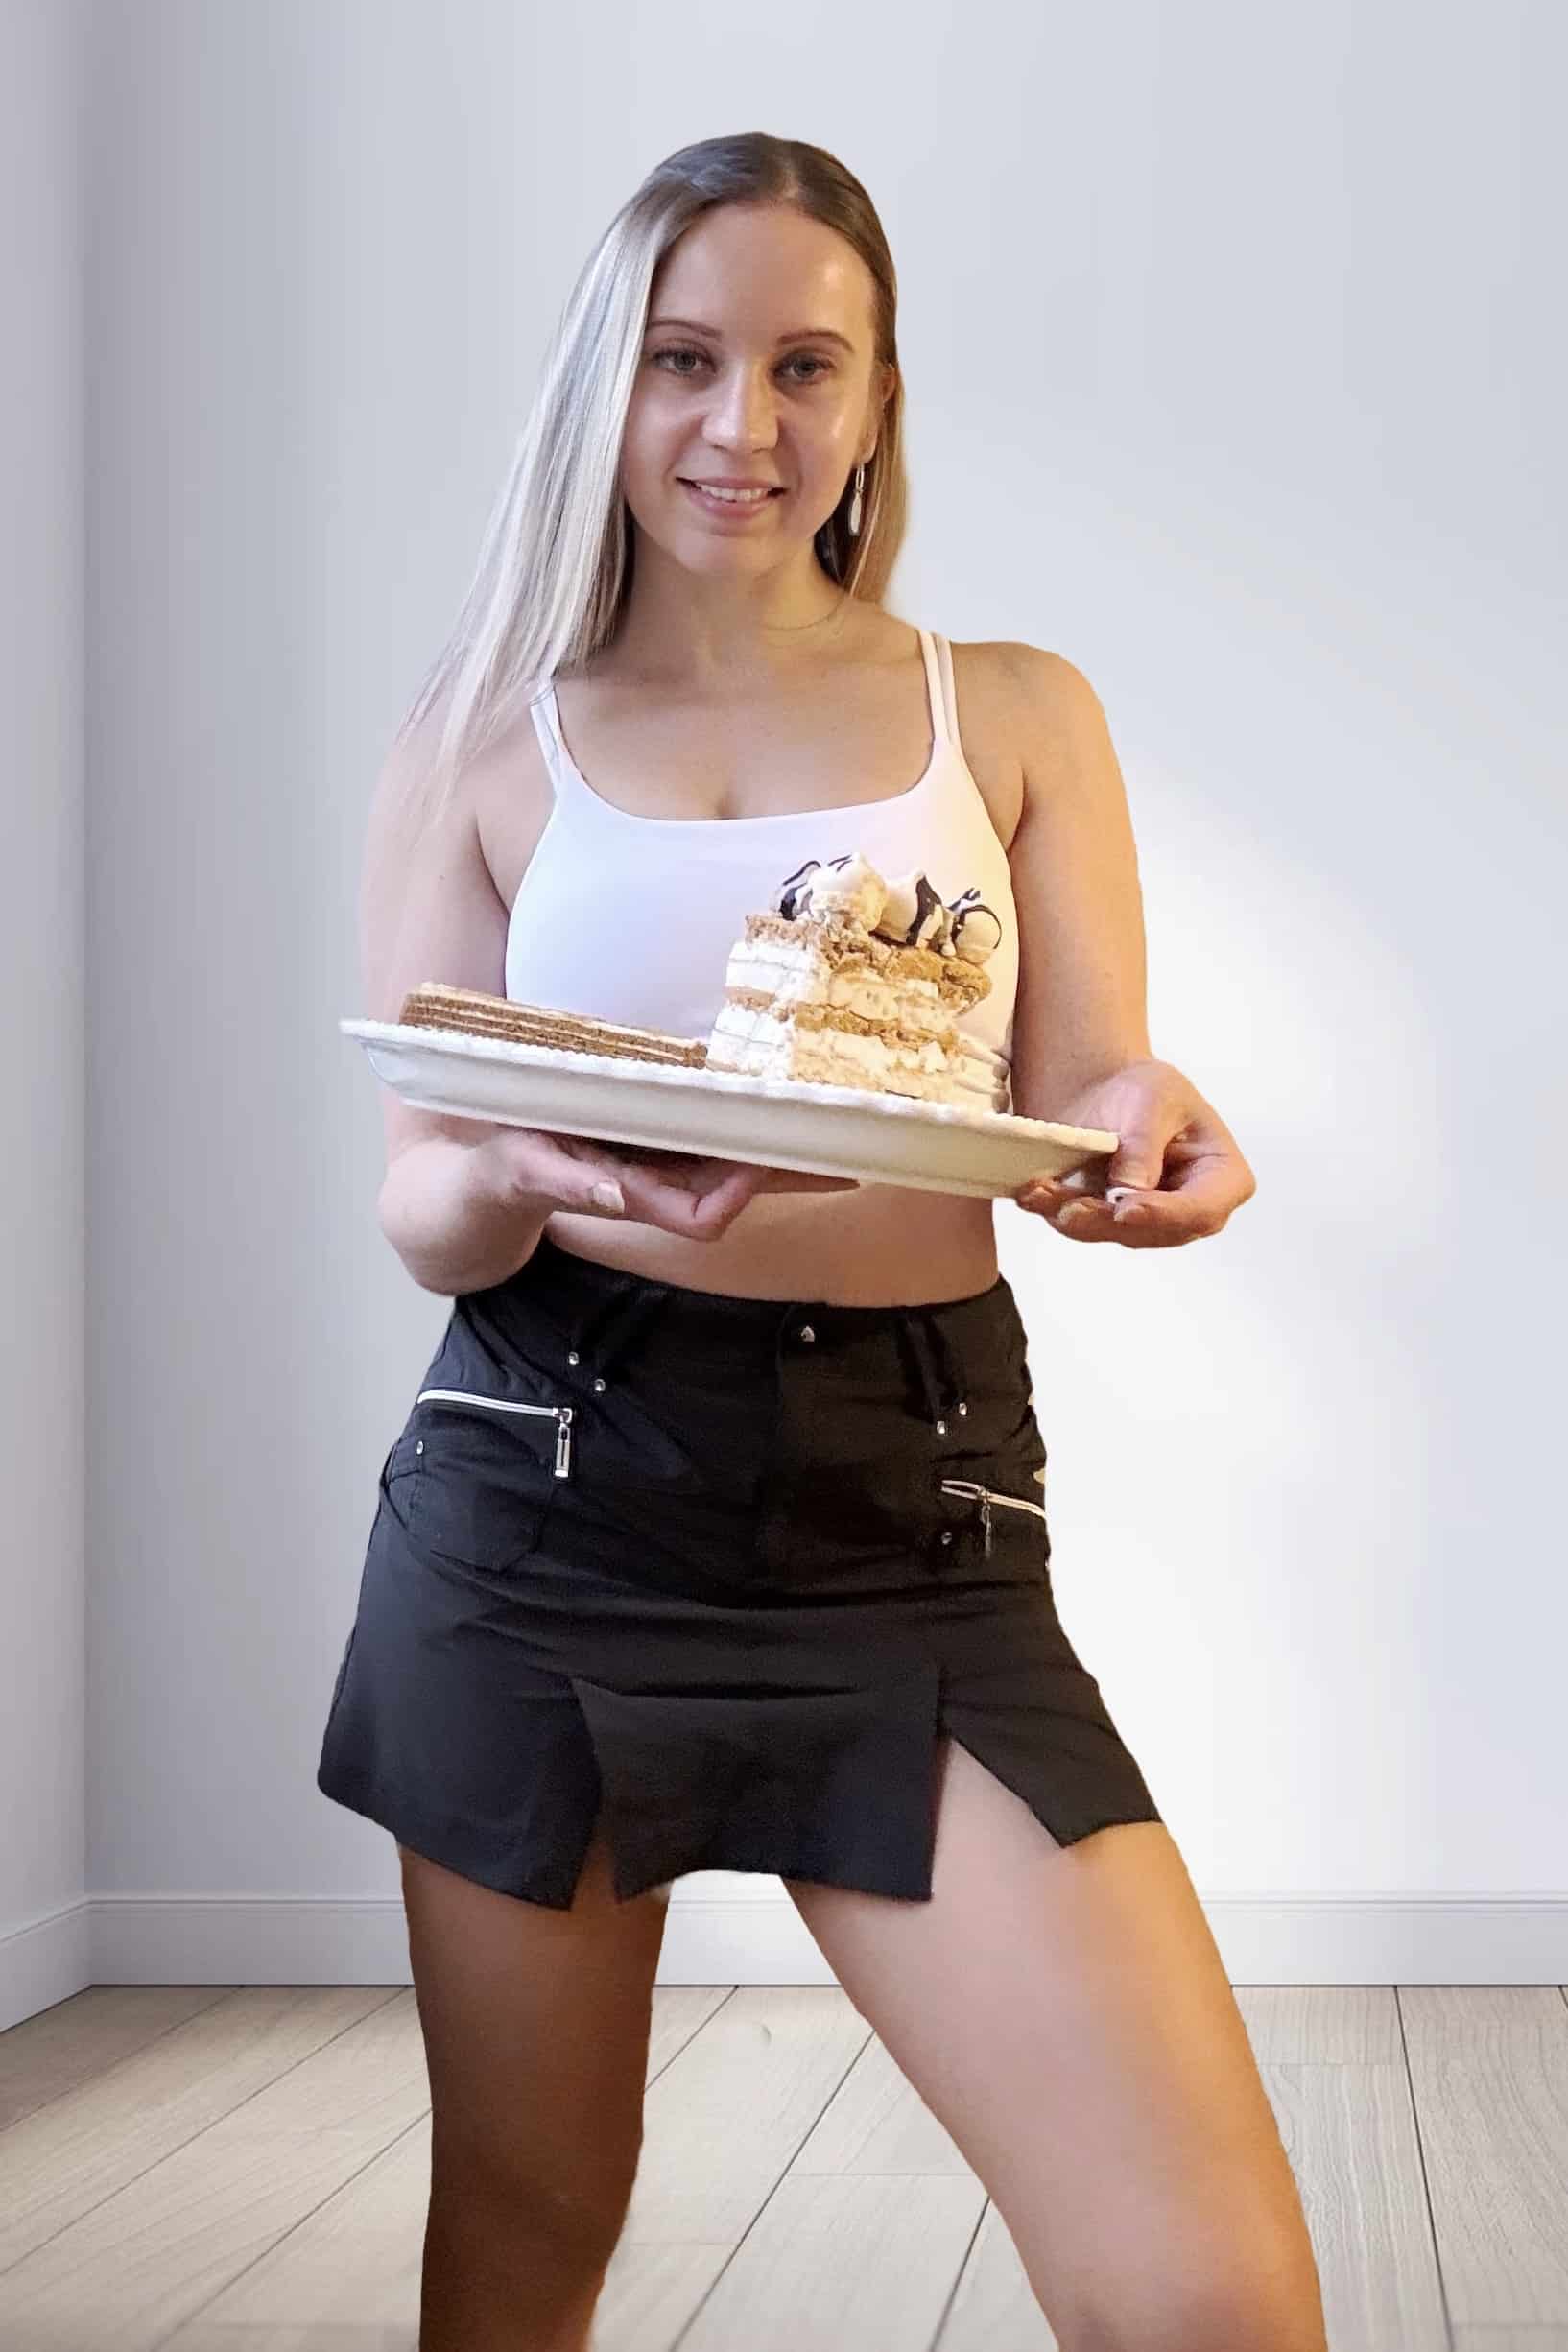

Measuring by grams instead of cups is a view shared by both professional and serious home bakers alike, since it removes the guesswork that ruins a good bake. That's exactly why I always weigh my ingredients - and why you should too.
Why I Always Weigh My Ingredients (And You Should Too)
If you've been around my kitchen for a while, you already know I'm a broken record about this: grams over cups, every single time. It's not just me being fussy - it's the one change that took my baking from "pretty good" to consistent, bakery-quality results. Yes, it's inconvenient, but you end up with more consistent results that way.

Why weight beats volume
Here's the thing about cups: they lie to you. A cup of flour can swing by 20-30 grams depending on whether you scooped it, sifted it first, or packed it down. I've tested this myself in my kitchen, and using the classic "scoop-and-sweep" method, I've seen up to a 20% difference in how much flour actually ends up in that cup.
Since baking relies on precise chemical ratios for gluten development, leavening, and moisture balance, that kind of variability can be the difference between a good bake and a failed one. Baking is chemistry!

What I learned from professional kitchens
Every pastry chef and baking instructor I've talked to uses grams, and not just for accuracy. It's faster, and it means if three people are making the same recipe in a busy kitchen, they'll all get the same result. Scaling is so much easier too - doubling or tripling a recipe is simple math with weight, but a nightmare of fractions with cups.
My favorite trick I picked up from professionals? Using the tare function on my scale to add ingredients straight into one bowl instead of dirtying a separate cup for each one. Fewer dishes, faster prep - I'm sold.
What the tare function actually does
Tare simply resets the scale to zero based on whatever is currently sitting on top of it. So if you're weighing an ingredient in a bowl, you place the empty bowl on the scale, press tare, and the display goes back to zero - meaning the bowl's weight is no longer counted. From there, whatever you add to the bowl reflects only its own weight, not the container's.
One important catch: this only works if you tare before adding your ingredient. If you place the bowl and ingredient on the scale together at once, the scale has no way to separate the two weights, so you have to tare first, then add.
Why this is so useful when I'm making a cake
This is where tare really saves me time, especially with a recipe like my vanilla layer cake that has several dry and wet ingredients going into the same bowl. Here's how I actually use it:
- Place my empty mixing bowl on the scale and press tare (it resets to zero).
- Add the flour, note the weight, then press tare again (it resets to zero once more).
- Add the sugar next, and the scale shows only the sugar's weight, not the flour's.
- Press tare again, then add the butter, and the scale reflects just the butter.
- Keep repeating this for eggs, vanilla, baking powder, and so on.
Instead of pulling out a separate measuring cup for every ingredient, washing it, and moving on to the next, I just keep piling everything into one bowl on the scale and taring in between. For a layer cake with five or six ingredients, that's the difference between dirtying one bowl or five, and it makes the whole process faster and far less fussy.

The art of measuring
To get consistent, reliable results in your own kitchen, it helps to understand exactly how to measure ingredients, whether you're using a scale or cups.
By weight: this is the method I trust most. Weighing ensures you're adding the exact same amount every time, no matter how humid your kitchen is or how much your flour has settled in the bag. A cup of flour can vary wildly, but 125 grams of flour is always 125 grams. Period.
By volume: if you don't have a scale handy, technique matters more than you'd think.
- Spoon dry ingredients like flour into your measuring cup, then level it off with a knife instead of scooping straight from the bag or container, which packs the flour down and throws off your measurement.
- Measure liquids in a clear liquid measuring cup, set on a flat surface, and check the amount at eye level for accuracy.

Where grams still trip people up
Now, I'll be honest: grams aren't a magic fix. Most American recipes still default to cups, and even gram-based recipes aren't always consistent with each other. Depending on the source, "1 cup of flour" might be listed anywhere from 120g to 140g. So if you're converting a cup recipe to grams yourself, make sure you're using accurate, standardized conversions - otherwise you're just trading one kind of guesswork for another.
I've also learned that grams matter more for some things than others. When I'm making a cake batter or bread dough, I weigh everything without exception. But if I'm cooking something savory - a splash of olive oil, a pinch of salt, a sprig of thyme - I don't bother pulling out the scale. "Close enough" genuinely is close enough there.
At the end of the day, my scale is the single best investment I've made in my baking. If you're on the fence, start with your next batch of cookies or a loaf of bread - I promise you'll notice the difference.
More from my kitchen: cakes I've perfected using this method
Weighing ingredients has completely changed how consistent my layer cakes turn out, so here are a few recipes where getting the grams right made all the difference.
- Vanilla Layer Cake Recipe (My Go-To Celebration Cake) - this is the recipe I use as my baseline whenever I'm testing measurement accuracy, since even a small flour discrepancy shows up immediately in the crumb.
- Moist Triple Layer Chocolate Cake - with three separate cake layers, I need every batch to weigh out identically, or the layers bake unevenly.
- Raspberry White Chocolate Layer Cake - the batter ratios here are tight enough that scooped flour versus weighed flour makes a visible texture difference.
- Moist Lemon Blueberry Layer Cake with Lemon Buttercream - fresh fruit adds moisture, so I lean on my scale even more here to keep the batter balanced.
- Chocolate Strawberry Cake (3 Layers, From Scratch) - another three-layer bake where I've learned consistency across bowls only happens with weighed ingredients.
- Vanilla Blueberry Layer Cake with Frozen Blueberry Filling and Vanilla Bean Buttercream - frozen fruit filling makes precise dry ingredient measurements even more important to avoid a soggy cake.
- Berry Chantilly Cake (Reverse-Creamed Layers + Mascarpone Frosting) - reverse-creaming is especially sensitive to ratios, so this is one recipe I never eyeball.
- Lemon Raspberry Cake - I originally developed this using weighed measurements from the start, and it's held up as one of my most consistent bakes.
Layer cake technique guides that pair with accurate measuring
Once your batter is measured correctly, these are the guides I turn to for getting the build and structure right.
- How to Dependably Build a Layer Cake - my full walkthrough of the process, and precise measuring is the first step I always emphasize.
- What Is a Cake Dam and Why Every Layer Cake Needs One - useful once your layers are baked accurately and ready to fill without bulging.
- How to Stack Cake Layers Like a Pro: 10 Tips for Tall, Straight Cakes - even layers only stack straight if your batter was measured evenly to begin with.
Comments
No Comments