
This cream cheese filling is built for no‑bake pies, berry icebox cakes, and layered refrigerator desserts. Heavy cream is whipped separately, then folded into a smooth cream cheese mixture so the texture stays cloud‑like but sturdy. It's the base I use when I want clean slices under juicy berries and compote, not a collapsing, one‑note filling.

Cream cheese filling looks like one of those "dump everything in a bowl and mix" jobs, but it did not go that way in my kitchen. One batch would be too soft to slice, another would turn just a little grainy overnight, and more than once I pulled a gorgeous no‑bake pie out of the fridge only to watch the first slice slump into the pan. I finally stopped guessing and treated this like a serious experiment: what happens if I whip the cream separately, what happens if I soften the cream cheese properly, and how much sour cream can I sneak in before the filling loses its structure?
The version I'm sharing here is the one that survives my actual summer dessert life: potlucks, fridge door constantly opening, and heavy toppings like berry compote or cookie crumbs. I start with very cold heavy cream and whip it all the way to stiff peaks in one bowl-that's my structure. In a second bowl, I beat fully softened cream cheese with granulated sugar, sour cream, and vanilla until it's completely smooth and glossy, no tiny lumps hiding along the bottom. Only then do I gently mix the two together on low speed. That order and that ratio give me a fluffy, tangy filling that slices like a dream but still feels light, not dense.
This has become my "house" cream cheese filling specifically for no‑bake berry desserts: pies that need clean wedges, such as No-Bake Berry Cream Cheese Pie with Fresh Triple Berry Compote (pictured below), icebox cakes that have to hold layers of berries and softened cookies (Mixed Berry Icebox Cake, anyone?), and tall, messy‑looking berry desserts where you still want the base to behave. It doesn't weep into the crust, it doesn't collapse, and it tastes like something I actually took the time to practice on -not just another cream cheese mixture that happens to be cold.

Why This Cream Cheese Filling Works
This isn't just "beat everything in a bowl and hope for the best" filling. It's what I ended up with after a few too many pies that looked dreamy going into the fridge and totally fell apart when I sliced them. The whole recipe is built around fixing three problems: no‑bake fillings that are too soft, fillings that go grainy, and fillings that taste heavy instead of light and tangy.
The Problem With Most No‑Bake Fillings
Most no‑bake cream cheese fillings fall apart for the same reasons. You whip some cream, beat some cream cheese, add sugar, and stop as soon as it looks smooth in the bowl. Then it sits, and the problems show up: the texture turns a little broken, the slice slumps on the plate, or there's that faint chalky feel that makes you put the fork down.
I've had all of that happen. I've made glossy one‑bowl fillings that never really set, and ones that were perfect on day one but leaked into the crust by day two. This recipe is my "I'm done guessing" version - every step is there to prevent those exact issues, not just to make the directions sound fancier.
Why Whipping Cream Separately Matters
The heavy cream is doing double duty here: it keeps the filling soft and fluffy, but also gives it enough structure to slice. When I tried whipping it together with the cream cheese, it never quite worked - the cream stayed a little loose and the filling felt broken. Whipping the cold cream by itself to stiff peaks first makes all the difference. You can see it stand tall on the beaters, and when you gently mix that into the smooth cream cheese mixture, it adds air and lightness instead of extra liquid. That's what turns this into a filling that actually holds its shape on a plate.
Why Cream Cheese Must Be Room Temperature
The cream cheese is where all the tang and body live, but it can also ruin the texture if you rush it. Cold cream cheese never beats completely smooth, no matter how long you go at it - it just breaks into tiny, stubborn bits that hide until you add the whipped cream, and then you're stuck with invisible lumps you can feel but not really see.
Letting the cream cheese come to room temperature means it can actually relax under the mixer. When you beat it with the sugar, sour cream, and vanilla, you're looking for glossy, completely smooth, no‑lump territory - the kind of mixture that clings to the beaters in one satiny ribbon. Once it looks like that, it's ready to play nicely with the whipped cream. The result is a filling that feels like a cloud when you eat it, but still has enough structure to hold berries, compote, and cookie layers without flinching.
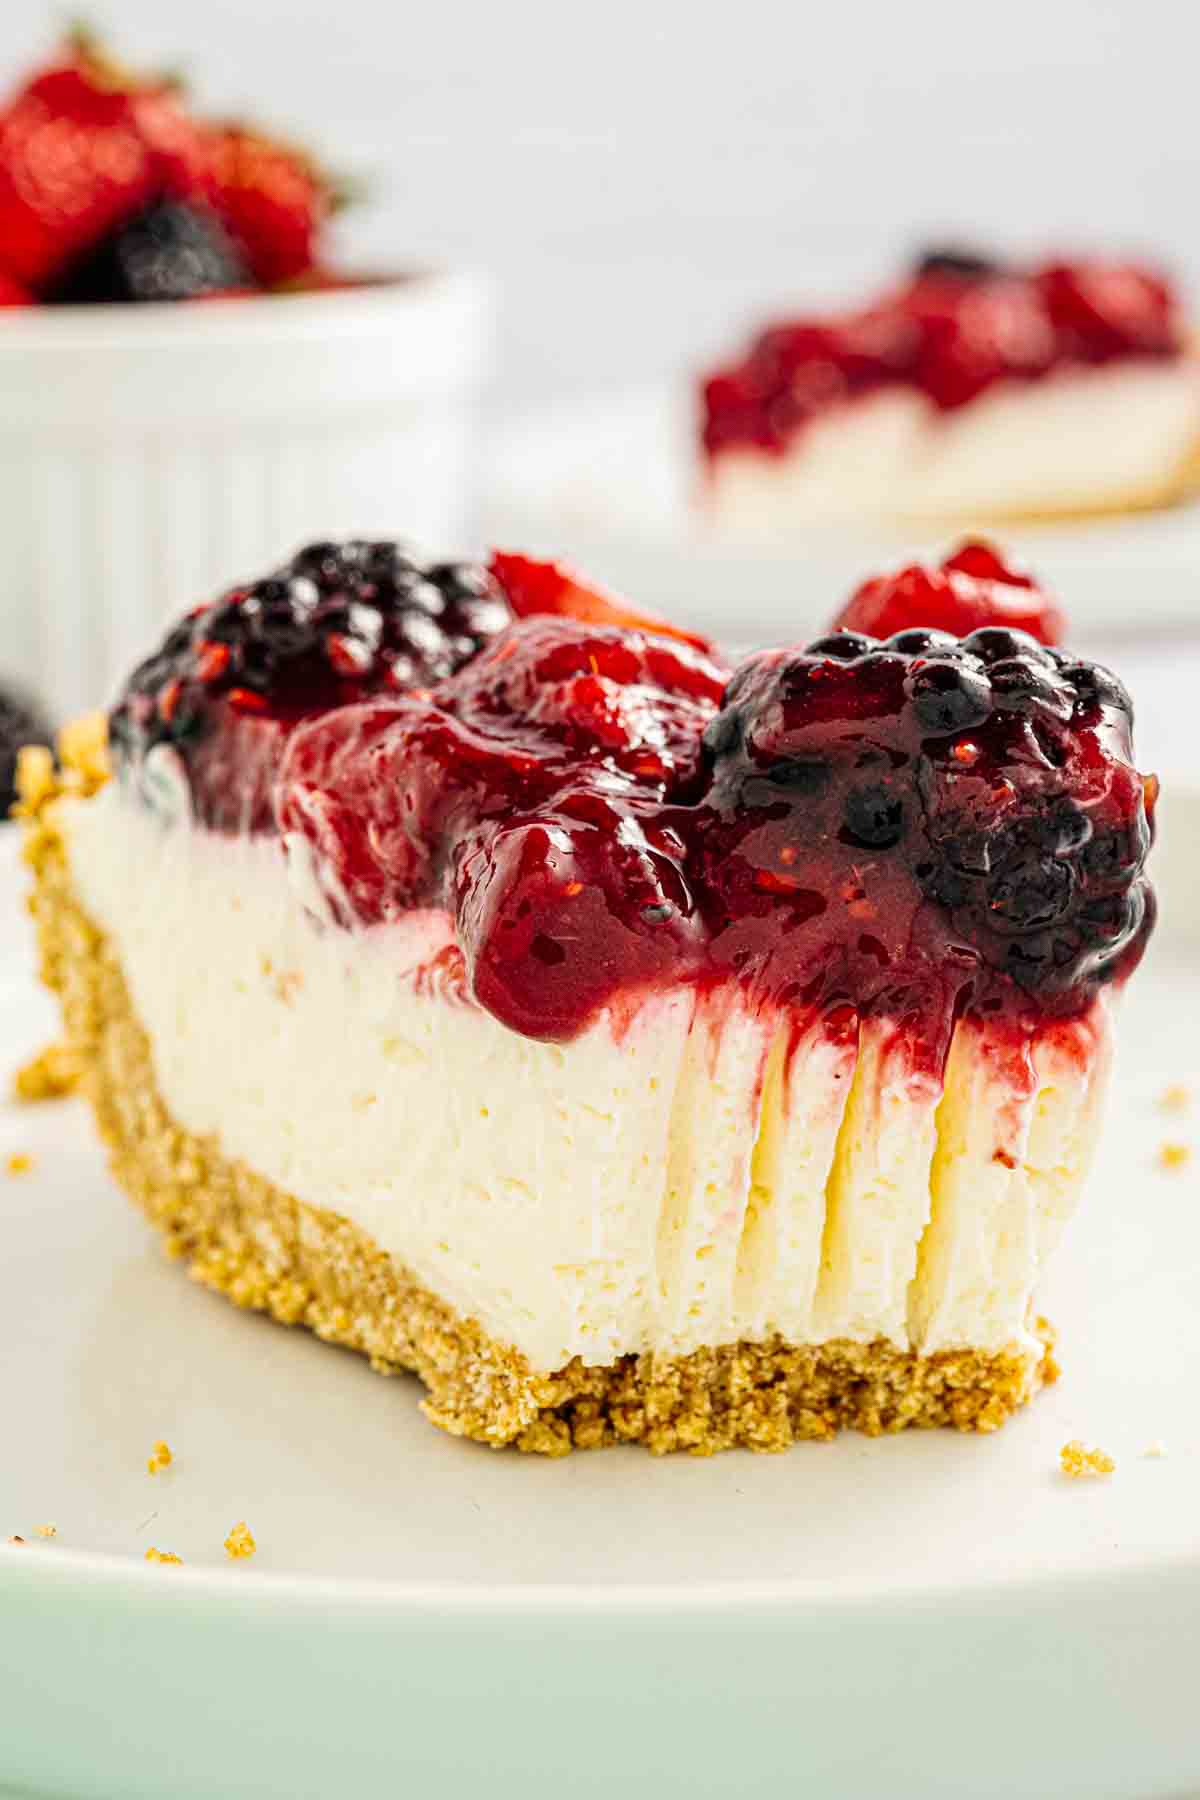
Ingredients for Cream Cheese Filling
Heavy whipping cream (and why it must be cold): I use heavy whipping cream every single time here, not half‑and‑half, not milk, and definitely not "whipping topping." This is the part that gives the filling its lift and that soft, mousse‑like texture, so I want the cream as cold as my fridge can manage. If the cream isn't cold, it just won't whip up to stiff peaks and the filling will stay loose and a little sad.
Cream cheese (block vs tub): For this recipe, I only use full‑fat block cream cheese. The kind wrapped in foil is what you want. The tub versions are often whipped or have extra stabilizers and more water, and they make the filling softer and a little "looser" than I like. That might be fine for a spread, but not when I want a sliceable pie or icebox cake. I set the blocks out on the counter until they're slightly soft to the touch. When the cream cheese is at room temperature, it beats completely smooth with the sugar and sour cream - no tiny lumps hiding along the bottom of the bowl. This is one of those small, boring steps that actually makes the difference between a silky filling and a grainy one.
Sugar, sour cream, and vanilla: This trio is where the flavor lives. Granulated sugar sweetens the filling, but it also helps break down the cream cheese as you mix, so everything turns glossy and smooth. Sour cream is my little insurance policy - it brings a gentle tang and keeps the filling from tasting flat or overly sweet, especially under fruit. I like a full teaspoon of vanilla extract here so it doesn't disappear behind the berries and crust. When I'm making this for a no‑bake berry cream cheese pie, this exact combination gives me a filling that can stand on its own but still plays nicely with everything on top.
Can I use powdered sugar instead?
You can, but I don't, and here's why. Powdered sugar has cornstarch in it, which can change the texture just enough to make the filling feel a bit pasty if you're not careful. For frostings, I reach for powdered sugar all the time. For this cream cheese filling, especially in no‑bake desserts, I've had the best results with plain granulated sugar.
If you absolutely need to use powdered sugar, use a light hand and taste as you go, but my tested, go‑to version - the one I use when I'm building a dessert I really care about - is written exactly with granulated sugar. It dissolves fully into the softened cream cheese and sour cream, and the texture stays smooth, clean, and custardy, which is exactly what I want here.
How to Make Cream Cheese Filling (Step by Step)
This is one of those recipes that comes together fast once you understand the method. Two bowls, an electric mixer, and about 10 minutes of active work is all it takes. Here's exactly how I do it.
Step 1 - Whip the Cream to Stiff Peaks
Pour the cold heavy whipping cream into a medium bowl and beat it with an electric mixer on medium‑high speed. I usually start on medium for the first minute or two, then bump it up once the cream starts to thicken. You're looking for stiff peaks - when you lift the beaters, the cream should stand straight up without flopping over. This usually takes 3 to 4 minutes depending on how cold your cream is.
Don't walk away from this step. There's a short window between stiff peaks and over‑whipped, which starts to look chunky and almost buttery. Once you're there, set the bowl aside and don't touch it again until step three.

Step 2 - Beat Cream Cheese Until Completely Smooth
In a separate large bowl, add the room‑temperature cream cheese, granulated sugar, sour cream, and vanilla extract. Beat on medium speed until the mixture is completely smooth and just a little glossy - no lumps, no cream cheese clinging to the sides of the bowl. Scrape down the bowl at least once in the middle to make sure everything is getting fully incorporated.
This is the step I used to rush, and every single time it cost me. If there's even a little cream cheese that hasn't broken down yet, you'll feel it in the finished filling. Take the extra 30 seconds to make sure it's genuinely smooth before moving on. It makes a real difference.

Step 3 - Combine Without Deflating the Cream
Add the whipped cream to the cream cheese mixture and mix on low speed just until everything is combined and the filling looks fluffy and uniform. Low speed is key here - you're trying to keep as much of that air in the whipped cream as possible, not beat it right back out.
I usually stop mixing as soon as I don't see any white streaks of cream in the bowl. The filling should look soft, thick, and cloud‑like at this point. If it looks a little loose, it will firm up in the fridge - resist the urge to keep mixing, because over‑mixing is what breaks the texture.

Step 4 - Chill and Use in Your No‑Bake Desserts
This is my go‑to filling for no‑bake berry cream cheese pies, mixed berry icebox cakes, and layered refrigerator desserts where I need the filling to hold its shape when sliced. Spoon or pipe it into your prepared crust or pan, smooth the top, and refrigerate for at least 4 hours - overnight is even better.
The filling sets up beautifully in the fridge, turning from soft and airy to sliceable and firm. Once it's fully chilled, it can hold a layer of fresh berries, a generous pour of triple berry compote, or a crown of homemade whipped cream without anything slipping or weeping. That's exactly what I built this recipe to do.


Cream Cheese Filling for No-Bake Desserts
Equipment
- medium mixing bowl
- large mixing bowl
- Electric hand mixer or stand mixer
- Rubber spatula
- measuring cups and spoons
Ingredients
- 1 cup heavy whipping cream cold
- 8 ounces cream cheese room temperature
- ½ cup granulated sugar 100 g
- 2 tablespoons sour cream
- 1 teaspoon vanilla extract
Instructions
- Add the cold heavy whipping cream to a medium mixing bowl and beat with an electric mixer on medium-high speed until stiff peaks form, about 3 to 4 minutes, then set aside.
- In a separate large mixing bowl, combine the room temperature cream cheese, granulated sugar, sour cream, and vanilla extract and beat on medium speed until the mixture is completely smooth and slightly glossy, scraping down the sides and bottom of the bowl as needed to remove any lumps.
- Add the whipped cream to the cream cheese mixture and mix on low speed just until everything is fully combined and the filling looks thick, smooth, and fluffy, being careful not to over-mix so you don't deflate the cream.
- Use immediately as a filling for no-bake pies, icebox cakes, or layered desserts, or spoon into a prepared crust or pan and smooth the top, then refrigerate the filled dessert for at least 4 hours, or until the filling is fully set; for the cleanest slices, chill overnight.
Notes
How to Use This Filling
This is the cream cheese filling I always keep making when I don't feel like using the oven. Once it's whipped and fluffy, I start mentally walking through the fridge and pantry, asking, "What can I layer this with today?"
No‑bake berry cream cheese pies
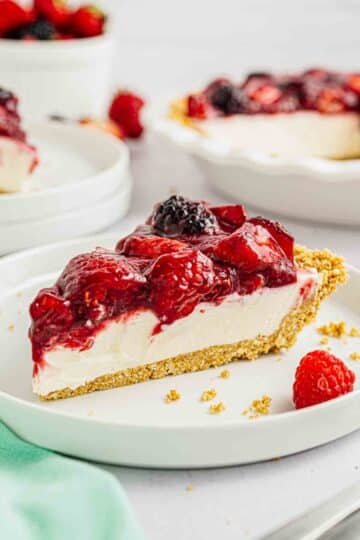
This is my base for any berry‑heavy, no‑bake cream cheese pie. I spread it into a prepared crust, then top it with fresh berries and a generous pour of triple berry compote. It works beautifully in recipes like my No-Bake Berry Cream Cheese Pie and pairs just as well with something a little more playful like Blackberry Lime Delight (No Bake), where the filling has to stand up to citrus and bright berry flavor.

Mixed berry icebox cakes and refrigerator desserts
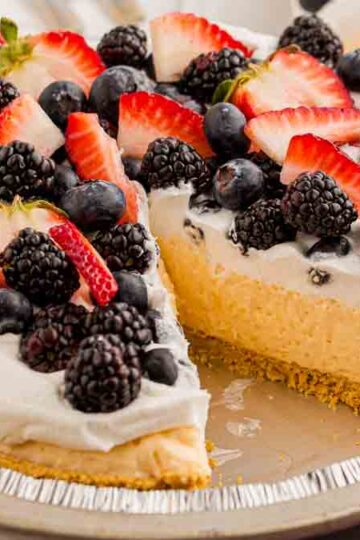
When I want a dessert that feels like a project but doesn't actually ask much of me, I turn this into the "cream" layer for icebox cakes and refrigerator desserts. Think soft graham crackers, ladyfingers, or cookies layered with this filling and berries. It's the same idea behind recipes like Mixed Berry Icebox Cake -the filling needs to stay fluffy as the layers soften into a cake‑like texture, and this recipe does exactly that.

As a layer under berry compote in parfaits
On busy weeks, I'll spoon this filling into jars, add a layer of triple berry compote on top, and call it dessert prep. It behaves like a cross between cheesecake and mousse in parfaits: sturdy enough to hold the compote, but soft enough to eat with a spoon straight from the fridge.
Use it in Oreo Desserts
You can swap in cookie crumbs, granola, or crushed Oreos for the "crust" and it still holds its own, a lot like the cream layer in my No Bake Oreo Dessert with Chocolate Pudding.

As a filling for Cheesecake Style Filling Desserts
When I'm in a cake mood, I use this as a light cheesecake‑style filling with cheesecakey desserts like No-Bake Coffee Cheesecake Pie, or even holiday‑ish options like No-Bake Cranberry White Chocolate Cheesecake.
And if you're more of a chocolate or peanut butter person, this filling plays nicely next to recipes like No Bake Peanut Butter Pie, No-Bake Peanut Butter Cheesecake, No Bake Black Forest Oreo Cheesecake, or even the nostalgic No Bake Root Beer Float Pie. It's the same family of dessert: cold, creamy, easy to slice.

Make-Ahead, Storage, and Freezing
This filling is very forgiving, which is exactly what I want when I'm prepping a dessert a day (or two) before I actually need it.
How long it keeps in the fridge
Once it's mixed, I cover the bowl tightly and keep it in the refrigerator for up to 3 days before using, or chill it directly in the crust or pan if I already know where it's going. The texture actually improves a bit as it chills - it firms up just enough to give you cleaner slices in pies and layered desserts.
If I'm making a no‑bake pie, icebox cake, or something like No Bake Oreo Dessert with Chocolate Pudding, I like to assemble the whole dessert and refrigerate it at least 4 hours, preferably overnight. The filling sets, the flavors come together, and the slices look bakery‑clean.
Can you freeze this cream cheese filling?
You can freeze it, but I usually only do that when it's already in a crust or layered dessert. The texture stays pretty stable when it's frozen as part of a whole pie or cake (similar to how pies like No Bake Oreo Cheesecake or No-Bake Coffee Cheesecake Pie behave).
If you freeze the filling on its own, make sure it's in an airtight container with as little air as possible. Thaw it in the refrigerator overnight. You might notice it looks a little softer after thawing than it did fresh, which leads to the next step.
How to refresh it if it's been chilled
If the filling has been sitting in the fridge for a day or two in a bowl (not spread in a crust yet), I give it a quick stir with a spatula to bring back some of the smoothness before using. If it seems just a little too soft for what you're planning, you have options:
- For parfaits or layered desserts, use it as‑is - that softer, spoonable texture is actually perfect.
- For pies or anything you want to slice cleanly, you can briefly beat it on low speed to smooth it out, then chill it again in the crust. Just don't over‑mix, or you'll start to lose some of the structure from the whipped cream.
Troubleshooting Your Cream Cheese Filling
If something feels off with the filling, don't toss it just yet. Most problems come back to the same few issues, and they're usually fixable (or at least preventable next time).
Why is my filling grainy?
When the filling tastes a little chalky or grainy, it almost always means the cream cheese wasn't fully softened or beaten smooth before you added anything else. Cold cream cheese breaks into tiny pieces that never fully blend in, even if the mixture looks mostly smooth.
Next time, let the cream cheese sit at room temperature until it's soft to the touch, and beat it with the sugar, sour cream, and vanilla until there are absolutely no lumps. I like to stop and scrape the bowl a couple of times just to be sure. If your filling is already grainy, a few extra minutes of mixing on medium speed can sometimes help, but it won't fix cream cheese that started out too cold.
Why is it too loose?
A soft, floppy filling usually comes from one of two things: the cream wasn't whipped to stiff peaks, or the filling hasn't had enough time to chill. If the whipped cream is still at soft peak stage when you add it, the filling will never firm up as much as it should.
When this happens to me, I first give the filled dessert more time in the refrigerator - at least 4 hours, or overnight if you can. The chilling time makes a big difference. If it's still too loose in the bowl before you assemble anything, you can beat it on low‑medium speed for another minute or two to encourage it to thicken slightly, but be careful not to over‑mix or you'll head into curdled territory.
Why did it separate or look curdled?
That slightly broken, curdled look usually comes from one of three things: the cream was over‑whipped, the cream cheese was too cold, or the mixture was beaten too long after everything was combined. You'll see little pockets of liquid and the texture will look rough instead of smooth and fluffy.
If the filling is only slightly separated, sometimes a gentle mix on low speed can pull it back together. I stop as soon as it looks smoother - pushing past that point can make it worse. If it's very broken (almost like cottage cheese), there's not much you can do to bring it back to perfect, but it will still taste good in parfaits or layered desserts where the texture isn't as noticeable.
Can I fix an over‑whipped filling?
We've all gone a little too far with the mixer. If the whipped cream was over‑whipped before you added it (starting to look chunky or like soft butter), the final filling will feel heavy and a bit rough instead of fluffy.
If you catch it while you're still whipping just the cream, you can sometimes save it by adding a splash or two of cold cream and mixing on low until it smooths back out. Once the whipped cream is already mixed into the cream cheese filling and over‑whipped, your best option is to stop mixing immediately and use it in a dessert where the texture is less front‑and‑center - think layered desserts, cookie trifles, or no‑bake pies where toppings and crumbs take the spotlight.
When I really need a perfectly smooth filling (for a clean, showy pie or berry dessert), I'd rather mix a fresh batch than try to wrestle an over‑whipped one back into place. The good news is that once you've gone through this troubleshooting list once or twice, it's much easier to spot the warning signs early and adjust before anything goes truly wrong.
More No-Bake Cheesecakes to Use This Filling On
Once you have a bowl of this cream cheese filling in front of you, it's hard not to start matching it with crusts and toppings. Here are some of my favorite ways to turn it into full desserts:
- I love using this as the base for fruit‑forward pies like my No Bake Cherry Cheesecake. The tangy filling stands up beautifully to the sweet cherry topping and gives you those neat, bakery‑style slices.
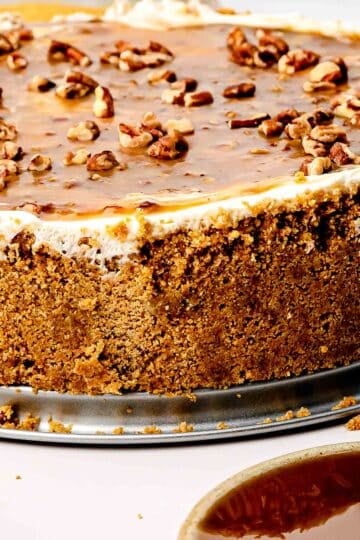
- If you're in a cozy, caramel mood, this filling fits right in with my No Bake Butterscotch Cheesecake, where it sits under a rich butterscotch layer without feeling heavy.
- Cookie lovers can swap this into my No Bake Oreo Cheesecake for an ultra‑creamy center between the crunchy Oreo crust and cookie topping.
- For something a little more grown‑up, it's an easy match with No-Bake Coffee Cheesecake Pie: the smooth, tangy filling pairs so nicely with coffee and chocolate.
- Peanut butter fans can pair it with recipes like No-Bake Peanut Butter Cheesecake, where that light, whipped texture keeps the whole dessert from feeling too dense.
- Around the holidays, I like to use this as a base under bright, seasonal toppings in recipes like No-Bake Cranberry White Chocolate Cheesecake.
- If you want something dramatic and chocolatey, it's right at home in my No Bake Black Forest Oreo Cheesecake, where it has to stand up to cherries, chocolate, and Oreo all at once.
- Berry people (hi, that's me) will love it under a mound of fruit in No-Bake Blueberry Cheesecake (Creamy, No Oven, 20 Minutes), where the filling stays creamy and stable under a glossy blueberry topping.
- And if you want something a little unexpected, try it as the creamy base in my No Bake Pistachio Cheesecake: the tangy filling plus nutty pistachio flavor is such a fun twist on a classic no‑bake cheesecake.

Comments
No Comments