Tiny black seeds that turn into a crunchy, nutrient-packed "micro‑garden" on your countertop with the help of a Chia Pet-and chia seed sprouts are exactly that. Learn how to turn a spoonful of chia into fresh, fast greens that upgrade your salads, smoothies, and snacks in under a week!
Chia seed sprouts are an easy, nutrient-dense way to grow fresh greens at home in just a few days, even if you've never sprouted anything before. This guide covers exactly how to grow chia seed sprouts, how to use them in meals, how to store them, and how to troubleshoot every common problem so your sprouting projects succeed consistently.
What Are Chia Seed Sprouts?
Chia seed sprouts are the tender shoots that emerge when chia seeds (Salvia hispanica) are germinated for several days instead of being eaten dry or as gel. These delicate greens have a mildly tangy, broccoli-like flavor and add texture and nutrition to salads, sandwiches, dips, soups, and snacks.
- Chia seed sprouts are rich in chlorophyll, fiber, calcium, plant protein, antioxidants, and omega-3 fatty acids, making them a powerful everyday superfood.
- Sprouting chia at home gives you fresh "mini greens" in 4-7 days with minimal space, equipment, or gardening experience.
Why Grow Chia Seed Sprouts at Home?
Sprouting turns basic chia seeds into living food with enhanced nutritional value and easier digestibility. When chia seeds sprout, they produce chlorophyll and activate enzymes that support digestion and overall health.
- Sprouted chia seeds are especially valued for chlorophyll, which helps support healthy blood, oxygen transport, and detoxification.
- Homegrown chia sprouts are useful in emergency preparedness or winter months when fresh vegetables may be limited, since the dry seeds store well and sprout quickly on demand.

Key Benefits of Chia Seed Sprouts
- Nutrient-dense: Sprouted chia offers high-quality protein, abundant calcium, fiber, and plant-based omega-3s in a very small serving.
- Easy to grow: You do not need outdoor space or soil; a simple indoor setup produces a tray of sprouts in under a week. Or a chia pet!
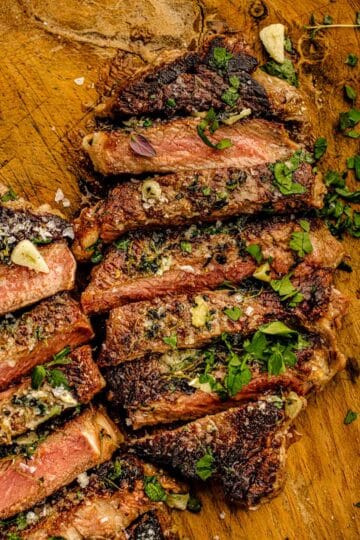
- Versatile in recipes: Chia seed sprouts work well in Avocado, Tomato & Cucumber Salad, Arugula and Spinach Salad, Air Fryer Fish Sandwich, wraps, appetizers, grain bowls, and even savory Caprese Stuffed Avocados recipes.
Essential Equipment You Need
To grow chia seed sprouts successfully, your setup must keep seeds moist but not submerged, humid but well-ventilated. The right tools make this balance simple.
- Chia seeds: Use food-grade chia seeds; if they are sold for eating, they are usually fine for sprouting as long as they are fresh and not heat-treated. Sprouting turns a small amount of seed into a much larger volume of edible sprouts.
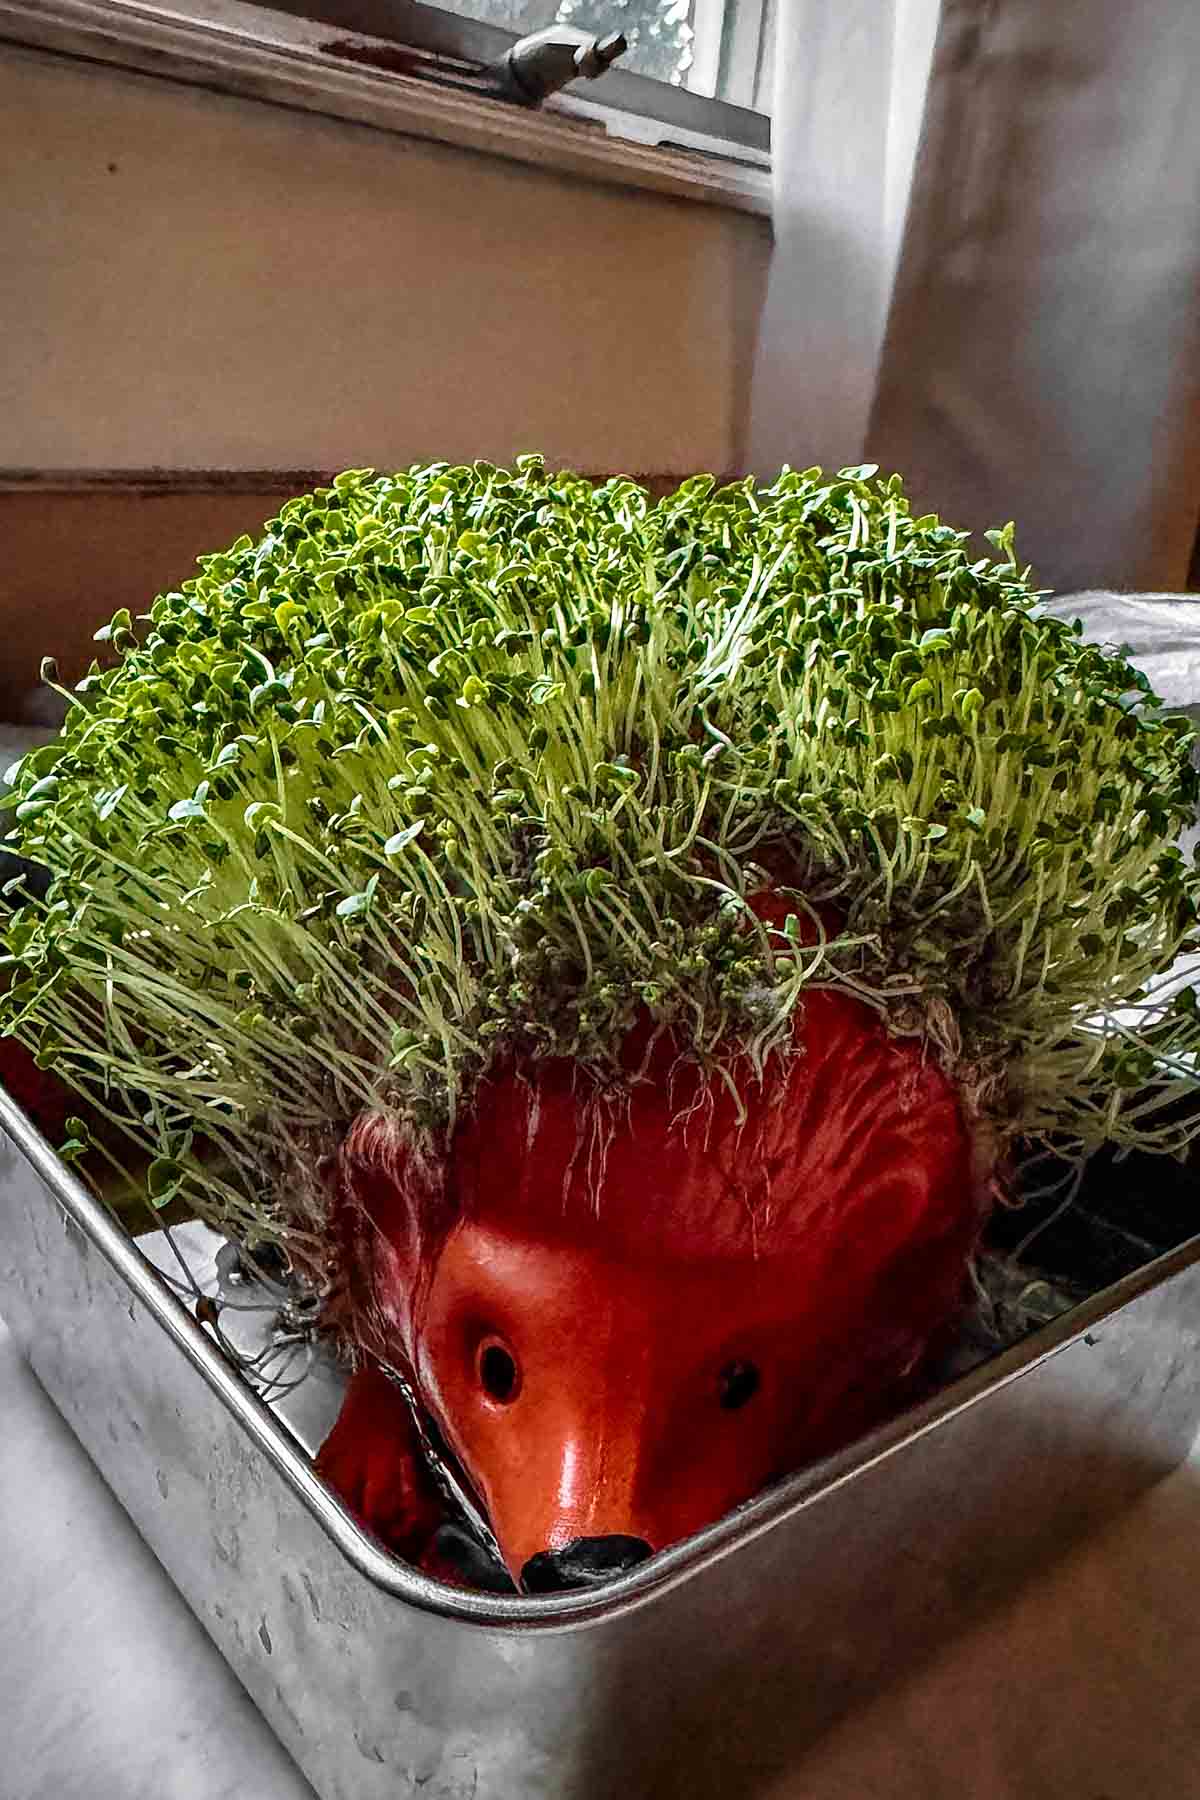
- Chia Pet (or unglazed shallow terra cotta dish: Chia Pet naturally absorbs and holds water, keeping the seed surface consistently moist from below without drowning the seeds, which helps prevent them from turning into gel.
- Plastic bag: A simple plastic bag creates a mini greenhouse that traps humidity so you do not need to mist constantly.
- Spray bottle with filtered water: A fine mist wets chia seeds evenly without flooding them, which is crucial because chia gels easily when sitting in standing water.
Why Chia Pet/Terra Cotta Matters
- Chia Pet/Terra cotta acts like a sponge, slowly wicking water up from below and keeping the seed layer evenly moist for days.
- Because the seeds sit on the moist clay instead of in a puddle of water, they can germinate without forming a gummy chia gel mess.
Step-by-Step: Soaking Method for Chia Seed Sprouts
This "soaking method" is one of the most reliable ways to sprout chia seeds at home because it avoids the jar-and-strainer approach that almost always fails with chia. Follow these steps from start to finish.
Step 1: Soak the Seeds
- To soak chia seeds for a Chia Pet, mix 2 teaspoons of seeds with ¼ cup of water (or 2 tbsp) and let sit for about 10-30 minutes until they form a thick, gel-like paste, which helps them stick to the terracotta surface of Chia Pet.
Step 2: Prepare the Chia Pet
- Rinse the Chia Pet (or shallow terra cotta dish) well; run a rinse-only dishwasher cycle if desired to clean it, avoiding detergent soaking into the clay.
- Soak the Chia Pet (or terra cotta dish) in clean water briefly (for 10 minutes) so it becomes fully moistened; this primes it to wick water up from below as the sprouts grow.
Step 3: Set Up the Greenhouse
- Place the soaked Chia Pet in a warm spot (if in winter put it near the radiator or heater) inside another shallow dish so there is space around it for a shallow layer of water.
- Add a thin layer of filtered water to the bottom of the dish, not on top of the seeds; this water will keep the Chia Pet hydrated from below.
Step 4: Add the Chia Seeds to Chia Pet
- Add a thin, even layer of chia seeds across the surface of the Chia Pet; avoid thick piles so air can reach all seeds and prevent mold.
- Aim for the seeds to sit close together but not stacked; you can adjust density in later batches once you see how thick you like your sprouts.
Step 5: Mist Without Flooding
- Use your spray bottle to lightly mist the seeds until they are thoroughly damp but not swimming in puddles; any standing water on top can turn the seeds into gel.
- The goal is a shiny, moist layer of seeds clinging to the Chia Pet's surface, not a layer of floating seeds.
Step 6: Cover with Plastic Bag
- Cover with the plastic bag to trap the moisture.
- Place the covered Chia Pet near a warm radiator or heater for the first few days; this encourages strong root development.
Step 7: Sprout Time and Greening Up
- Let the chia seeds sprout for about 4-7 days, depending on room temperature; warmer rooms usually produce sprouts faster.
- When sprouts reach roughly a short, compact length, move the Chia Pet into indirect sunlight or a bright spot to let them "green up" and develop chlorophyll-rich leaves.

Alternative Method: Glass Dish Without Chia Pet
If you do not have a Chia Pet or terra cotta dish, you can sprout chia seeds in a glass baking dish or between glass pie plates, but this requires more frequent attention.
- Line a shallow glass dish with a damp paper towel, then sprinkle chia seeds in a thin, even layer over the surface.
- Cover with another inverted dish or lid to trap humidity, place in a warm spot, and mist several times a day to keep the paper towel damp without letting seeds sit in standing water.
- Or, use two glass pie plates, with chia seeds on a damp paper towel in the bottom plate, covered by the second plate and placed in the sun; sprouts can appear within a couple of days under warm, humid conditions.
Pro Tips for Perfect Chia Seed Sprouts
- Start small: Use a modest amount of chia seeds until you learn the right thickness for your setup; remember that a small quantity yields a surprisingly large volume of sprouts.
- Control moisture: Keep seeds consistently damp but never submerged; if you see pooling water, drain or dab it off immediately.
- Vent daily: Briefly open the plastic bag (aka 'greenhouse') once or twice a day to release excess humidity and reduce the risk of mold, then close it again to maintain moisture.
- Light timing: Keep sprouts in the dark for the first few days to build strong roots, then move them to light only once they have germinated to encourage green leaf development.
FAQ About Chia Seed Sprouts
Can chia seeds be sprouted in a jar?
Traditional jar sprouting with a strainer lid does not work well for chia because the seeds become gelatinous when soaked and do not drain properly, leading to a sticky gel instead of crisp sprouts.
Can the seeds and roots be eaten, or only the green tops?
With chia sprouts, the entire sprout is typically edible, including the seeds and roots, as long as they are fresh, clean, and free from mold.
How long does it take to grow chia seed sprouts?
Under typical indoor conditions, chia seeds take about 4-7 days to produce sprouts long enough to harvest, with warmer rooms leading to faster growth.
Why do my chia sprouts look like white feathers?
The "white feathers" often seen at the base of chia sprouts can be healthy root hairs rather than mold, especially if there is no musty smell or slimy texture.
Can chia sprouts be grown in soil?
Chia seeds can be grown in a thin layer of soil or coconut coir for microgreens, where the plants are allowed to grow longer and develop true leaves before harvest.
Common Mistakes When Sprouting Chia Seeds
Because chia is a "gelatinous" seed, it behaves differently from beans and grains typically sprouted in jars. Understanding these differences helps you avoid frustration.
- Using the jar-and-strainer method: Chia seeds absorb water, form gel, and clog the strainer instead of draining well; this usually creates a slimy mess rather than sprouts.
- Leaving seeds in standing water: Chia needs consistent moisture but cannot sit submerged, or the seeds will dissolve into gel rather than germinate into crisp sprouts.
Seeds Turn Into Gel, Not Sprouts
- Too much water directly on the seeds, or seeds sitting in a puddle rather than on a moist surface.
- Use Chia Pet or damp paper towel that stays moist from below, and only mist from above, avoiding any standing water on top of the seeds.
Problem: Sprouts Taste Bitter or Unpleasant
- There will be a bitter taste when chia sprouts are grown very densely or left to grow too long.
- Harvest a bit earlier and grow a thinner layer of seeds so each sprout has more access to light and air; use sprouts while they are still tender and mild.
Problem: Roots Turning Brown
- Chia roots can shift from bright white to a light brown shade as the sprouts mature and are ready for harvest.
- When roots darken and foliage is fully green, it is usually time to harvest before texture and flavor decline.
Serving Ideas for Chia Seed Sprouts
Chia seed sprouts bring a crisp, tangy bite and subtle herbaceous flavor to many everyday dishes. Add them raw at the end of cooking for maximum nutrition.
- Sprinkle chia sprouts over salads, grain bowls, Chili Con Carne, Beef Burrito or scrambled eggs for fresh crunch and color.
- Layer them into sandwiches, wraps, avocado toast, and burgers in place of lettuce for a more nutrient-dense topping.


Star says
Sprouts make the life grow!
Olya Shepard says
Absolutely!