

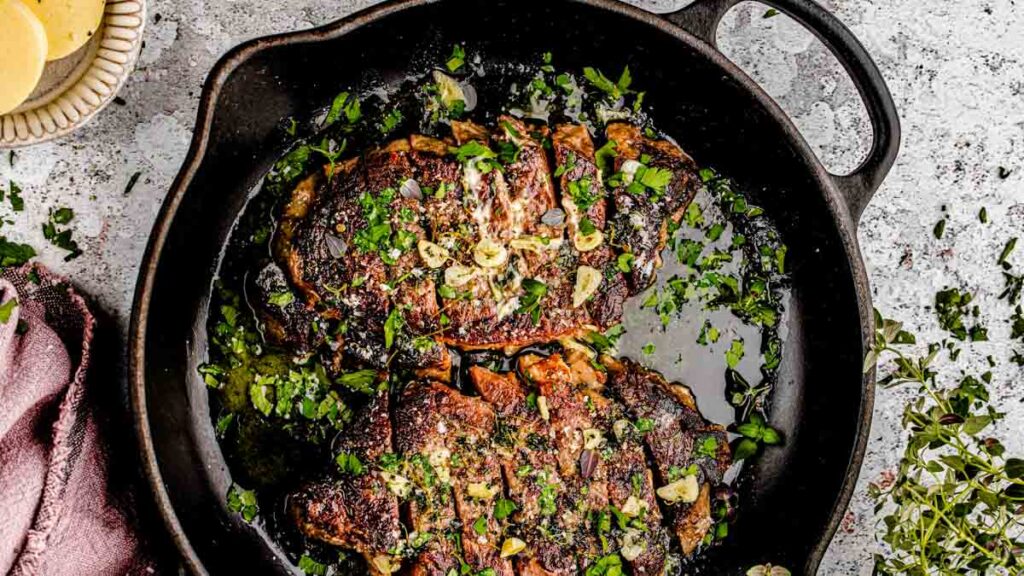
You pulled your steak off the heat, sliced into it, and hit a wall of cold, red rawness in the center. Don't throw it back on a screaming-hot pan and hope for the best - that's how you end up with a ruined crust and a still-undercooked interior. Rescuing a raw steak is actually straightforward once you understand why it happened and which fix matches your situation.
Case in point. I picked up a bone-in NY strip from Food Bazaar last week - one of those butcher's cuts that looked like a great deal, thick and marbled and honestly a little intimidating sitting there on my cutting board. I got a gorgeous sear on it, cut in to check, and hit cold red in the center.
Why Your Steak Is Raw in the Middle
The culprit is almost always one of three things: the pan was too hot, the steak went in straight from the fridge, or the cut was too thick for a pure stovetop sear. High heat creates a beautifully browned exterior in minutes, but heat travels inward through meat slowly - if your internal temp never has time to climb, you end up with what's known as a "black and blue" steak: charred outside, raw in the middle. This is especially common with thicker, denser cuts. If you're still figuring out which cuts hold up best on the stovetop, this guide to the best cuts of steak for pan-searing is a good place to start before your next cook.
The good news: the crust is already done. Your only job now is to gently raise the internal temperature without burning anything else.
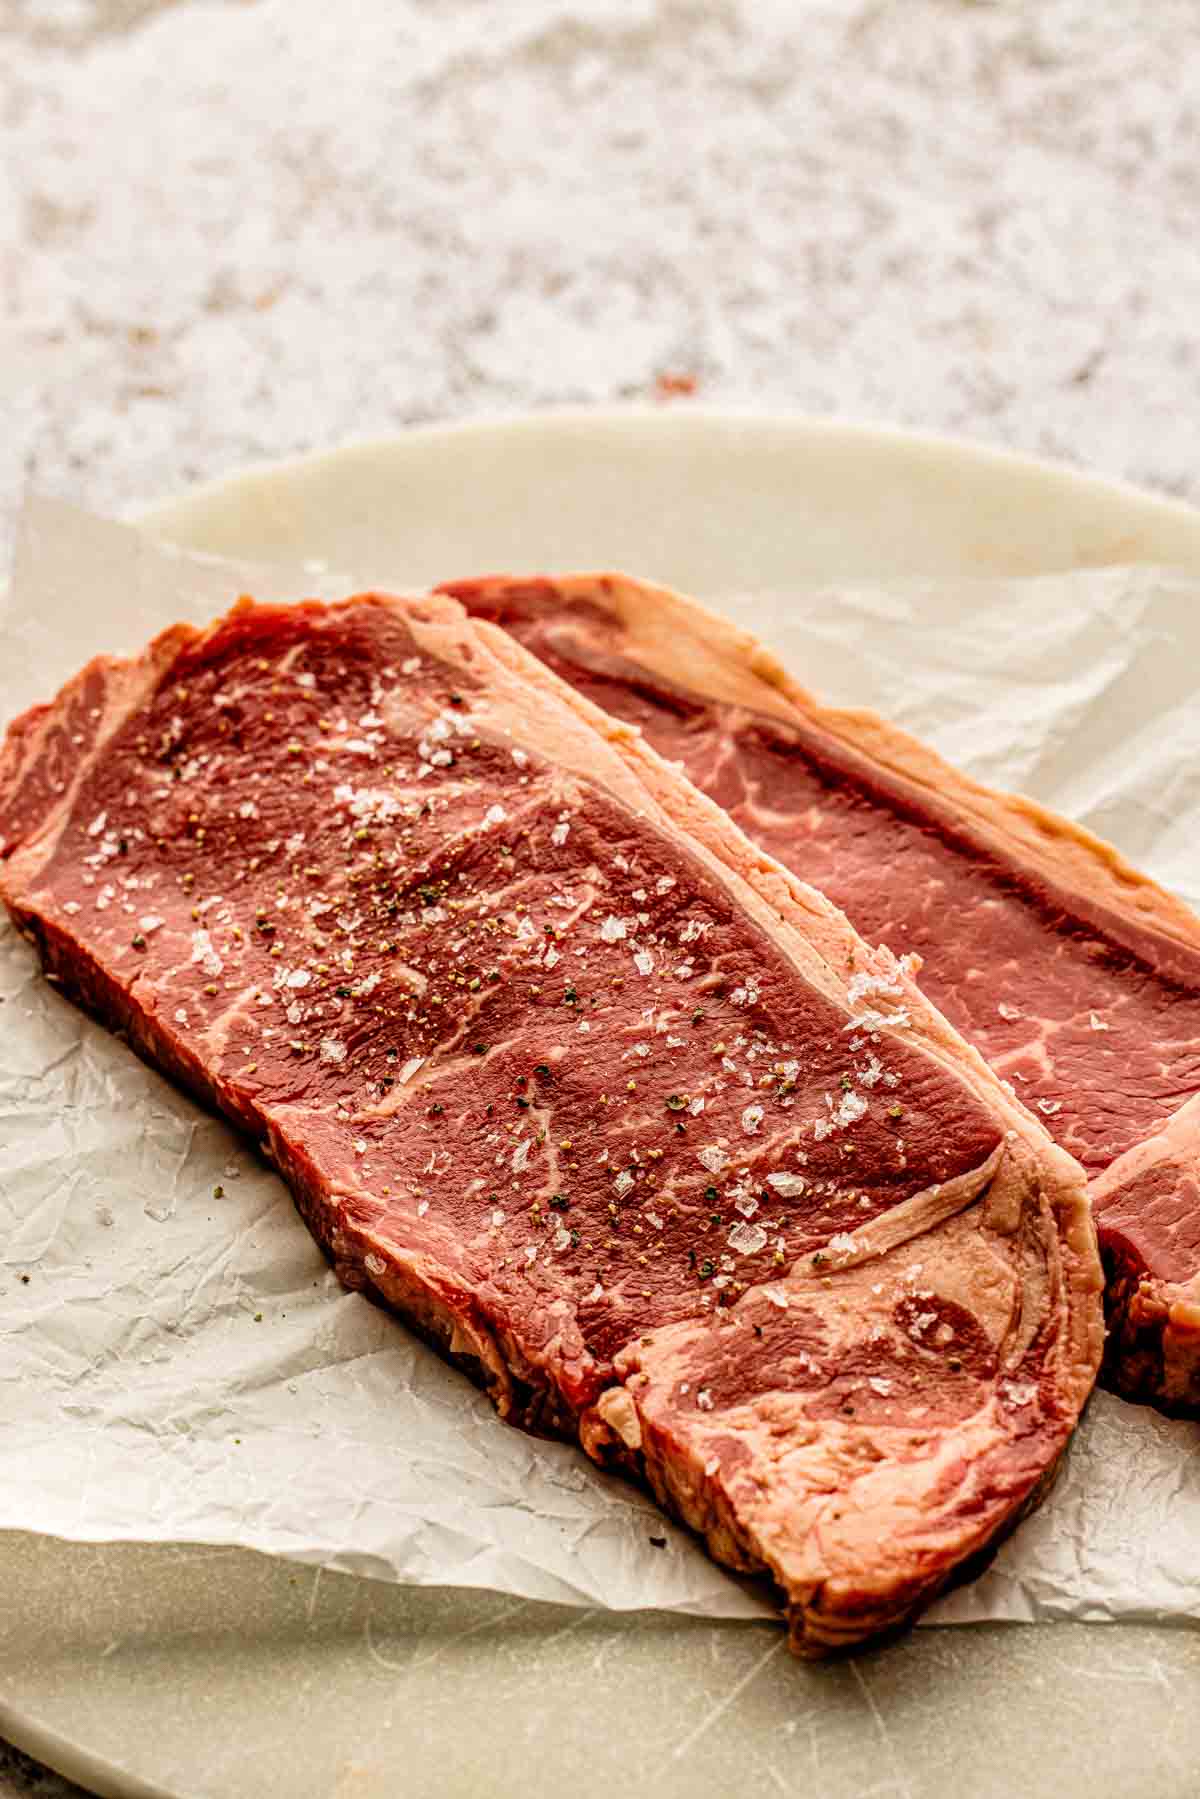
Before You Do Anything: Take the Temperature
Grab an instant-read thermometer and probe the thickest part of the steak. This tells you exactly how far you have to go. For a complete breakdown of target temps by doneness, refer to this steak doneness temperatures guide - but here's the quick reference:
- Rare: 120-125°F
- Medium-rare: 130-135°F
- Medium: 140-145°F
- Medium-well: 150-155°F
Knowing your starting internal temp determines which rescue method is right. A steak sitting at 100°F needs a very different fix than one sitting at 80°F.
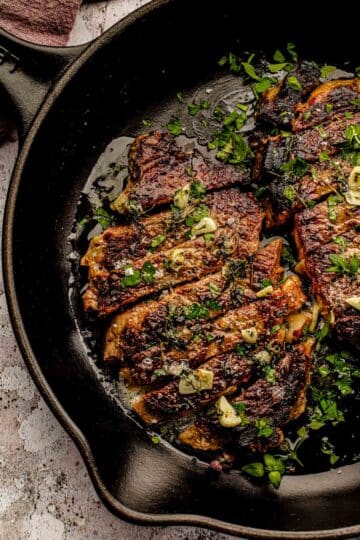
Method 1: The Low-Heat Basting Finish (Best for a Good Crust, Just Undercooked Inside)
This is the one I actually used on my Food Bazaar strip, because the crust was already where I wanted it. Here's what I did:
How to do it:
- Reduce the burner to medium-low heat - the pan should be warm but no longer smoking.
- Add 2 tablespoons of unsalted butter, a smashed garlic clove, and a sprig of fresh thyme or rosemary.
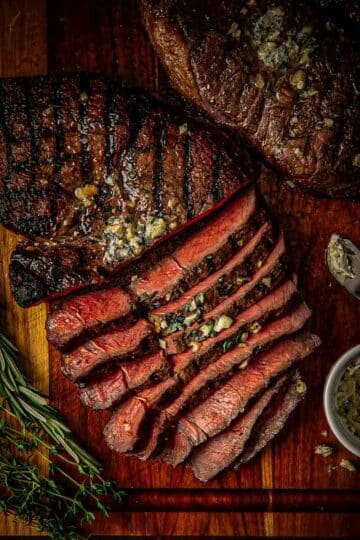
- Once the butter melts and foams, tilt the pan and use a spoon to continuously baste the steak with the butter, directing it over the top surface.
- Check the internal temp every 60-90 seconds. Pull the steak 5°F below your target - carryover cooking will close the gap.
- Rest on a cutting board, loosely tented with foil, for 5 minutes before slicing.
Why it works: Basting delivers steady, indirect heat to the top of the steak without adding more aggressive sear to the exterior. Once you've pulled the steak, don't discard those pan drippings - they're the base for an excellent sauce. A good pan sauce takes about 3 minutes from here and turns a rescued steak into something genuinely impressive. See Pan Sauces 101 for exactly how to build one.
I use method in recipes that already build the sauce into the dish - like Steak Diane, where the creamy cognac pan sauce is the whole point, or Peppercorn Steak, where the crust and sauce are deeply intertwined.
How to Prevent This From Happening Again
Here's the thing I've learned buying cuts like this: a cheaper bone-in strip from a place like Food Bazaar can be an absolute steal, but it's often less uniform in thickness than a trimmed, boneless cut from a fancier butcher counter. That unevenness is exactly what trips people up. My steak went in a little colder than I meant it to, and that's the single biggest reason I ended up with a raw center in the first place.
A few habits fix this for good:
- Let the steak sit out 30 to 45 minutes before it hits the pan, especially with bone-in cuts, since the bone stays cooler longer
- Sear hard for the crust, then dial the heat back or move to the oven to finish
- Use the thermometer every time, not the poke test
- Give it a real rest before slicing, even when you're hungry and impatient
I still buy that bone-in strip from Food Bazaar because the price is hard to beat, but I've gotten a lot more patient about pulling it out of the fridge early and checking temps instead of eyeballing it.

Method 2: The Oven Finish (Best for Thick Steaks Over 1.5 Inches)
When a steak is very thick and the interior temperature is still below 100°F, no amount of stovetop basting will get the job done efficiently. The oven is your friend here.
How to do it:
- Preheat your oven to 275°F.
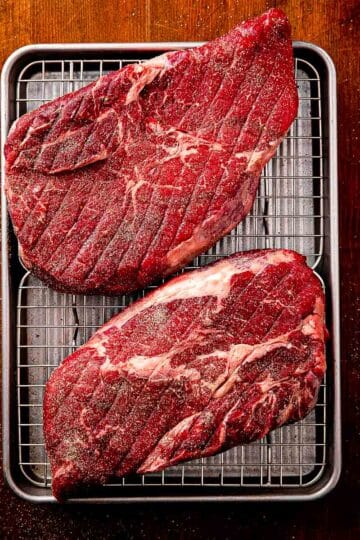
- Transfer the steak on a wire rack set over a rimmed baking sheet (this keeps air circulating around the meat so the crust doesn't steam).
- Insert a probe thermometer and roast until the internal temp is 10-15°F below your target doneness.
- Pull it out, return it briefly to a screaming-hot cast iron pan for a 30-second sear per side to re-crisp the crust if needed.
- Rest for 5 minutes before cutting.
Why it works: Low oven heat warms the steak gently and evenly from all sides, completing what is essentially a retroactive reverse sear. The temperature differential is small enough that you won't overcook the outer ring. This is the same principle behind why the reverse sear - starting low in the oven, finishing hot in a pan - produces such consistent results in the first place. This method works particularly well for thicker cuts like the ones used in a pan-seared sirloin steak.

Method 3: The Hot Oven Blast (Best for Black-and-Blue Steak - Charred Outside, Raw Inside)
This is the specific scenario where the outside is already dark and you absolutely cannot add more stovetop sear. The goal is internal temperature only.
How to do it:
- Preheat your oven to 400-425°F with the cast iron pan inside.
- When the oven is fully heated, lightly oil the hot pan with a high smoke point oil (avocado or canola).
- Place the steak in the pan and cook 2-4 minutes per side - the high heat permeates the interior quickly without browning the already-dark crust further.
- Pull at your target internal temp and rest for 5-10 minutes.
Why it works: The oven's ambient heat surrounds the steak from all sides simultaneously, unlike a stovetop which only heats from below. The cast iron retains enough heat to maintain a hot cooking surface without the flame directly scorching the exterior.

Method 4: The Foil Rest (For a Steak That Is Just Barely Underdone)
Sometimes the steak is within 5-8°F of where you need it and you simply need carryover cooking to finish the job. Don't put it back on any heat at all.
How to do it:
- Pull the steak immediately off the heat.
- Tent loosely - not tightly wrapped - with aluminum foil on a warm plate or cutting board.
- Let it rest 5-8 minutes. During this time, carryover cooking will raise the internal temperature by 5-10°F depending on the steak's mass and how hot the exterior is.
- Check the temp before slicing. If it's hit your target, you're done.
Important: Tenting loosely, not sealing tight, is critical. Trapping steam softens the crust.

How to Prevent This From Happening Again
Here's the thing I've learned buying cuts like this: a cheaper bone-in strip from a place like Food Bazaar can be an absolute steal, but it's often less uniform in thickness than a trimmed, boneless cut from a fancier butcher counter. That unevenness is exactly what trips people up. My steak went in a little colder than I meant it to, and that's the single biggest reason I ended up with a raw center in the first place.
A few habits fix this for good:
- Let the steak sit out 30 to 45 minutes before it hits the pan, especially with bone-in cuts, since the bone stays cooler longer
- Sear hard for the crust, then dial the heat back or move to the oven to finish. The full stovetop-to-oven technique is covered step-by-step in how to cook steak perfectly every time.
- Use the thermometer every time, not the poke test. Touch tests and timing are unreliable. A thermometer removes all the guesswork.
- Give it a real rest before slicing, even when you're hungry and impatient
I still buy that bone-in strip from Food Bazaar because the price is hard to beat, but I've gotten a lot more patient about pulling it out of the fridge early and checking temps instead of eyeballing it.
Also make sure that the cut was too thick for stovetop-only cooking. Steaks over 1.5 inches almost always benefit from an oven assist. Thinner cuts, like chimichurri-marinated flank steak, cook fast and are actually more forgiving - but even those can stall if they go in cold.
For your next cook, consider going proactive rather than reactive: the reverse sear method eliminates the risk of a raw center entirely by starting low and finishing hot. You'll never need a rescue plan because you'll never need one.
Steak Doneness Temperature Cheat Sheet
| Doneness | Pull Temp | Final Resting Temp |
|---|---|---|
| Rare | 115°F | 120–125°F |
| Medium-Rare | 125°F | 130–135°F |
| Medium | 135°F | 140–145°F |
| Medium-Well | 145°F | 150–155°F |
| Well-Done | 155°F | 160°F+ |
Always pull 5-10°F below your target to account for carryover cooking. For a deeper breakdown of what each doneness actually looks and tastes like, see the full steak doneness temperatures guide.
Ready to Cook Steak Right the First Time?
Now that you know how to rescue a steak, put that knowledge to work on a great recipe. Here are some favorites that pair perfectly with the techniques above:
- Peppercorn Steak - a classic pan-seared steak with a bold, creamy peppercorn sauce built right in the same pan
- Sirloin Steak - a straightforward, reliable cook ideal for mastering your stovetop technique
- Steak Diane - elegant and quick, built around the pan sauce that forms after searing
- Chimichurri Marinated Flank Steak - a thinner cut that rewards proper resting and slicing against the grain
- Garlic Butter Steak Bites - a quick, forgiving format where small pieces cook fast and evenly
- Browse all steak dinner recipes →
More steak resources you might like
If you want to go deeper on steak beyond this recipe, here are some of my favorite guides:
- How to Cook Steak: Complete Guide to Cuts, Doneness, and Methods - Best cuts, pan vs. grill, reverse sear basics, and a doneness temperature chart for every level.
- How to Cold Sear a Steak (Step-by-Step Guide) - Start in a cold pan for an even interior, gorgeous crust, and less smoke. Especially good for ribeye and strip.
- What Is Black Angus Beef? A Cook's Guide to Better Steak - What "Angus" actually means, and how to shop smarter for better flavor and texture.
- 5 Common Steak-Cooking Mistakes - The biggest pitfalls that ruin otherwise great steak-and how this recipe quietly avoids all of them.
- How to Cook Sirloin Steak (Pan-Seared, Juicy Every Time) - My go-to method for thick sirloin: hard sear, juicy center, pan sauce in the same skillet.
- Reverse Sear Steak Method: How to Cook Any Thick Cut Perfectly - The technique I use for extra-thick cuts that need gentle heat first, crust second.
- How to Cook Steak Perfectly Every Time on the Stove Top (Pan-Sear Method) - A full walkthrough of the stove-top pan-sear from start to finish.
- What to Use NY Strip Steak For: 7 Ways to Cook This Cut - Ideas for getting more mileage out of NY strip, from weeknight dinners to "company's coming" meals.
The bottom line: A raw steak after cooking is almost always fixable. Match the rescue method to your specific situation - basting for a gentle finish, oven roasting for thick cuts, a hot oven blast for an already-dark exterior - and you'll land at the right temperature without sacrificing the crust you worked to build.
Comments
No Comments